前言
在上一篇,我們透過 Gulp Robocopy 套件進行網站佈署,而本篇我們將使用微軟的Web Deploy 進行網站佈署。不同於 Robocopy ,網頁伺服器目標資料夾需要開放編輯權限(若開放所有使用者讀寫權限,可能有些安全性的疑慮),Web Deploy 則是使用Windows Service (透過 port 8172) 協助進行佈署。理所當然,因為是第一次使用CI流程,過程中遇到許多IT問題,這此也一併記錄下來,提供各位與未來自己設置的時候參考使用,若有觀念錯誤或者建議請各位先進不吝指教。
本系列文章大概內容如下(暫定,會修改):
Using gulp to implement .Net web application continuous integration
1.Gulp 基礎教學
2.流程簡介、代入參數與修改AssemblyInfo
3.透過 Gulp 進行 NuGet Package Restore
4.透過 Gulp:gulp-msbuild 進行 Build project
5.透過 Gulp:gulp-nunit-runner 進行 Unit Test
6.Gulp CI Deploy (1) - 透過Gulp : Robocopy 進行 Deploy
7.Gulp CI Deploy (2) - 使用 MSDeploy (WebDeploy) 進行 Deploy
7-2 流程說明
7-2 前置作業 : 安裝 Web Deploy
7-3 透過 Gulp 使用 powershell 執行MSDeploy
7-4 問題排除
8.Gulp CI IIS Management - 使用 PowerShell 變更實體路徑
9.最終篇: Team City 設定 與 Build Scripts 撰寫
本系列文章使用的環境如下:
1.Visual Studio 2015 Community Update 3
2.Visual Studio Core
3.TeamCity
4.Nunit 3.2.1.0
5.NuGet 3.4.4.1321
介紹
流程說明
重要1. 確認於Web Server上有安裝Web deploy套件,並啟動服務。
重要2. 確認你的帳號是administrator,或者有授予權限的 user 帳號(此篇不討論,另外講)。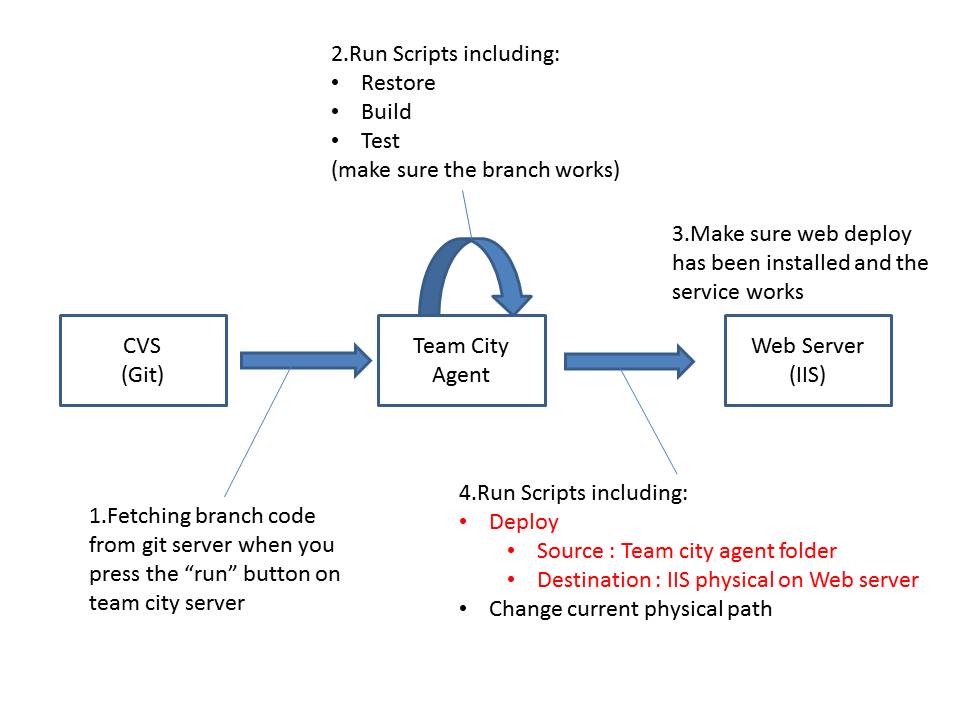
前置作業 : 安裝 Web Deploy
Step 1. 前往 Microsoft /web 下載 Microsoft web platform installer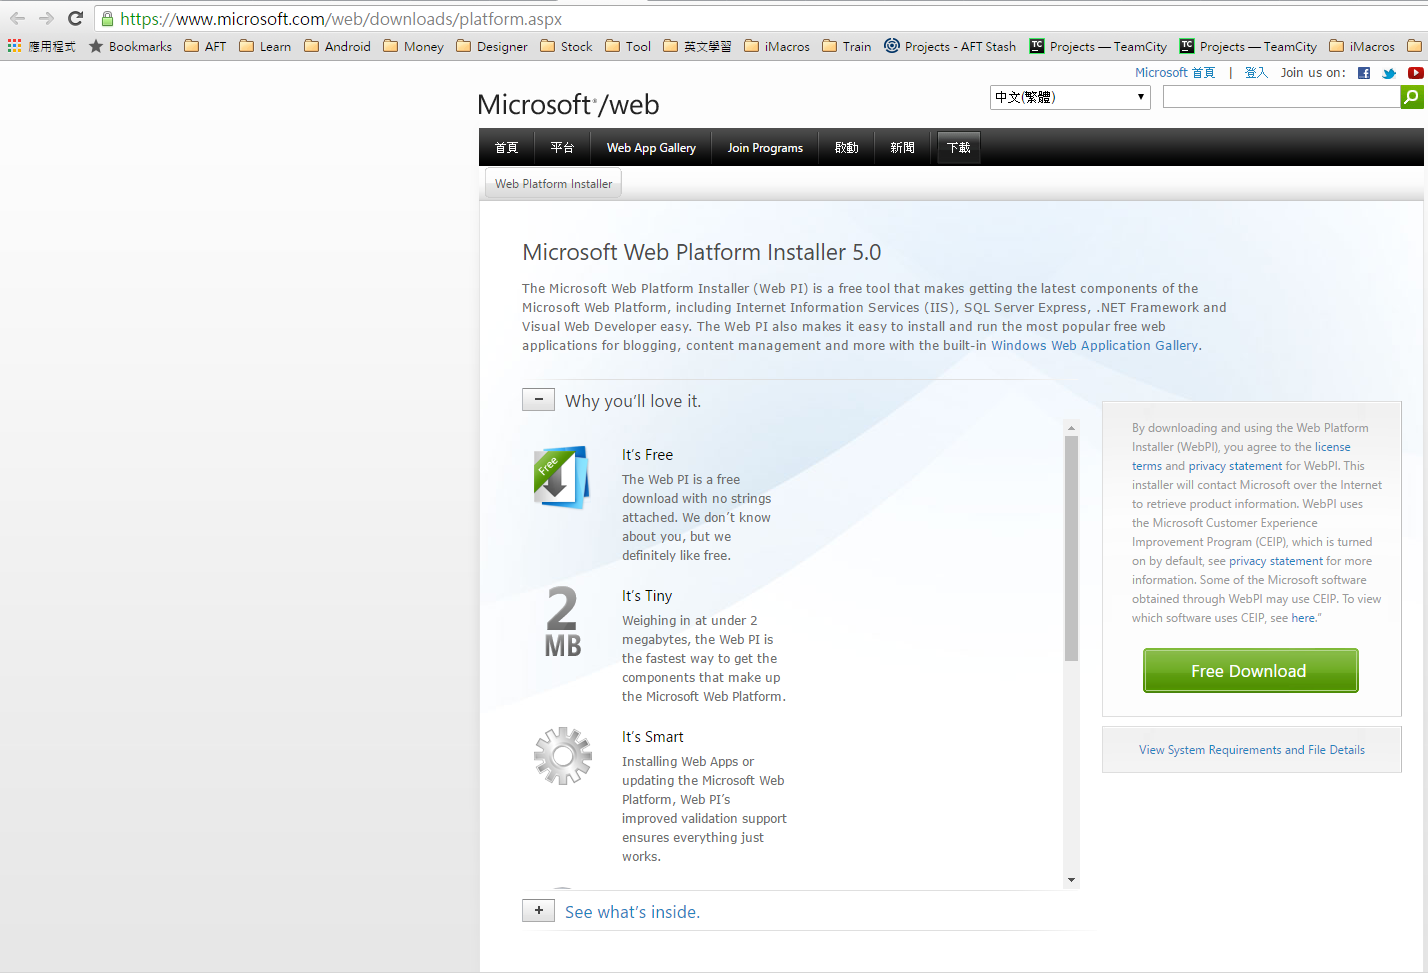
Step 2. 開啟安裝程式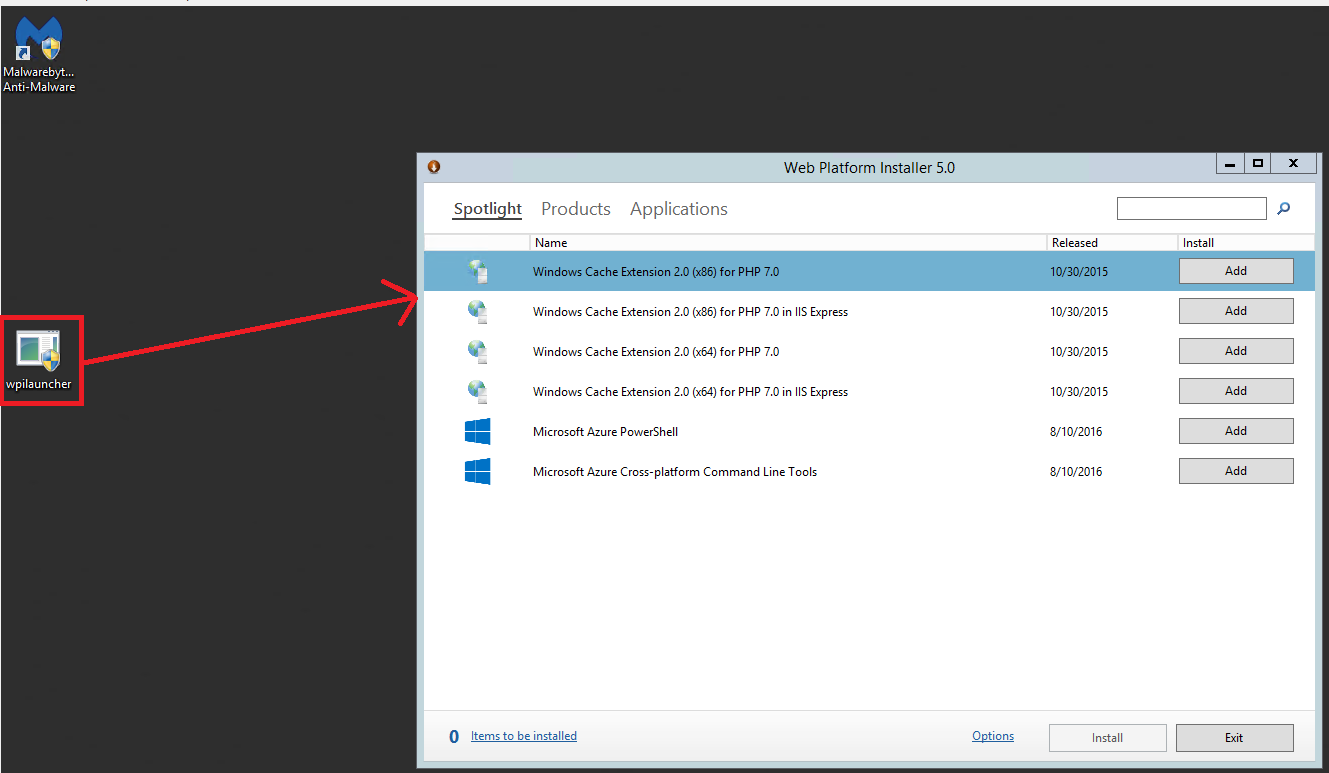
Step 3. 搜尋框內輸入Web Deploy進行搜尋,加入 Web Deploy 3.6 , 點選 install 按鈕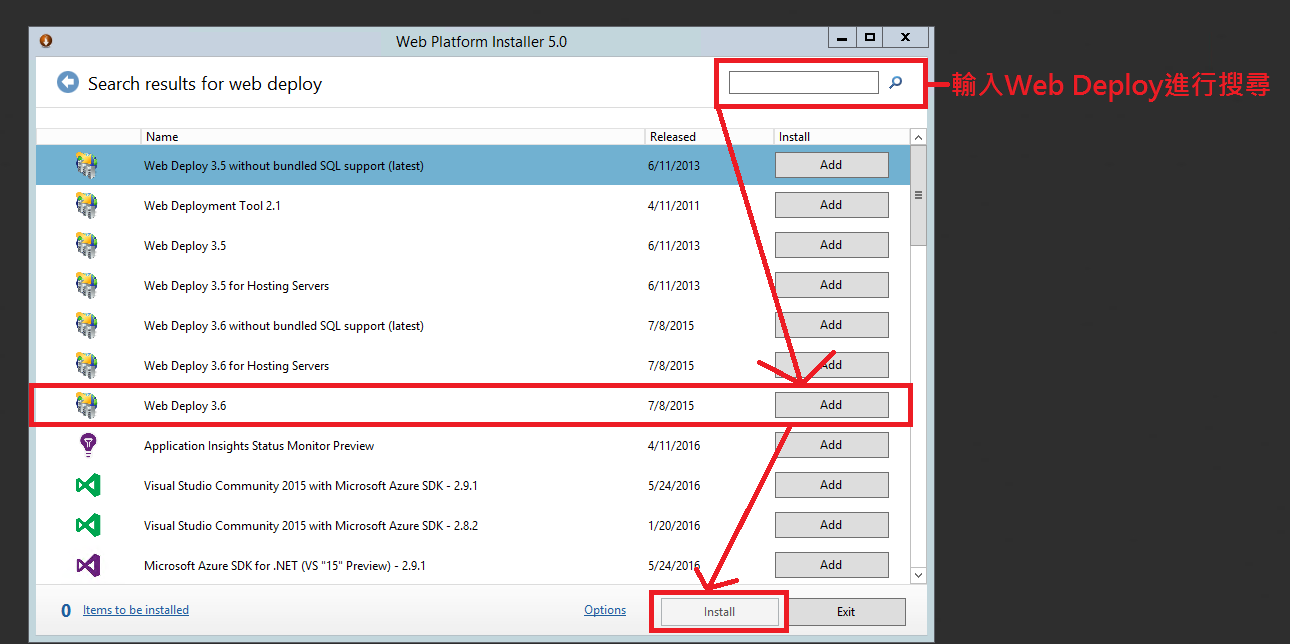
Step 4. 安裝中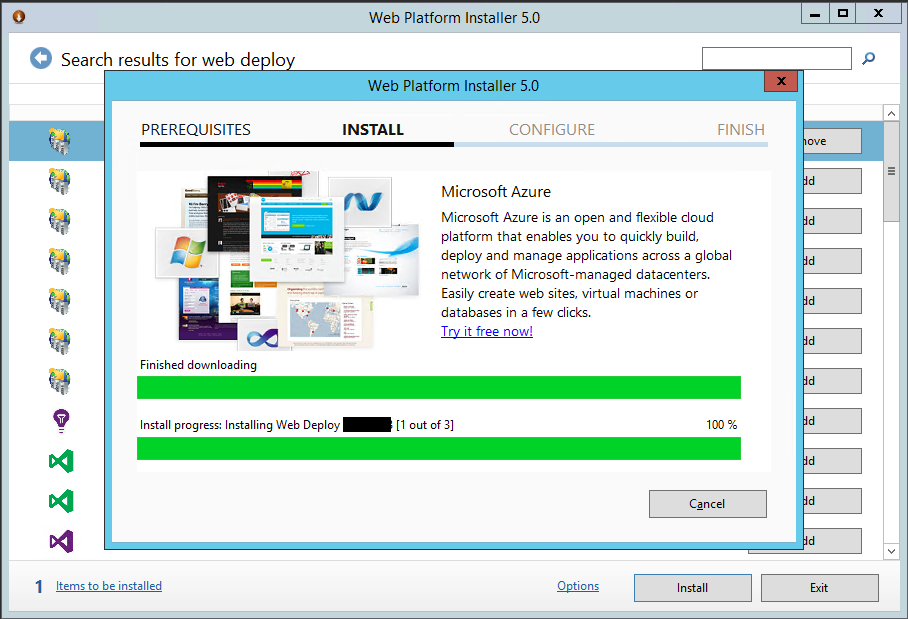
Step 5. 安裝完成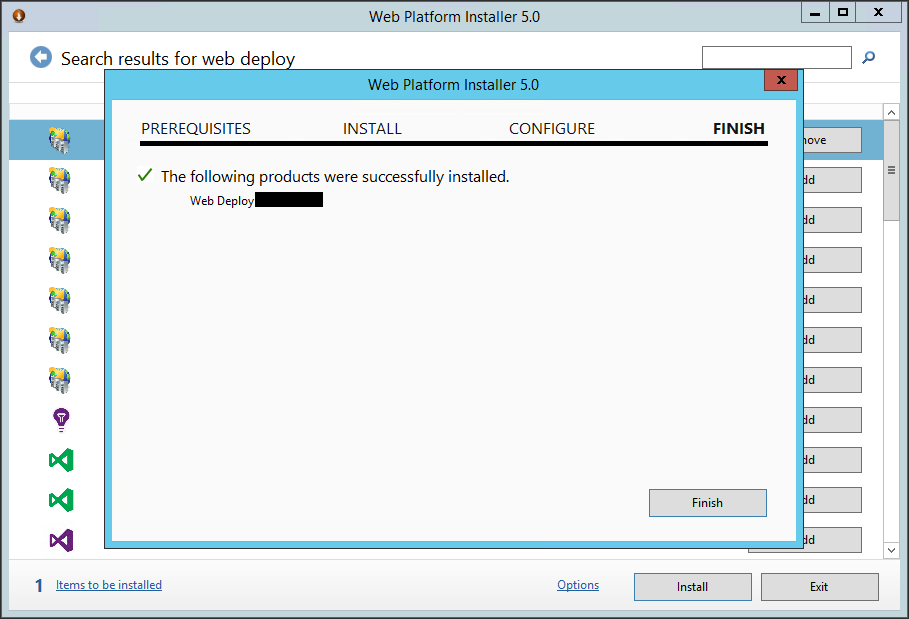
Step 6. 開啟服務(Service) 確認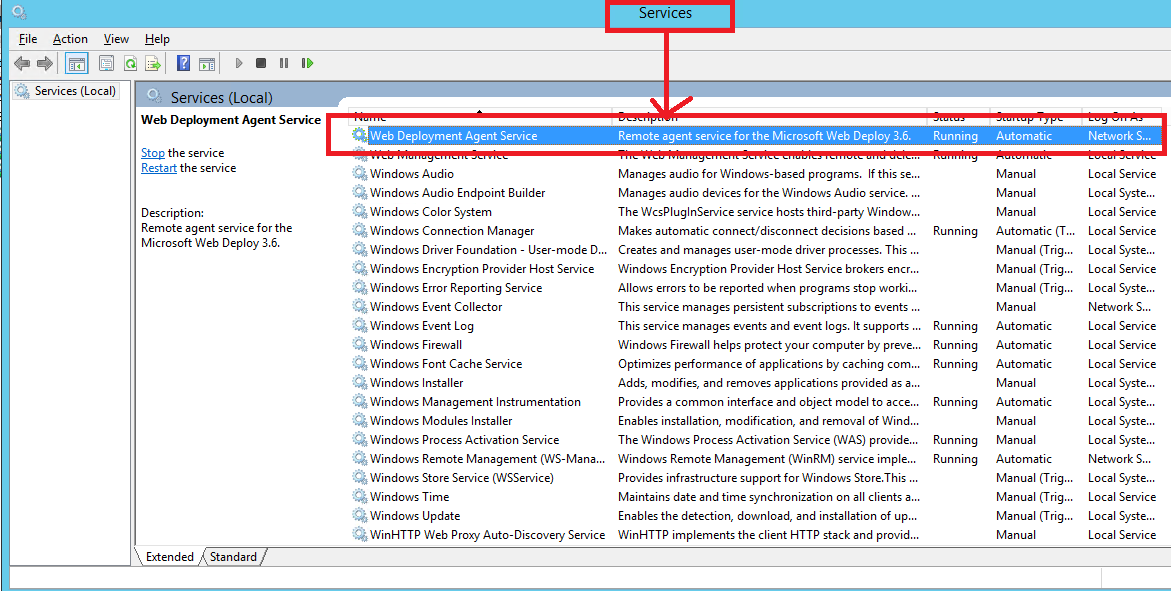
Step 7. 建立佈署資料夾 (Create deploy folder)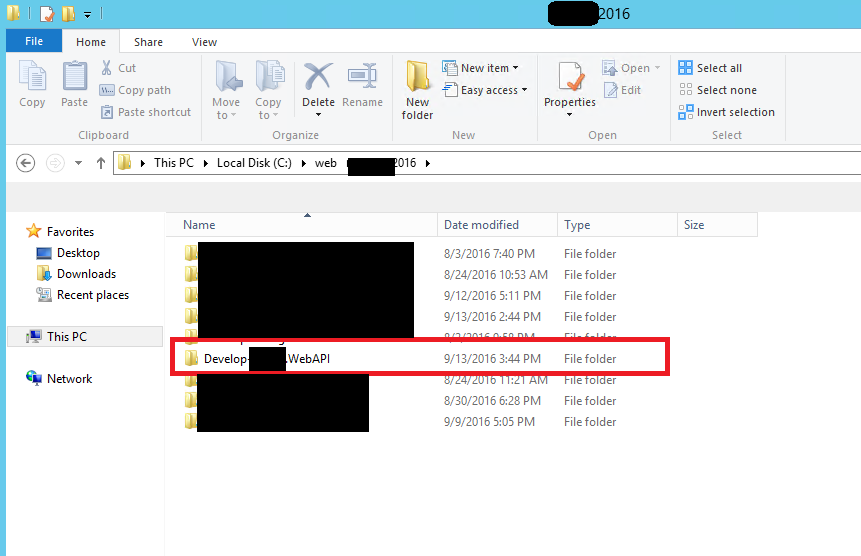
Step 8. 建立實體路徑資料夾
(實體路徑可先隨意建立資料夾,變更實體路徑章節會再詳細說明)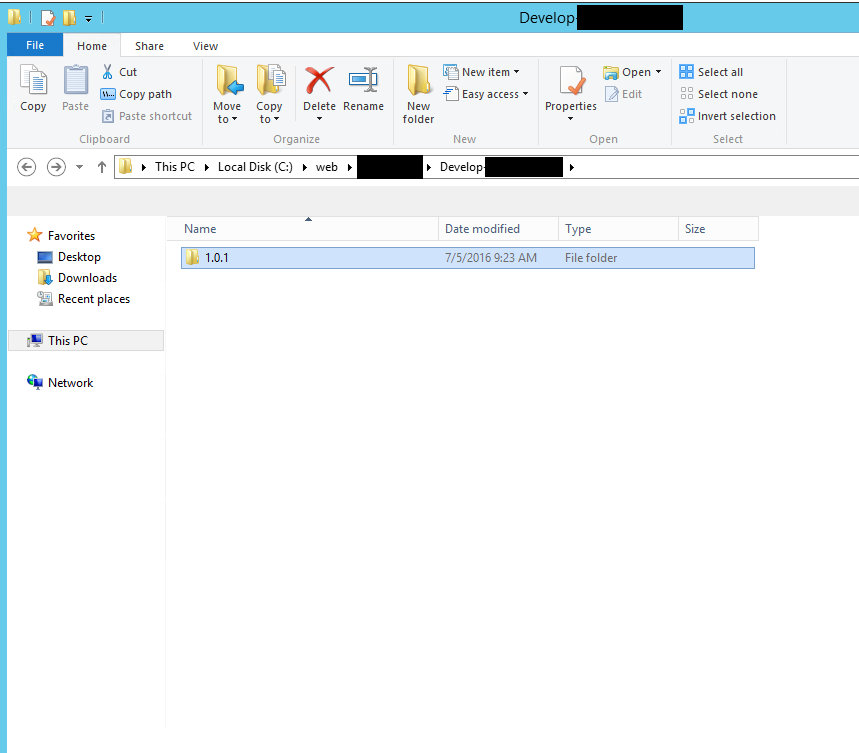
Step 9. 於 IIS 上建立新的 WebSite (Create Website on IIS)
並且設定實體路徑(請注意您的路徑,等等web deploy指令會用到)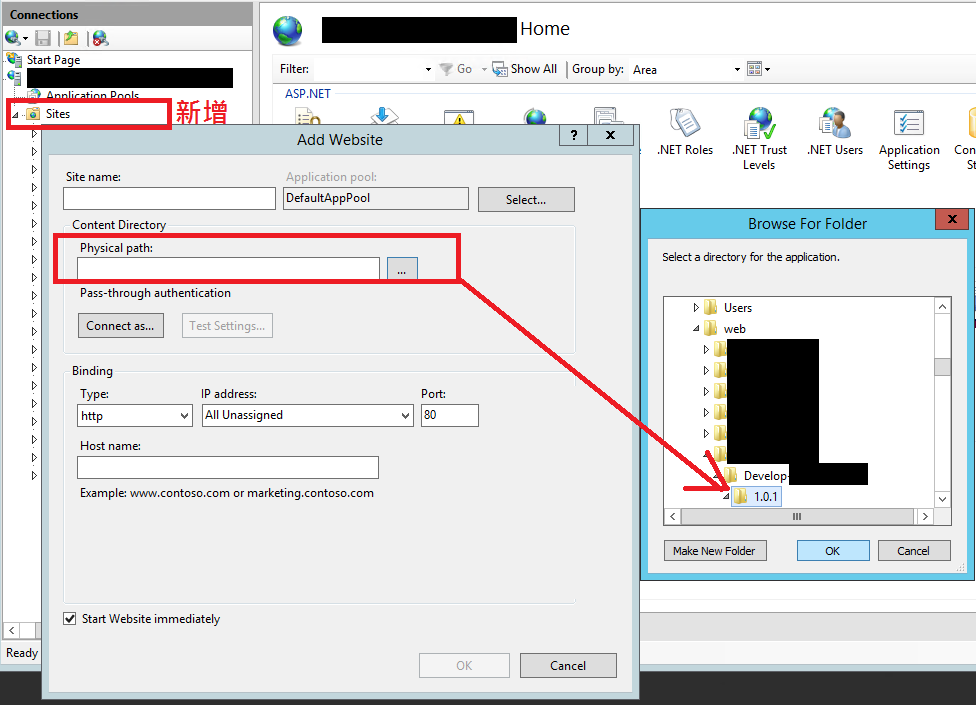
透過 Gulp 使用 powershell 執行MSDeploy
Step 1. 我們使用 MSDeploy 指令如下 (指令說明可以參考這裡)
msdeploy.exe
'-verb:sync'
'-source:contentPath=C:\SourceFolder'
'-dest:contentPath="C:\DestFolder", ComputerName="http://domain_or_ip/MSDeployAgentService" ,UserName="user", Password="passwrod",AuthType="NTLM"'
'-allowUntrusted'
重要1:你的使用者必須要是administrator,否則需要建立帳號或指定權限給IIS使用者。
重要2:請依據你的需求調整參數。
Step 2.更新 gulpfile.js 程式碼如下
重要1:__dirname 為 gulp 語法,取得目前所在檔案路徑,因為需要從TeamCity Agent folder
佈署到Web Server,故需要取得目前路徑。
重要2:DestFolder 為 IIS 設定的實體路徑。
var gulp = require('gulp'),
    args = require('yargs').argv;


gulp.task('webDeploy', function() {
    var siteName = "SiteName";
    var webDeployUrl ="http://Domain/MSDeployAgentService";
    var sourcePath = "SourcePath";
    var spawn = require("child_process").spawn,child;

        child = spawn("powershell.exe",['msdeploy.exe \'-verb:sync\' \'-source:contentPath=' + __dirname + '\\' + sourcePath +'\' \'-dest:contentPath="C:\\web\\ProjectName\\' + siteName + '\\' + args.buildVersion + '",ComputerName="'+ webDeployUrl +'",UserName="duran.hsieh",Password="123456",AuthType="NTLM"\' \'-allowUntrusted\'']);
        child.stdout.on("data",function(data){
            console.log("Powershell Data: " + data);

        });
        child.stderr.on("data",function(data){
            console.log("Powershell Errors: " + data);

        });
        child.on("exit",function(){
            console.log("Powershell Script finished");
        });
        child.stdin.end();
});
在這段程式碼中,我們在gulp中使用powershell,使用指令的方式執行MSDeploy.exe
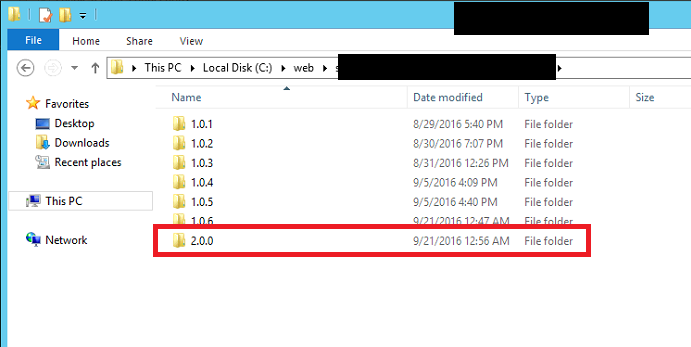
Step 3. 輸入指令進行測試
gulp webDeploy --project-name Aft.Project --build-version 2.0.0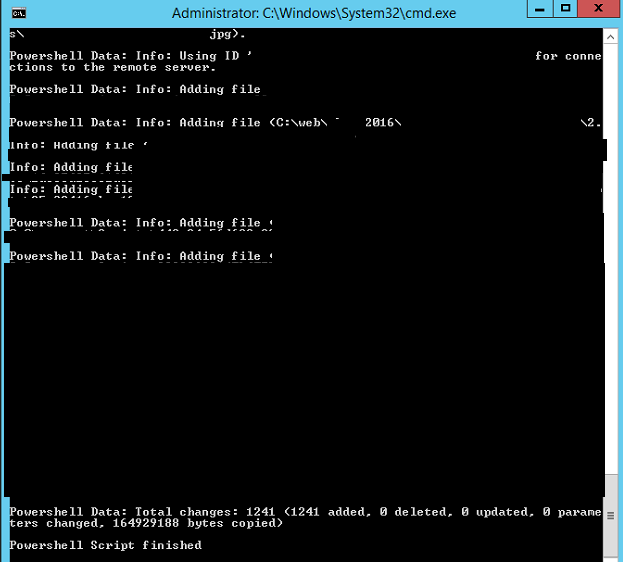
問題排除
Q1. Connecting to remote server failed with the following error message : The WinRM client
cannot process the request. Default authentication may be used with an IP address under the following conditions: the transport is HTTPS or the destination is in the TrustedHosts list, and explicit credentials are provided. Use winrm.cmd to configure TrustedHosts. Note that computers in the TrustedHosts list might not be authenticated. For more information on how to set TrustedHosts run the following command: winrm help config. For more information, see the about_Remote_Troubleshooting Help topic.
A:使用以下指令增加信任清單
winrm set winrm/config/client '@{TrustedHosts="machineA,machineB"}'
Q2. Connecting to remote server 10.72.102.155 failed with the following error message :
WinRM cannot complete the operation. Verify that the specified computer name is valid, that the computer is accessible over the network, and that a firewall exception for the WinRM service is enabled and allows access from this computer. By default, the WinRM firewall exception for public profiles limits access to remote computers within the same local subnet. For more information, see the about_Remote_Troubleshooting Help topic.
A.輸入指令 Enable-PSRemoting
參考下面這篇部落格進行設定:
https://blogs.technet.microsoft.com/heyscriptingguy/2012/12/30/understanding-powershell-remote-management/
上一篇:[Gulp][.Net Web Application][CI] Gulp CI Deploy(1)-透過Gulp:Robocopy進行Deploy
下一篇:[Gulp][.Net Web Application][CI] IIS Management - 使用 PowerShell 變更實體路徑
參考資料
1.Using Gulp to Build and Deploy .NET Apps on Windows
2.MSBuild - MSDN - Microsoft
3.Command Line Reference - NuGet Docs
4.NUnit-Console Command Line Options
5.gulp API docs
本篇文章有部分內容參考相關網站資料,若有不妥請告知,我將盡快移除。