現在一個隨意的網站建立時都需要 SSL 憑證作加密,真的要省下買 SSL 憑證的費用的話,除了使用網路上產 SSL 憑證的免費服務外,Azure 的 Static Web App 也提供了 SSL憑證使用。
本系列文章介紹如何在 Azure 當中建立 Static Web App 服務,並且繫結到自訂的網域取得 SSL 憑證(需在 www. 底下)。

在 上回 介紹如何建立 Azure Static Web App 資源與透過 GitHub Repository 部屬後, 本回繼續介紹相關的自訂網域繫的處理。
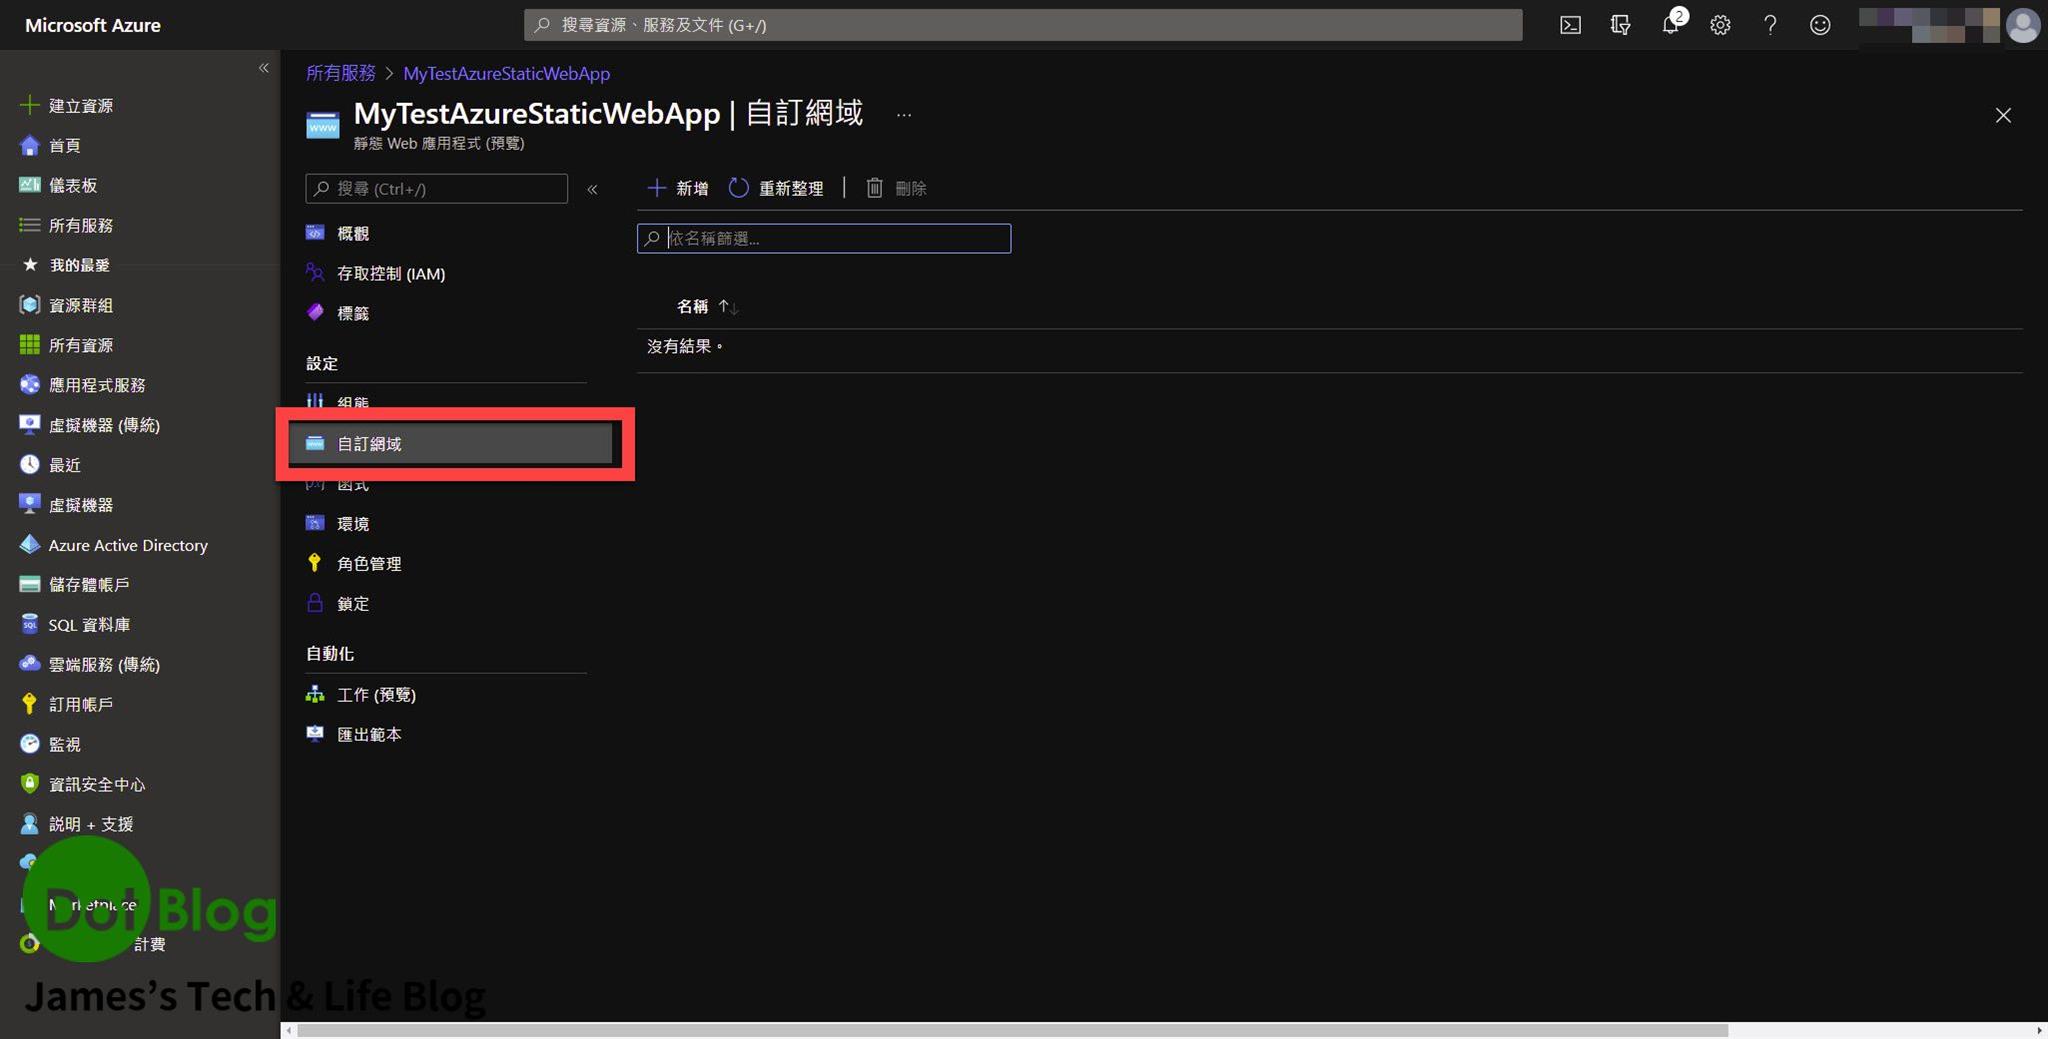
在該 Azure Static Web App 的資源底下,點選 "自訂網域"。
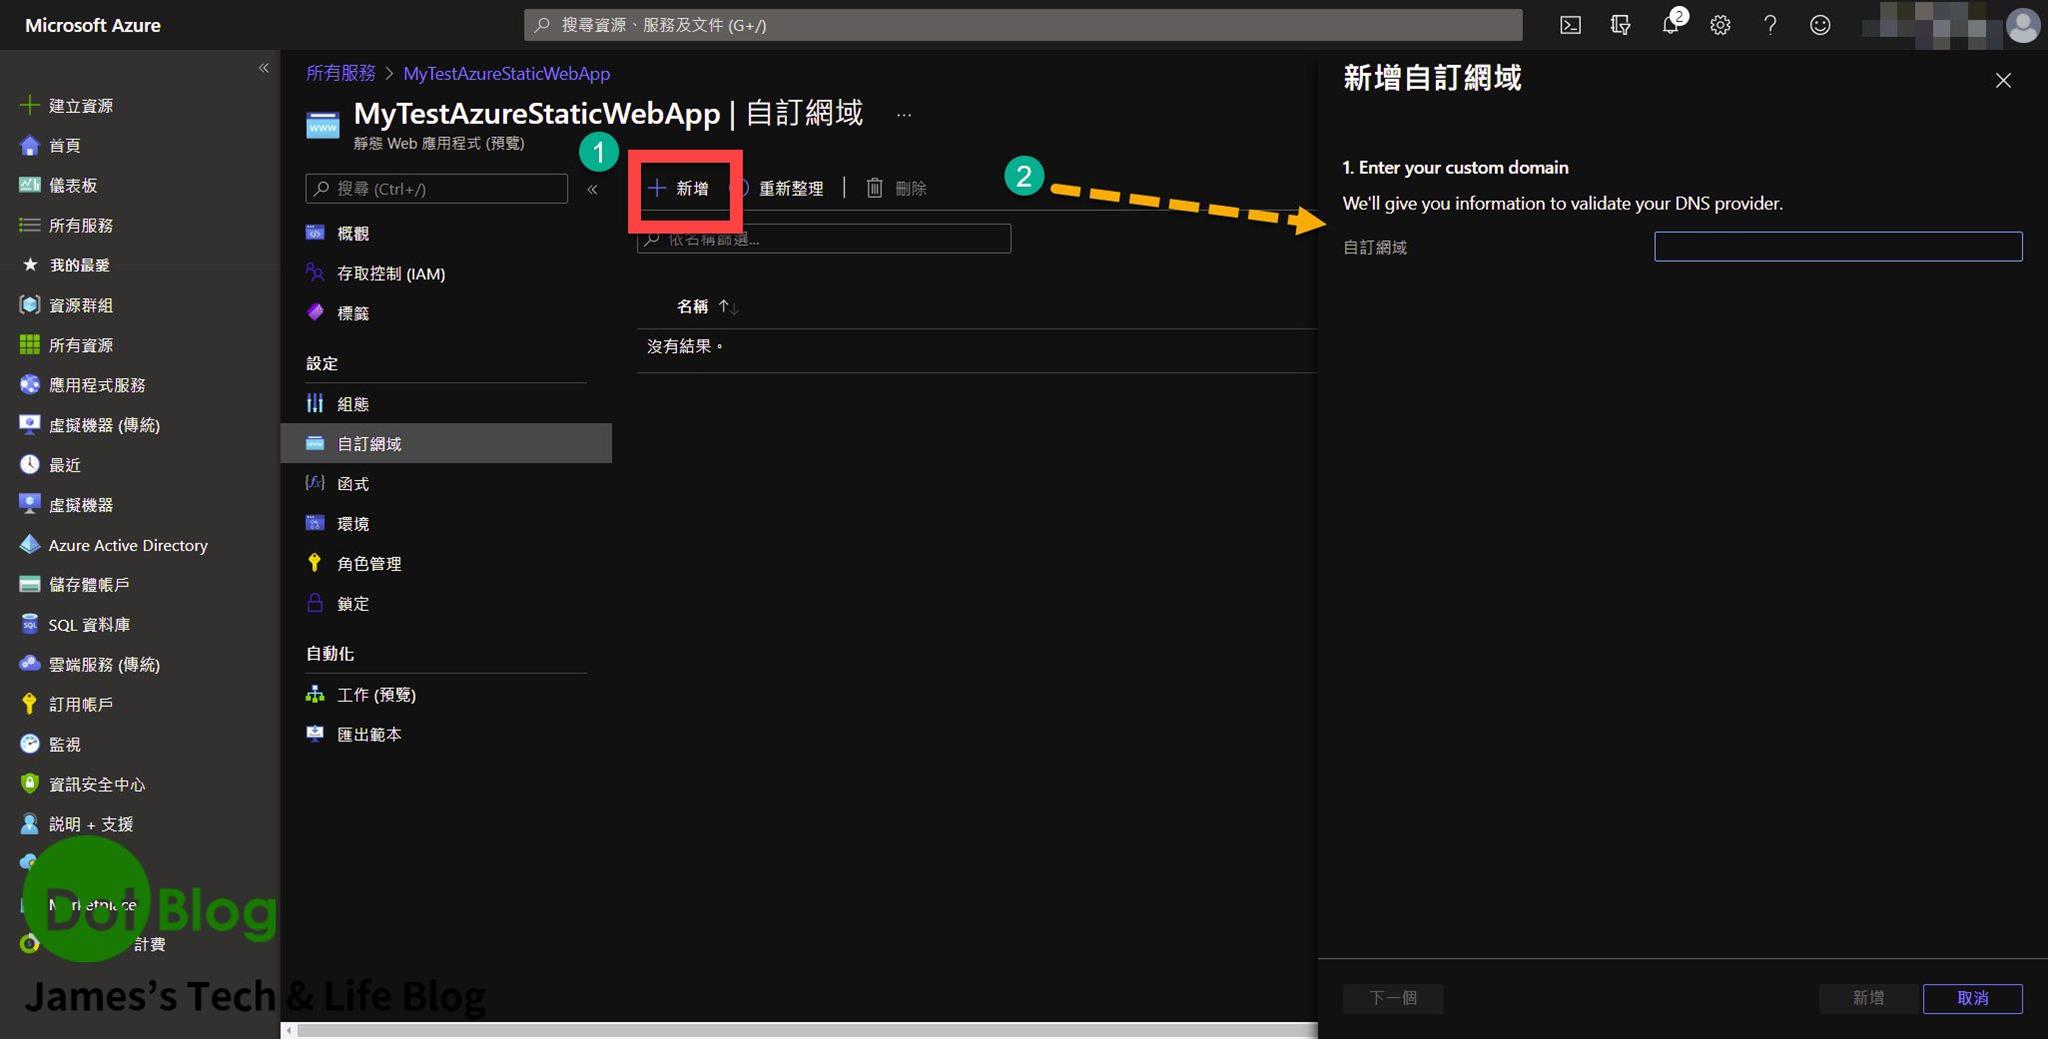
接著點選 "新增" ,在右側會出現新的刀鋒窗格。
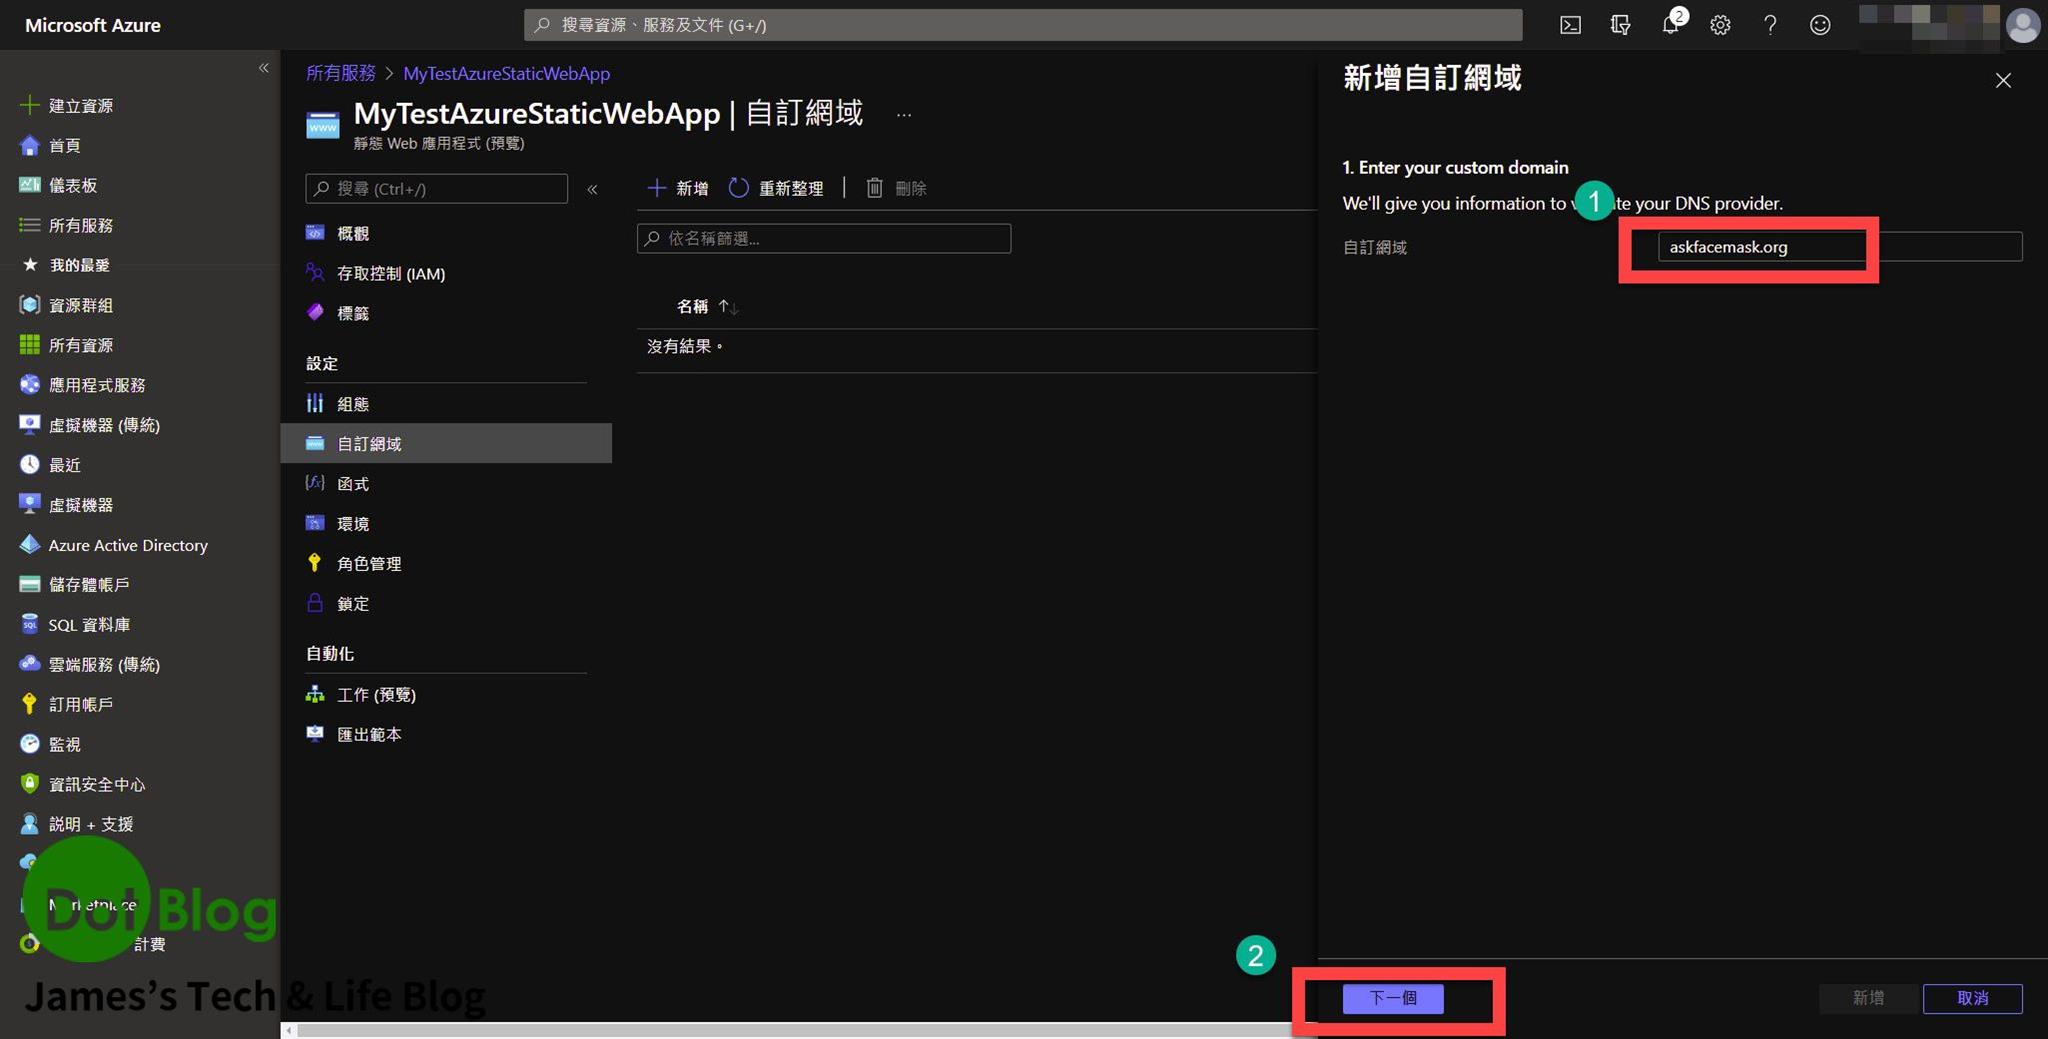
接著在自訂網域中填入要繫結的自訂網域 "askfacemask.org" (此網域為先前購買測試使用,已無使用需求且將於 2021/4/14 後失效,因此拿來測試使用),再點選下一個。
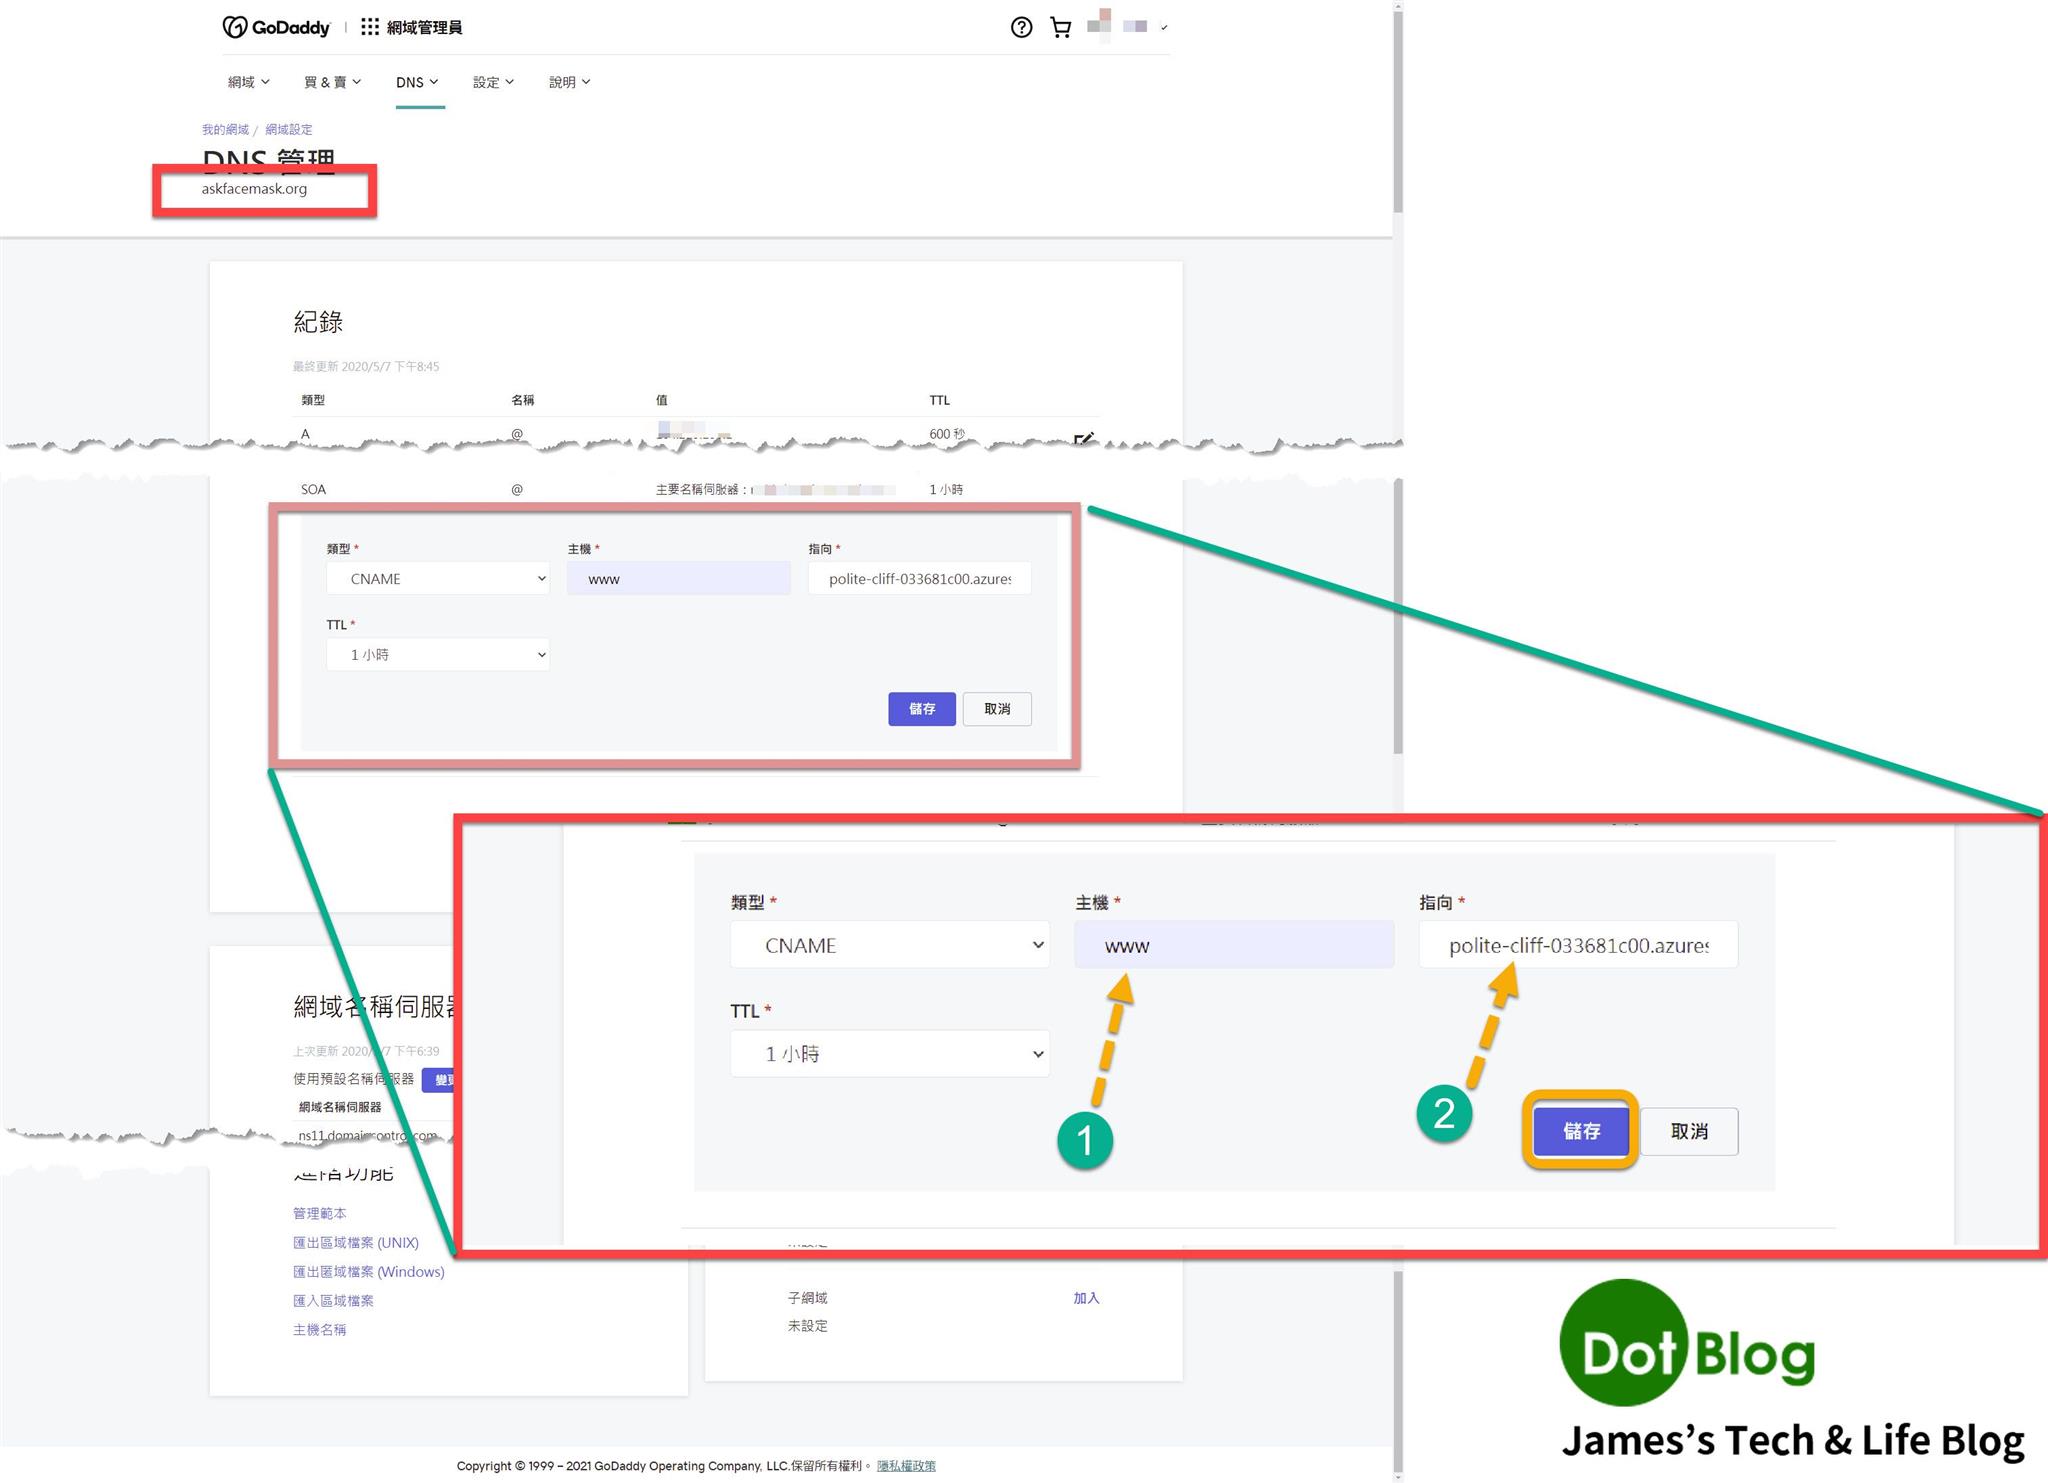
接著在 "驗證網域所有權" 中設置一種驗證方式,在本文利用 "CNAME" 的方式驗證,注意下圖的 "1", "2" 標號。
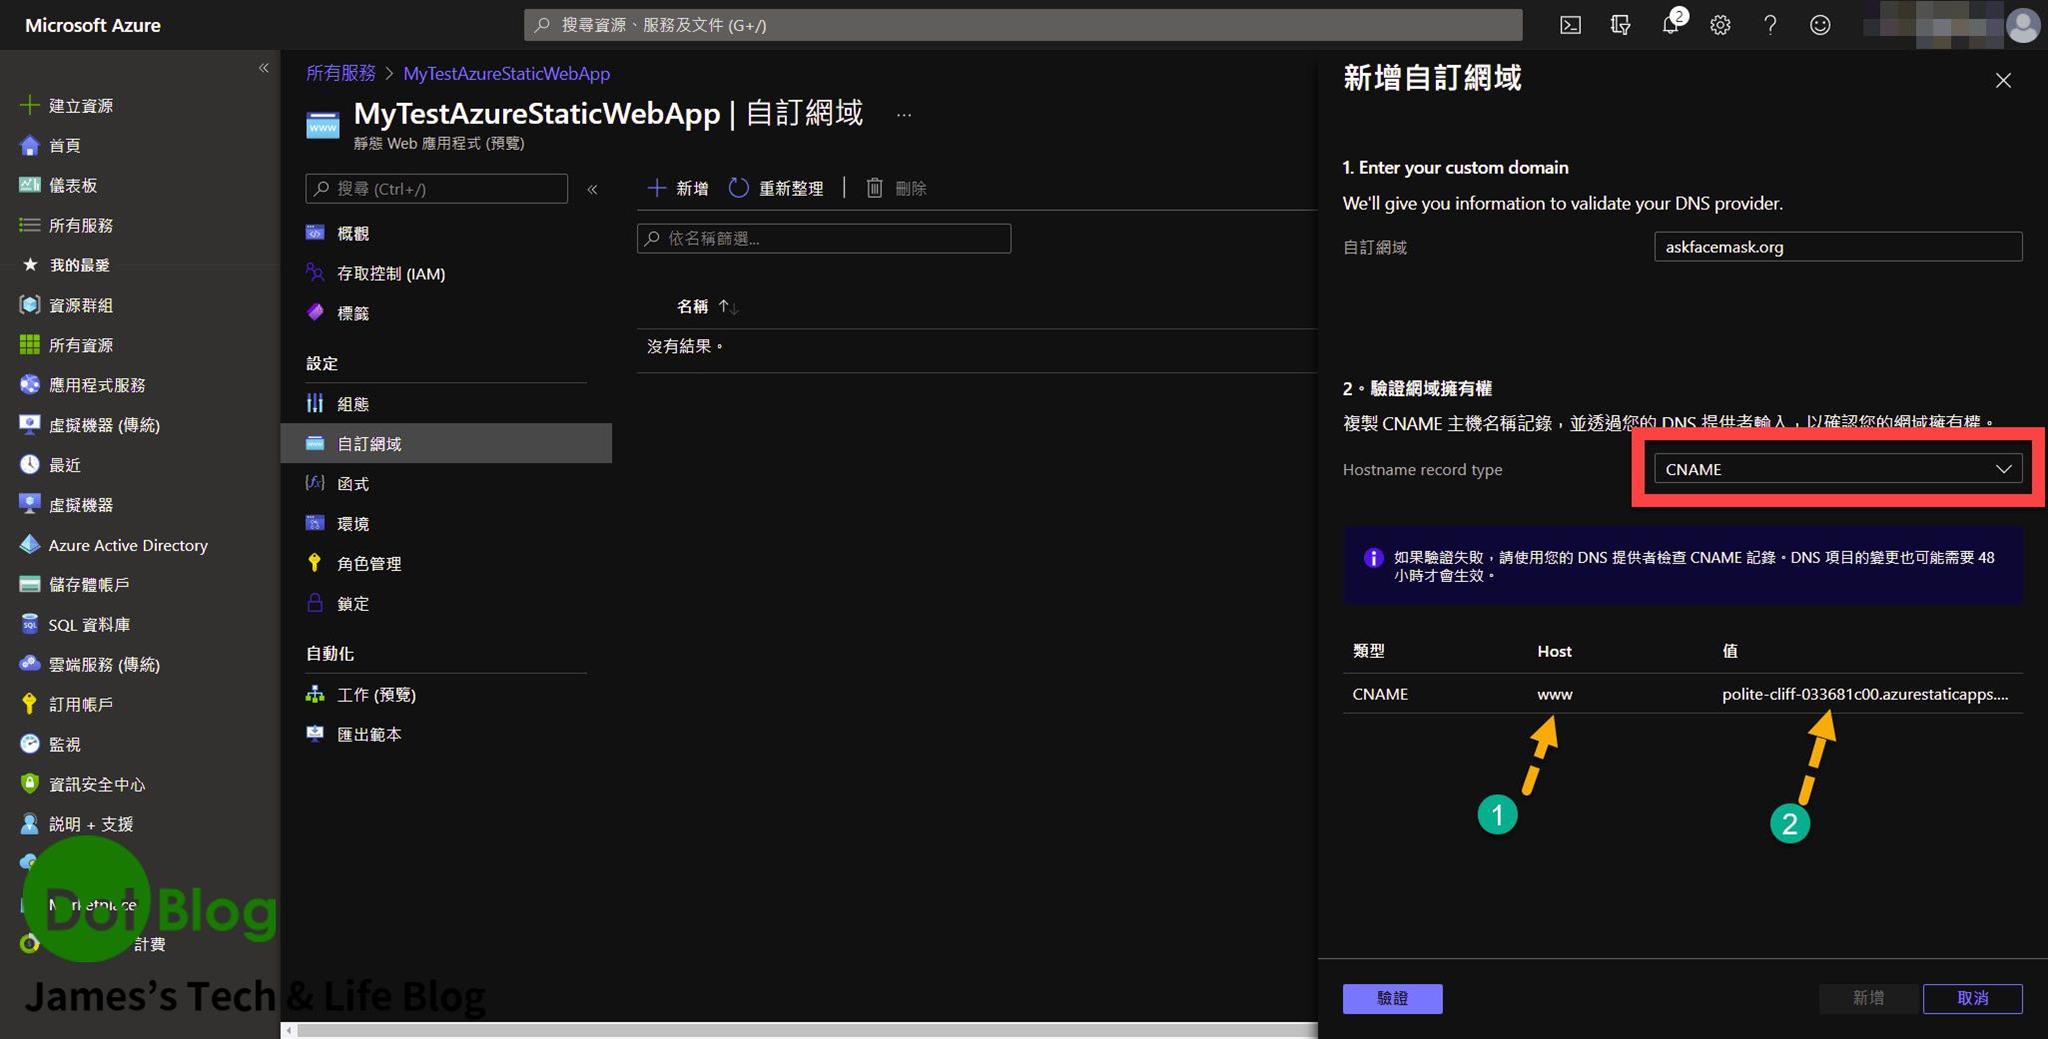
請不要心急著按 "驗證"。
此網域當初是在 GoDaddy 上購買的(如果是捧友的網域是在其他網域供應商購買的應該作法也類似),因此再到 GoDaddy 上新增 CNAME 的設置,請填入上圖標號的 "1"、"2" 的資訊到下圖的位置,並且點選儲存。
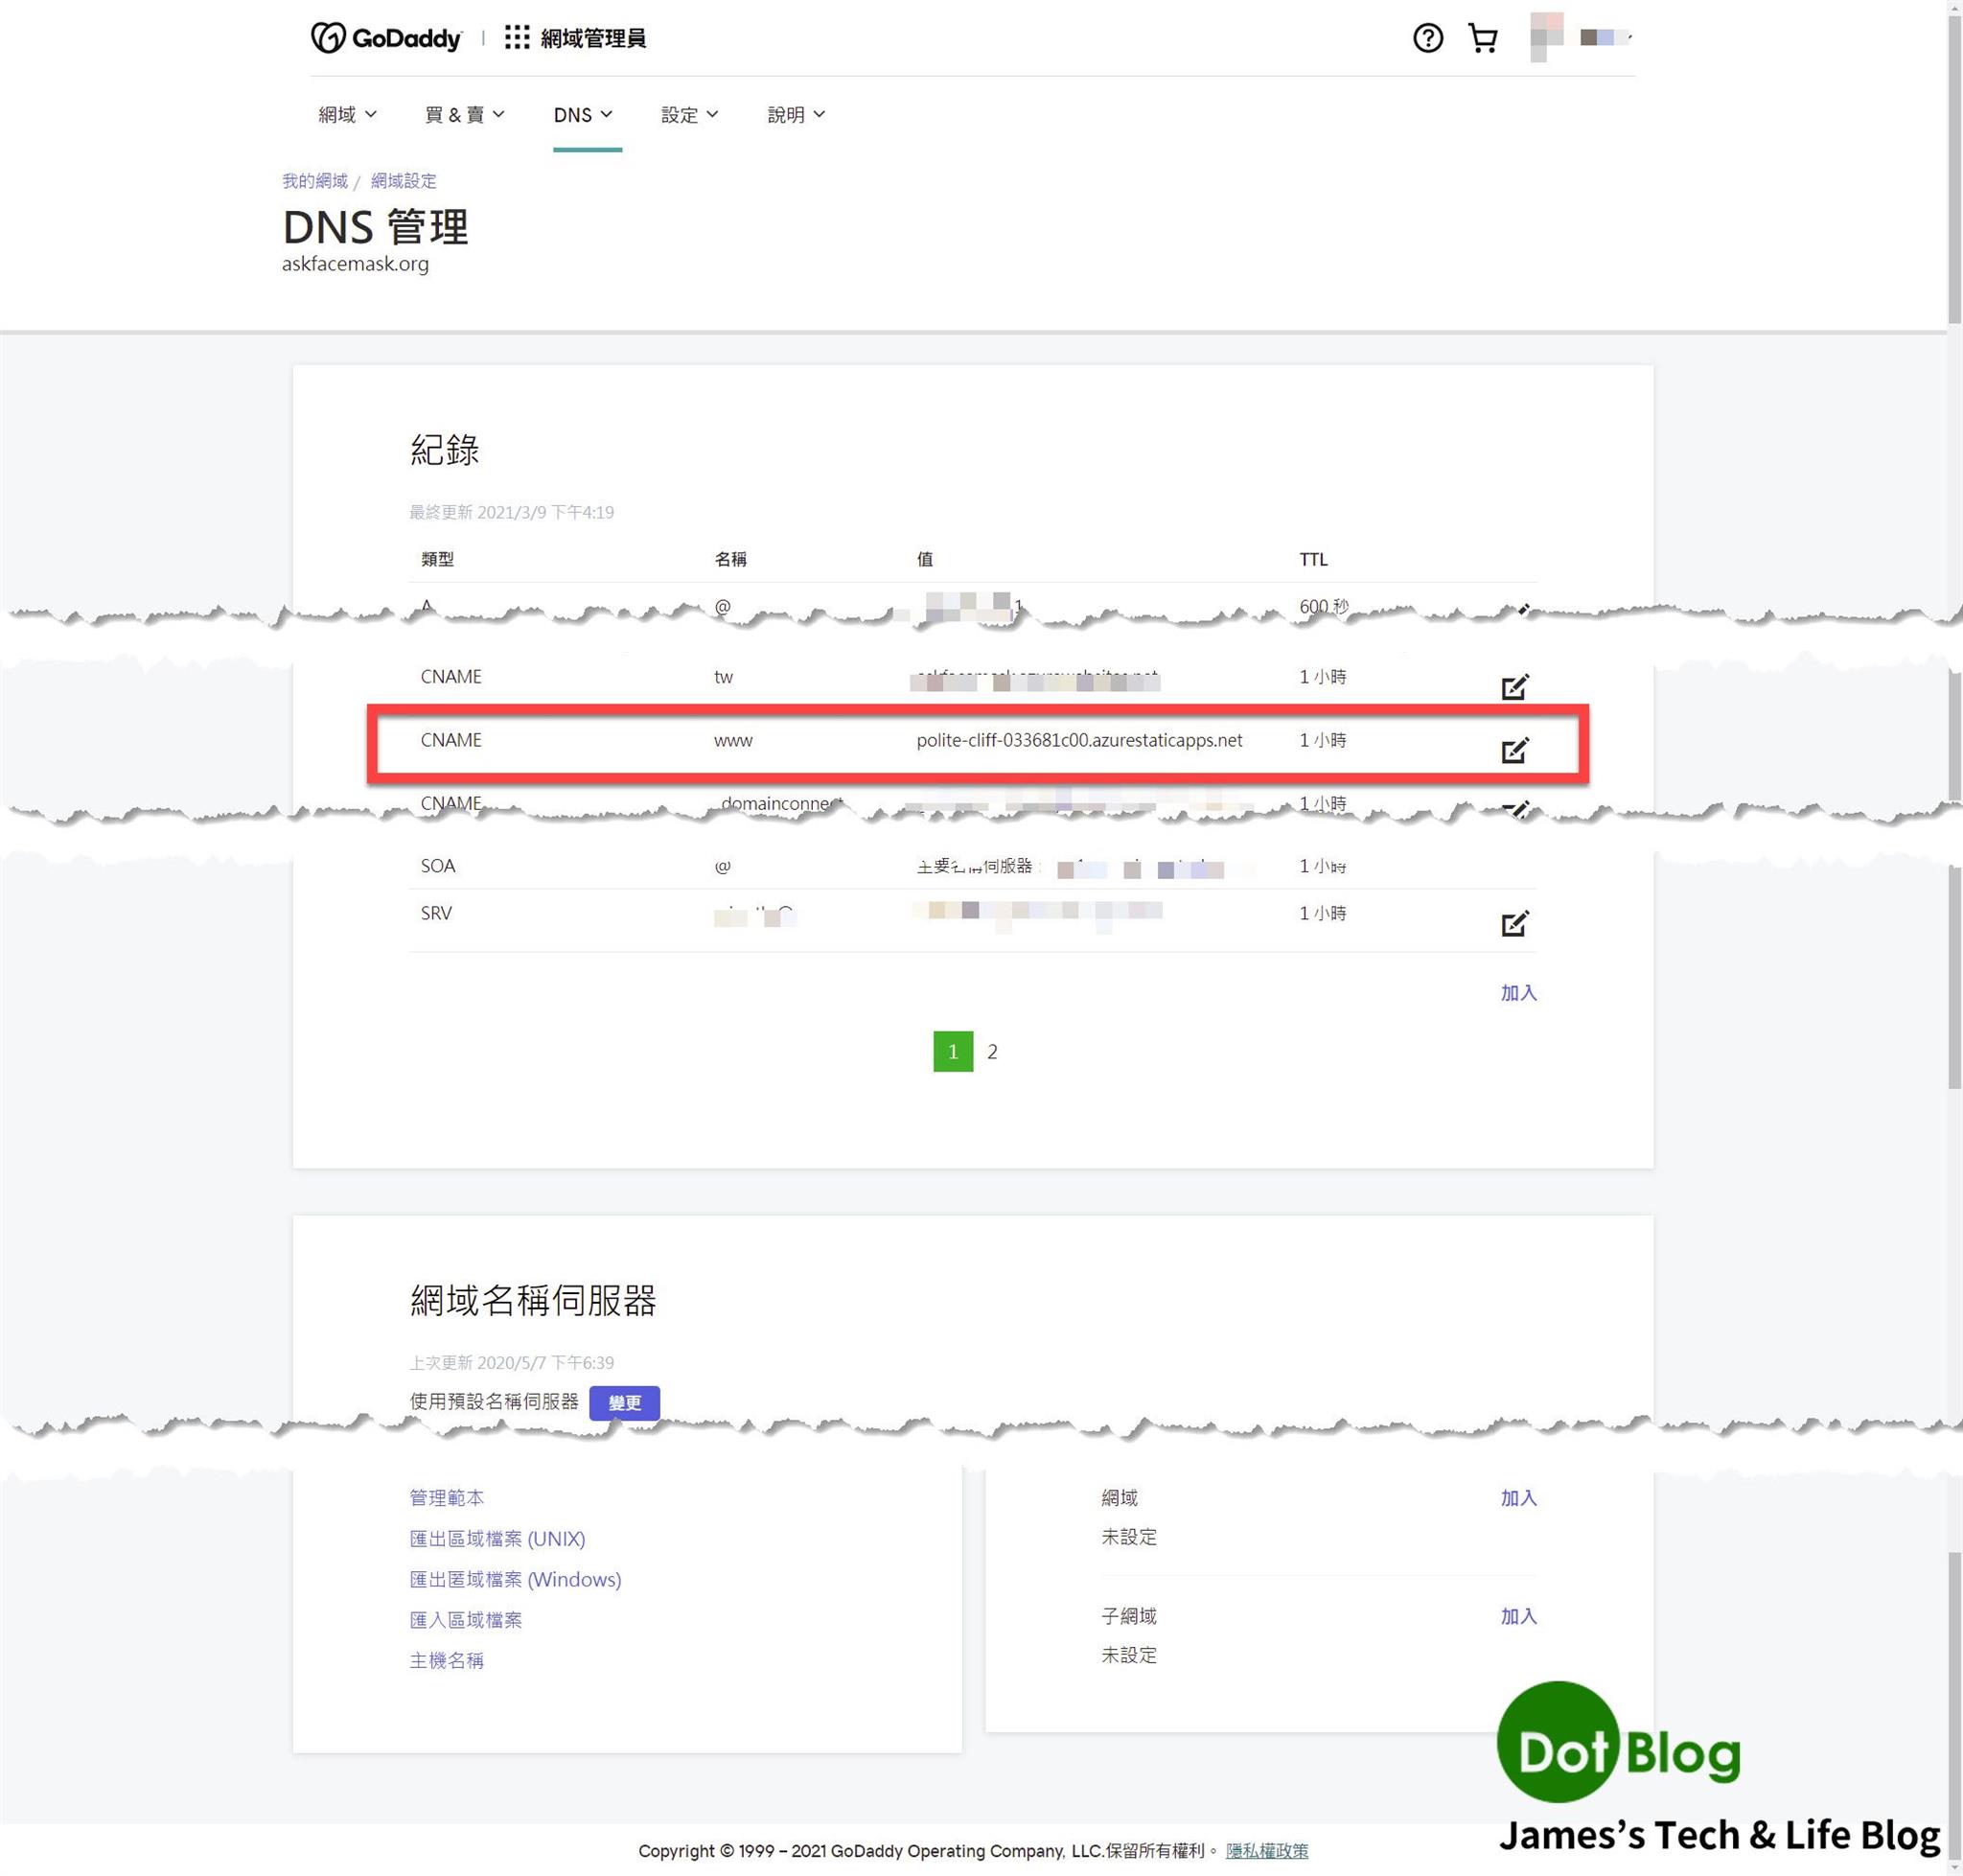
完成後會如下圖紅框呈現:
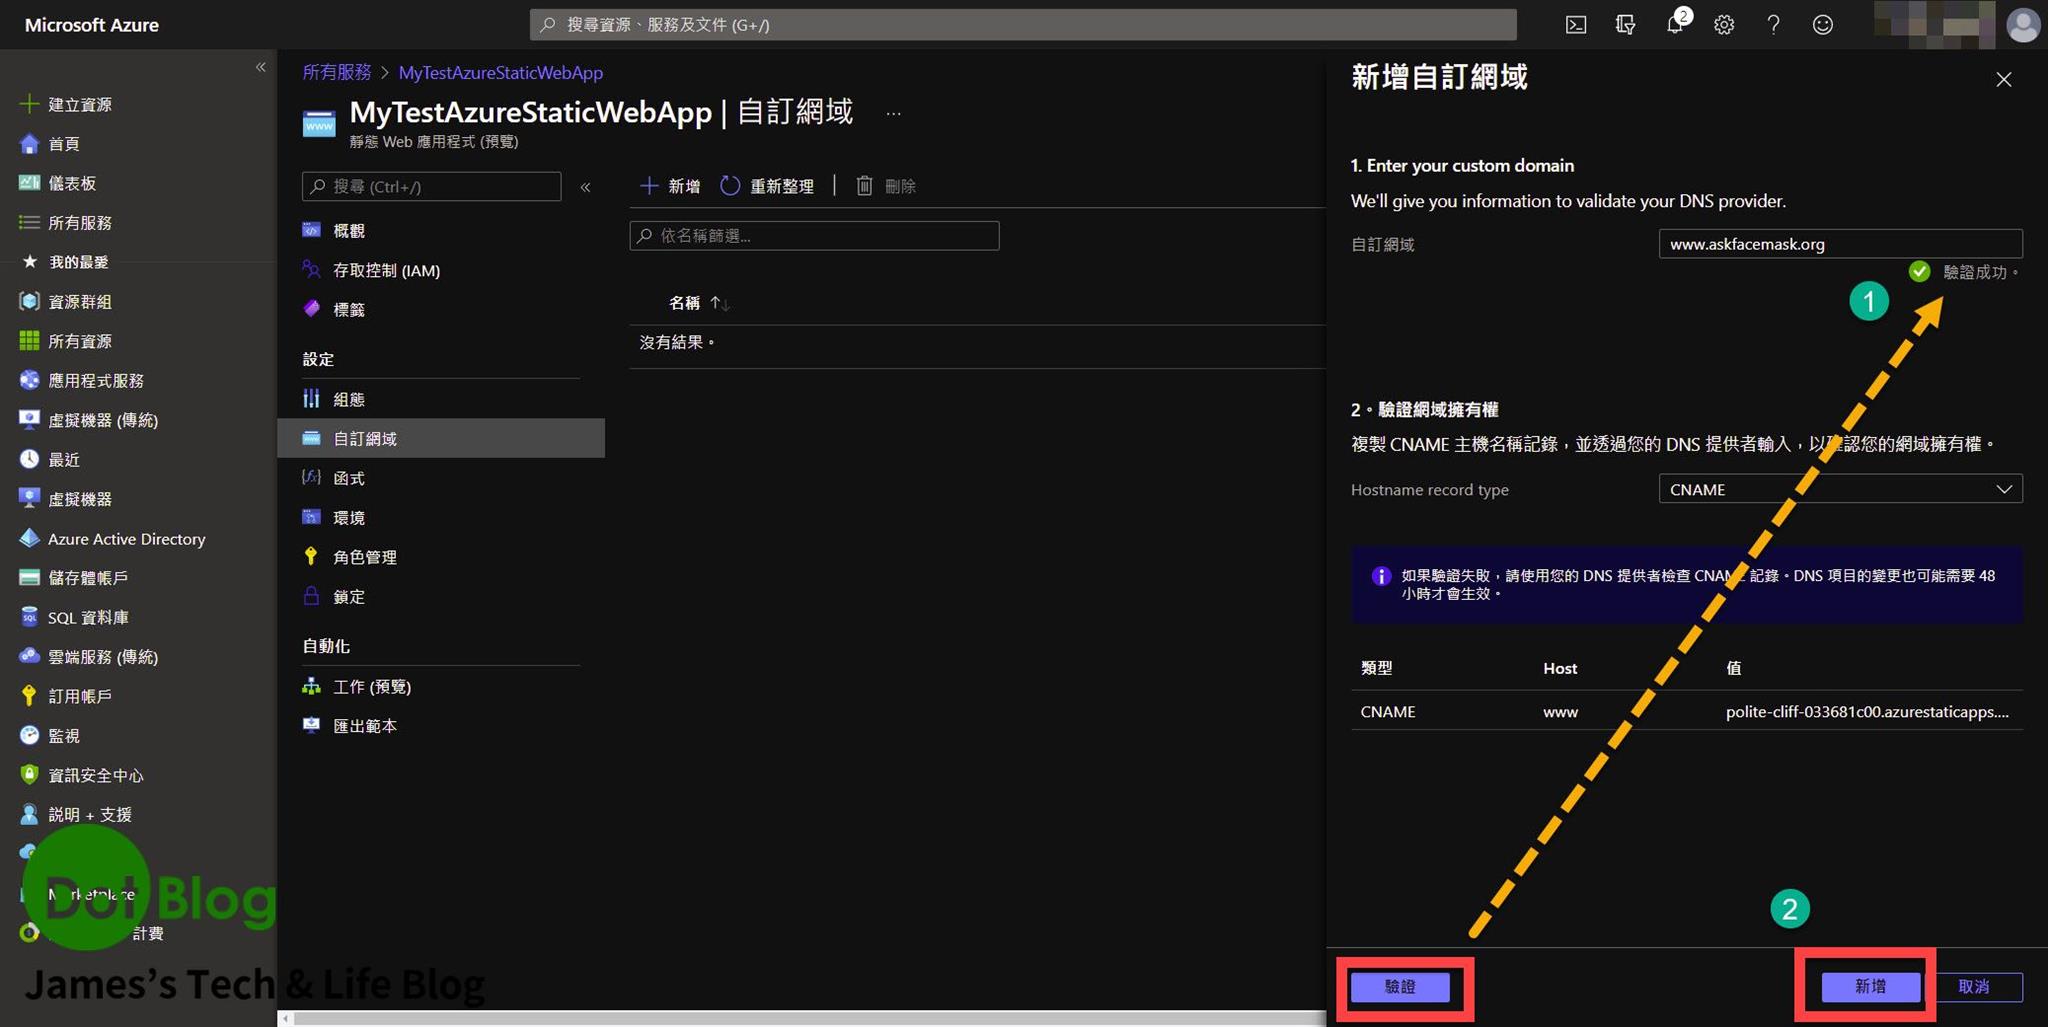
此時再點選 "驗證",看到驗證成功後點選 "新增"。
Azure 開始設定相關自訂網域的繫結。
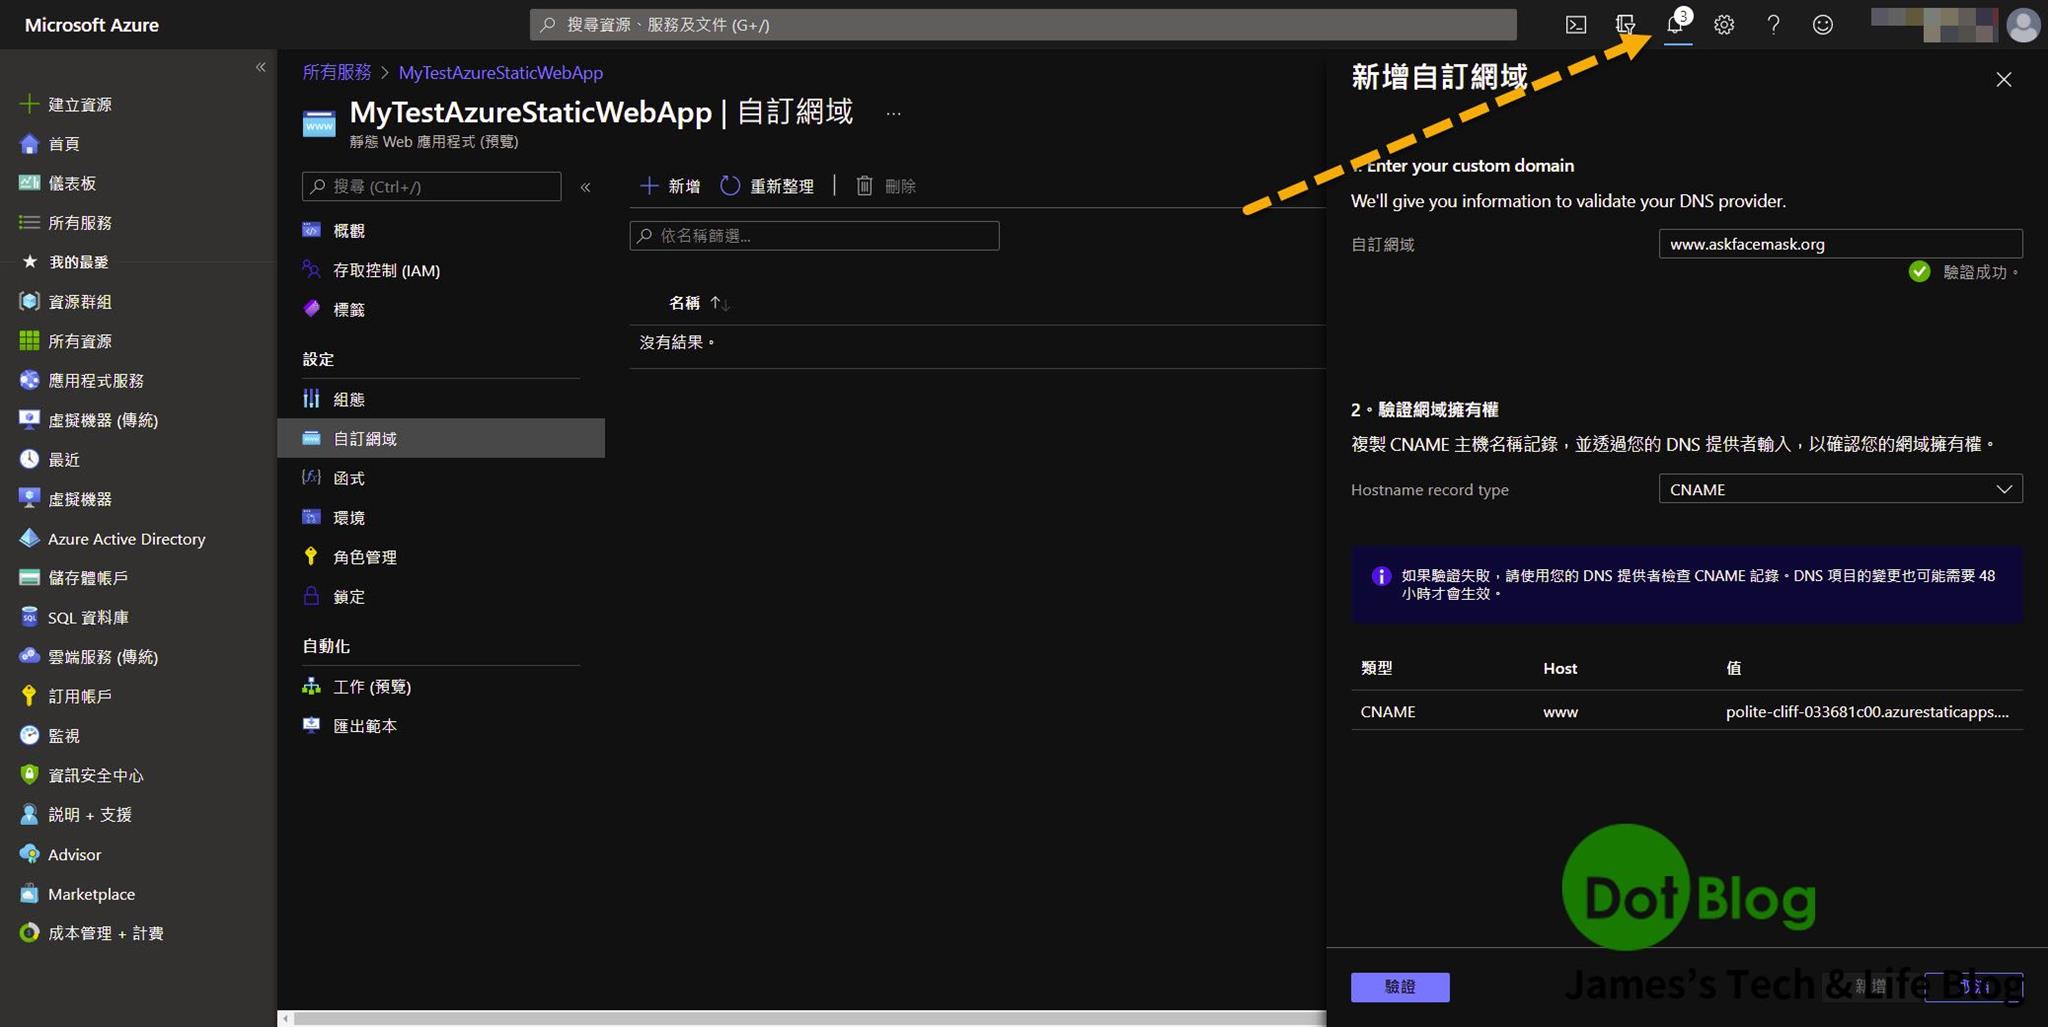
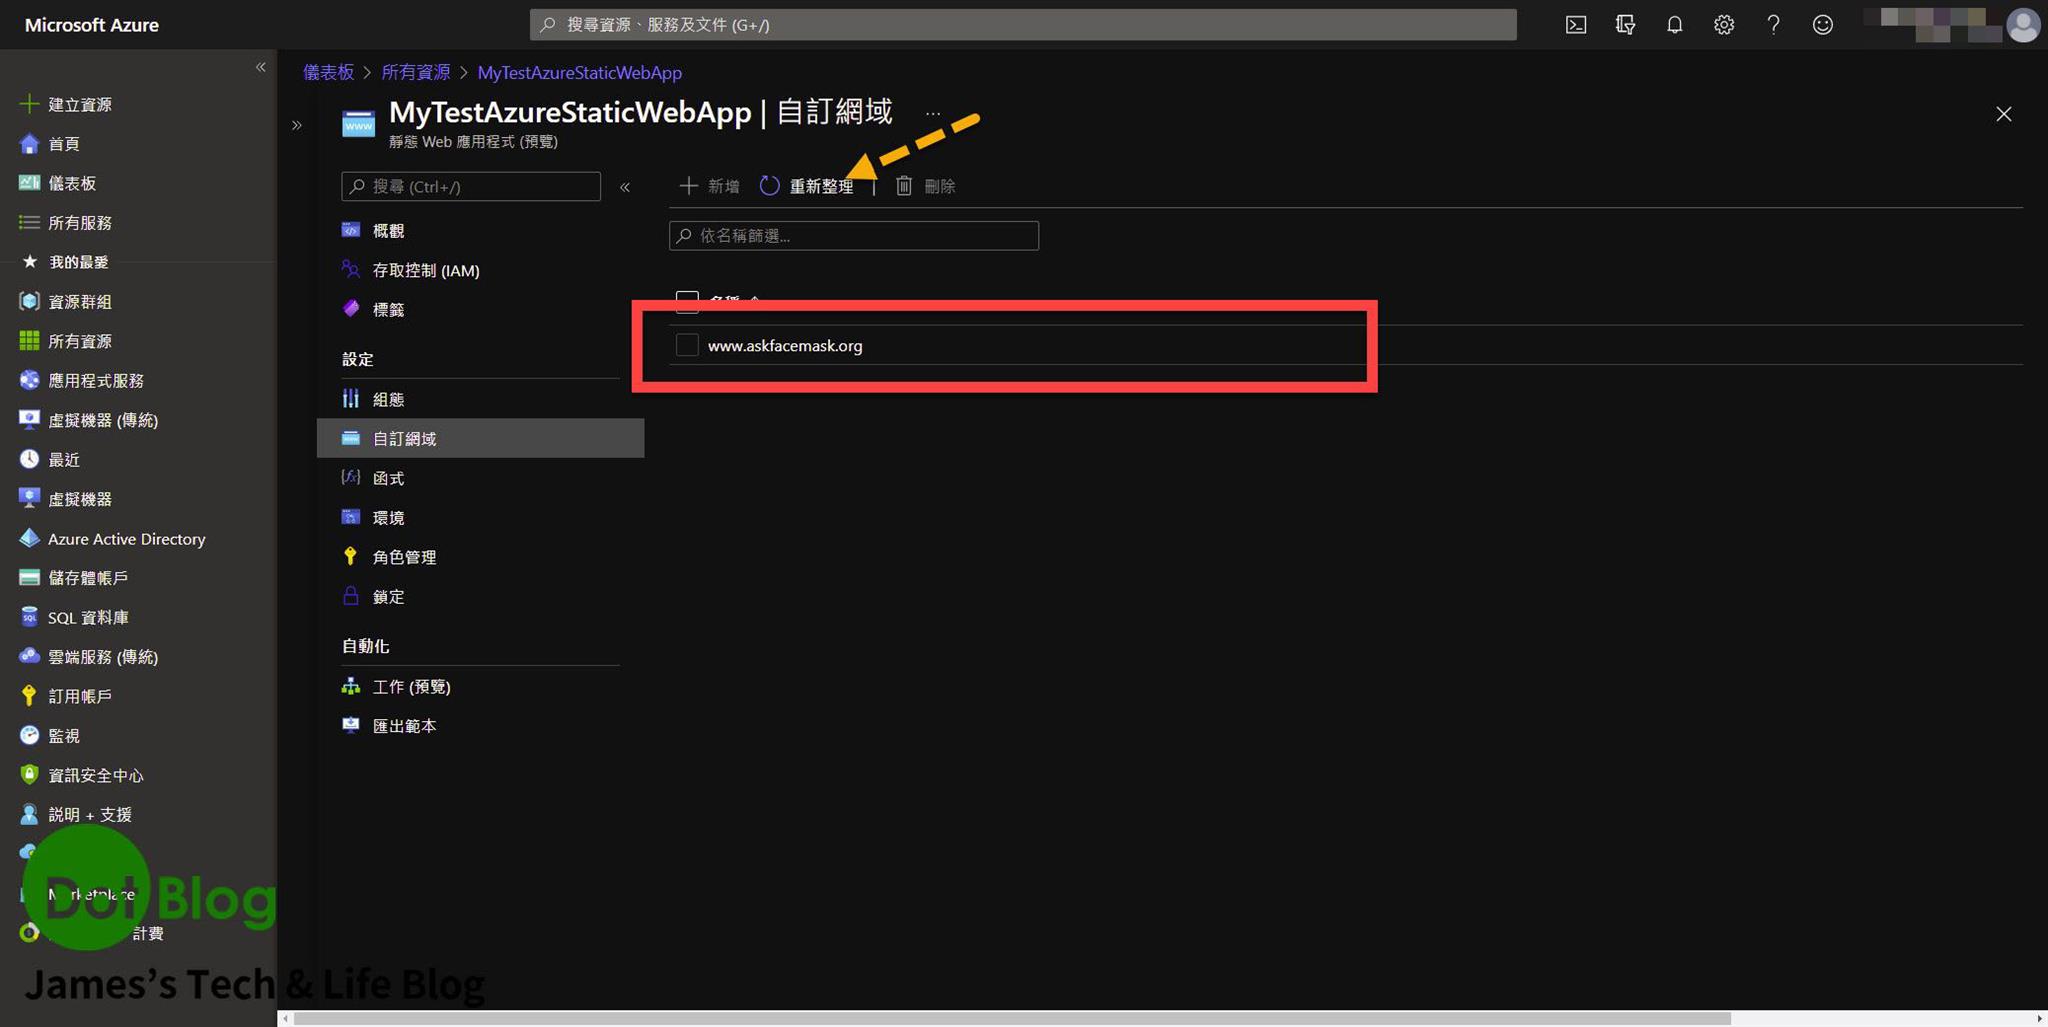
完成後,該網域就會出現在自訂網域的列表當中。
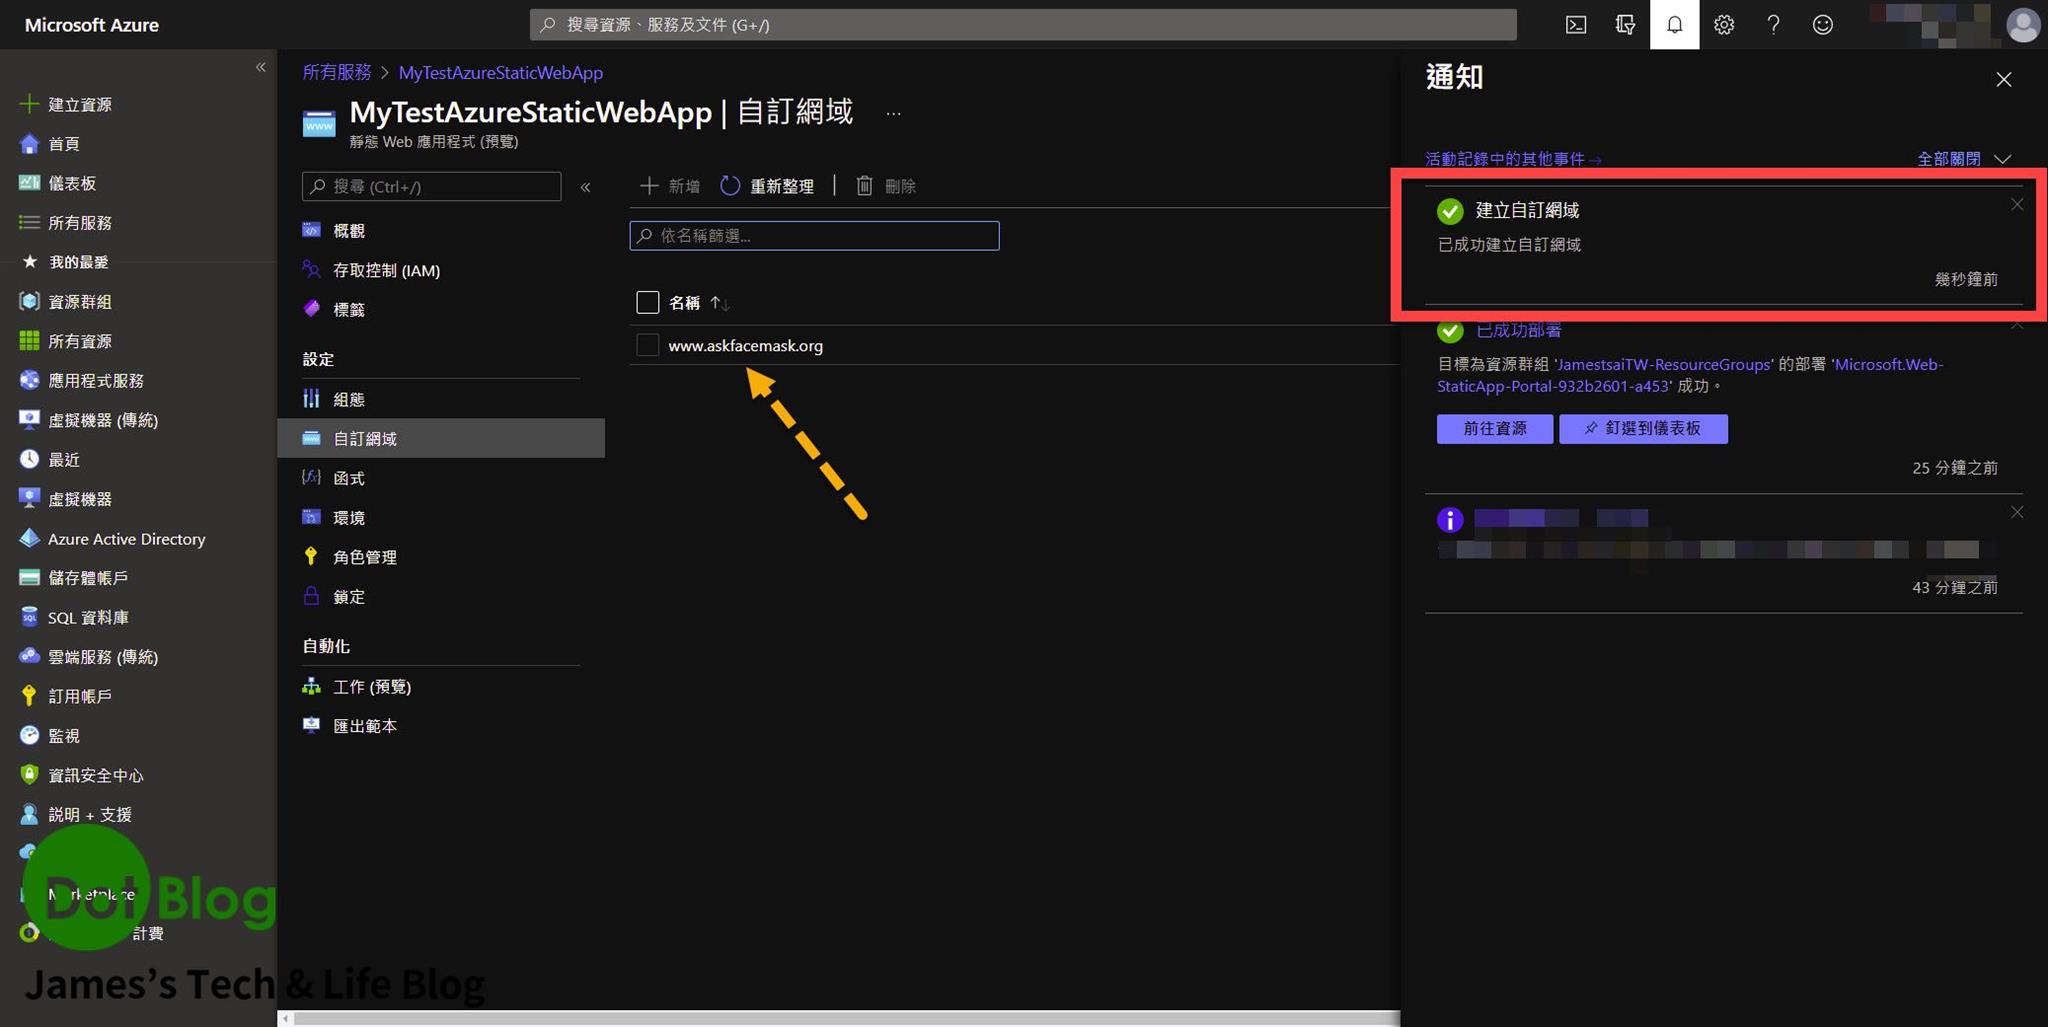
如果沒有出現,可點選一下 "重新整理"。
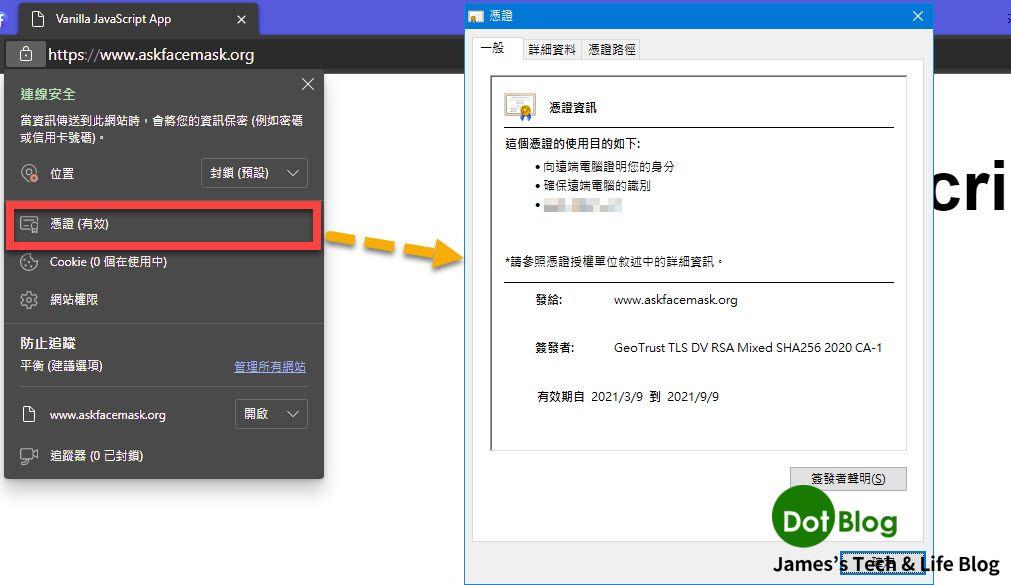
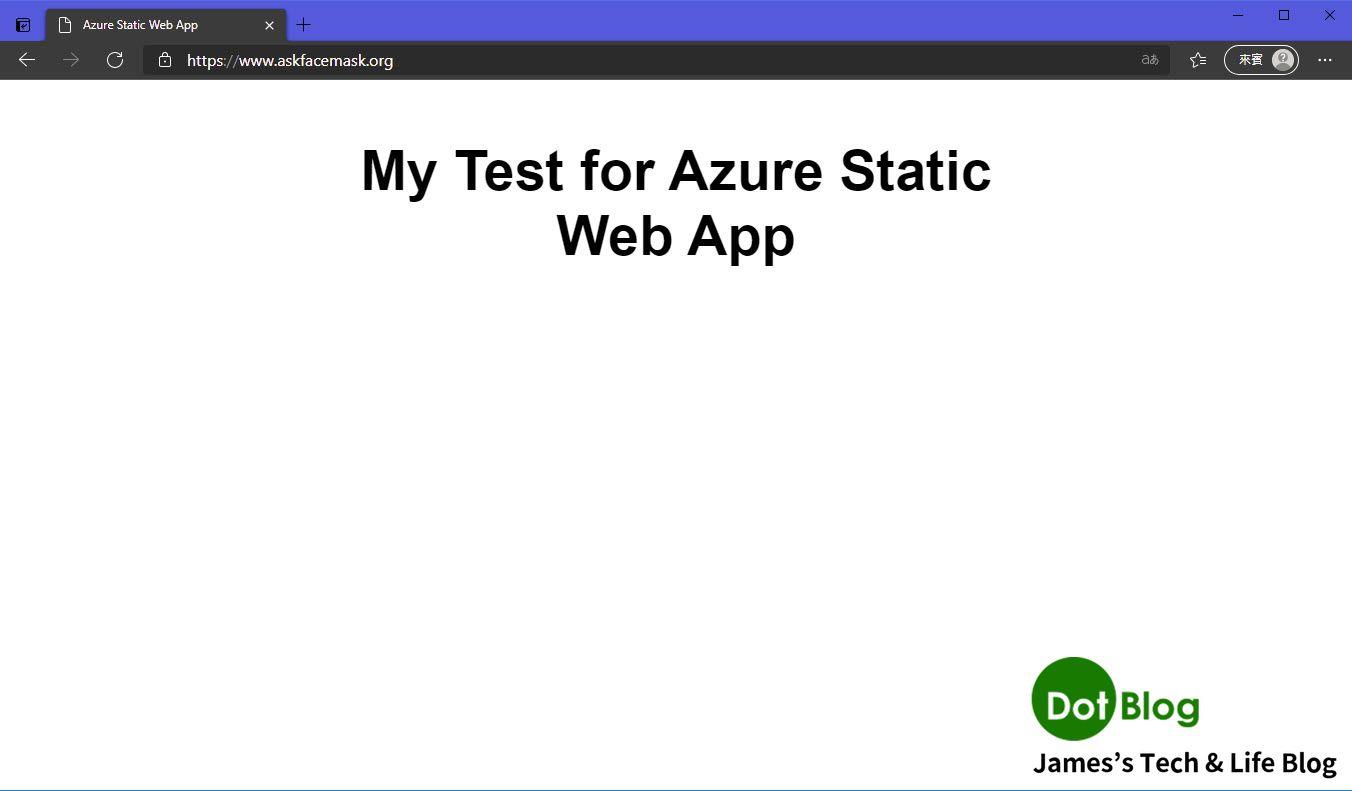
打開瀏覽器直接透過該網域所繫結的自訂網域 "https://www.askfacemask.org" 瀏覽網頁:
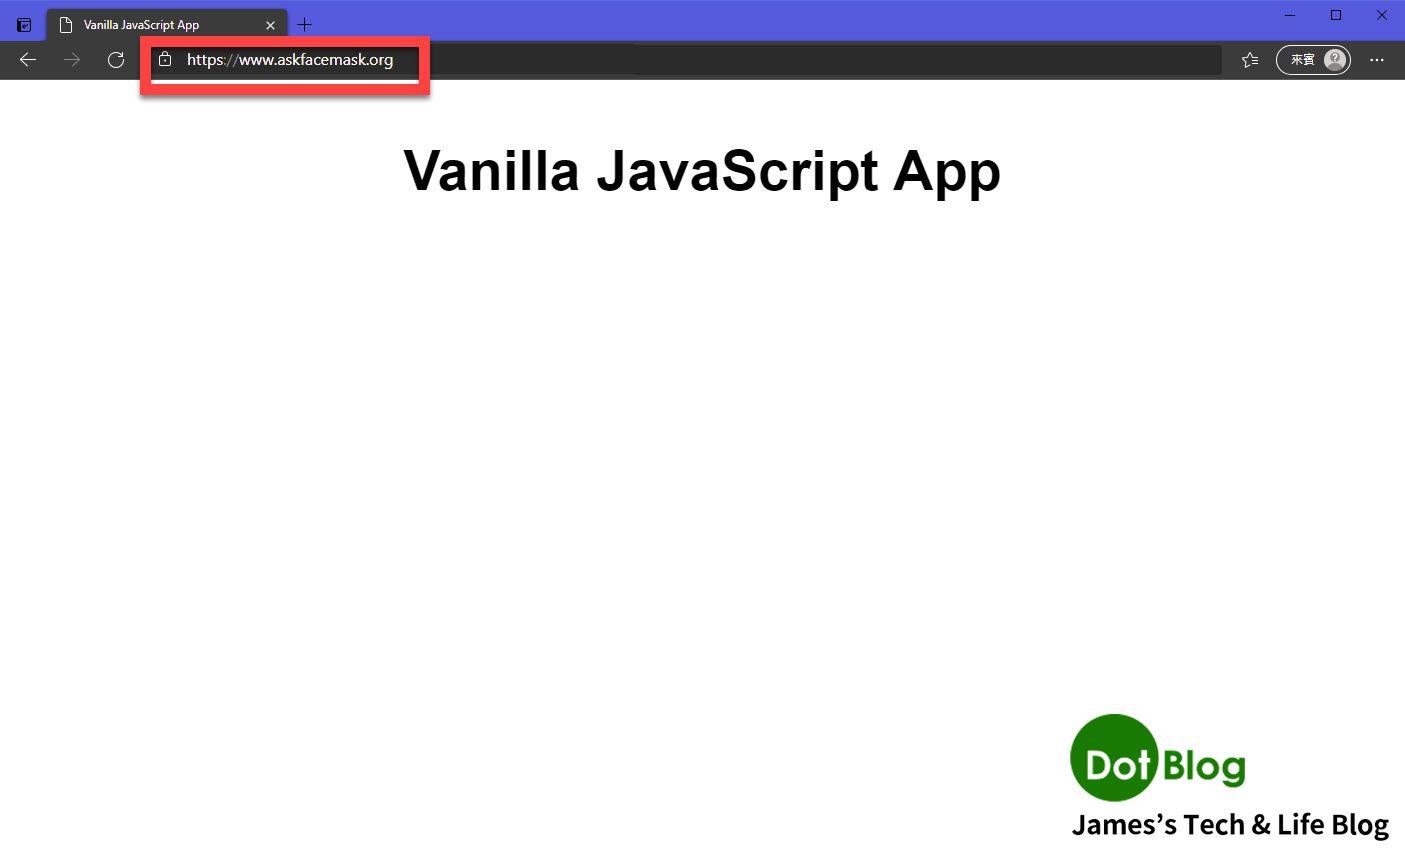
注意瀏覽的網址是 https 開頭的,也就是說 Azure Static Web App 綁定自訂網域(www.)後自動有 SSL 的憑證簽章。
以上大功告成,若想繼續看下去的朋友可以玩玩看 GitHub Actions 的好處。
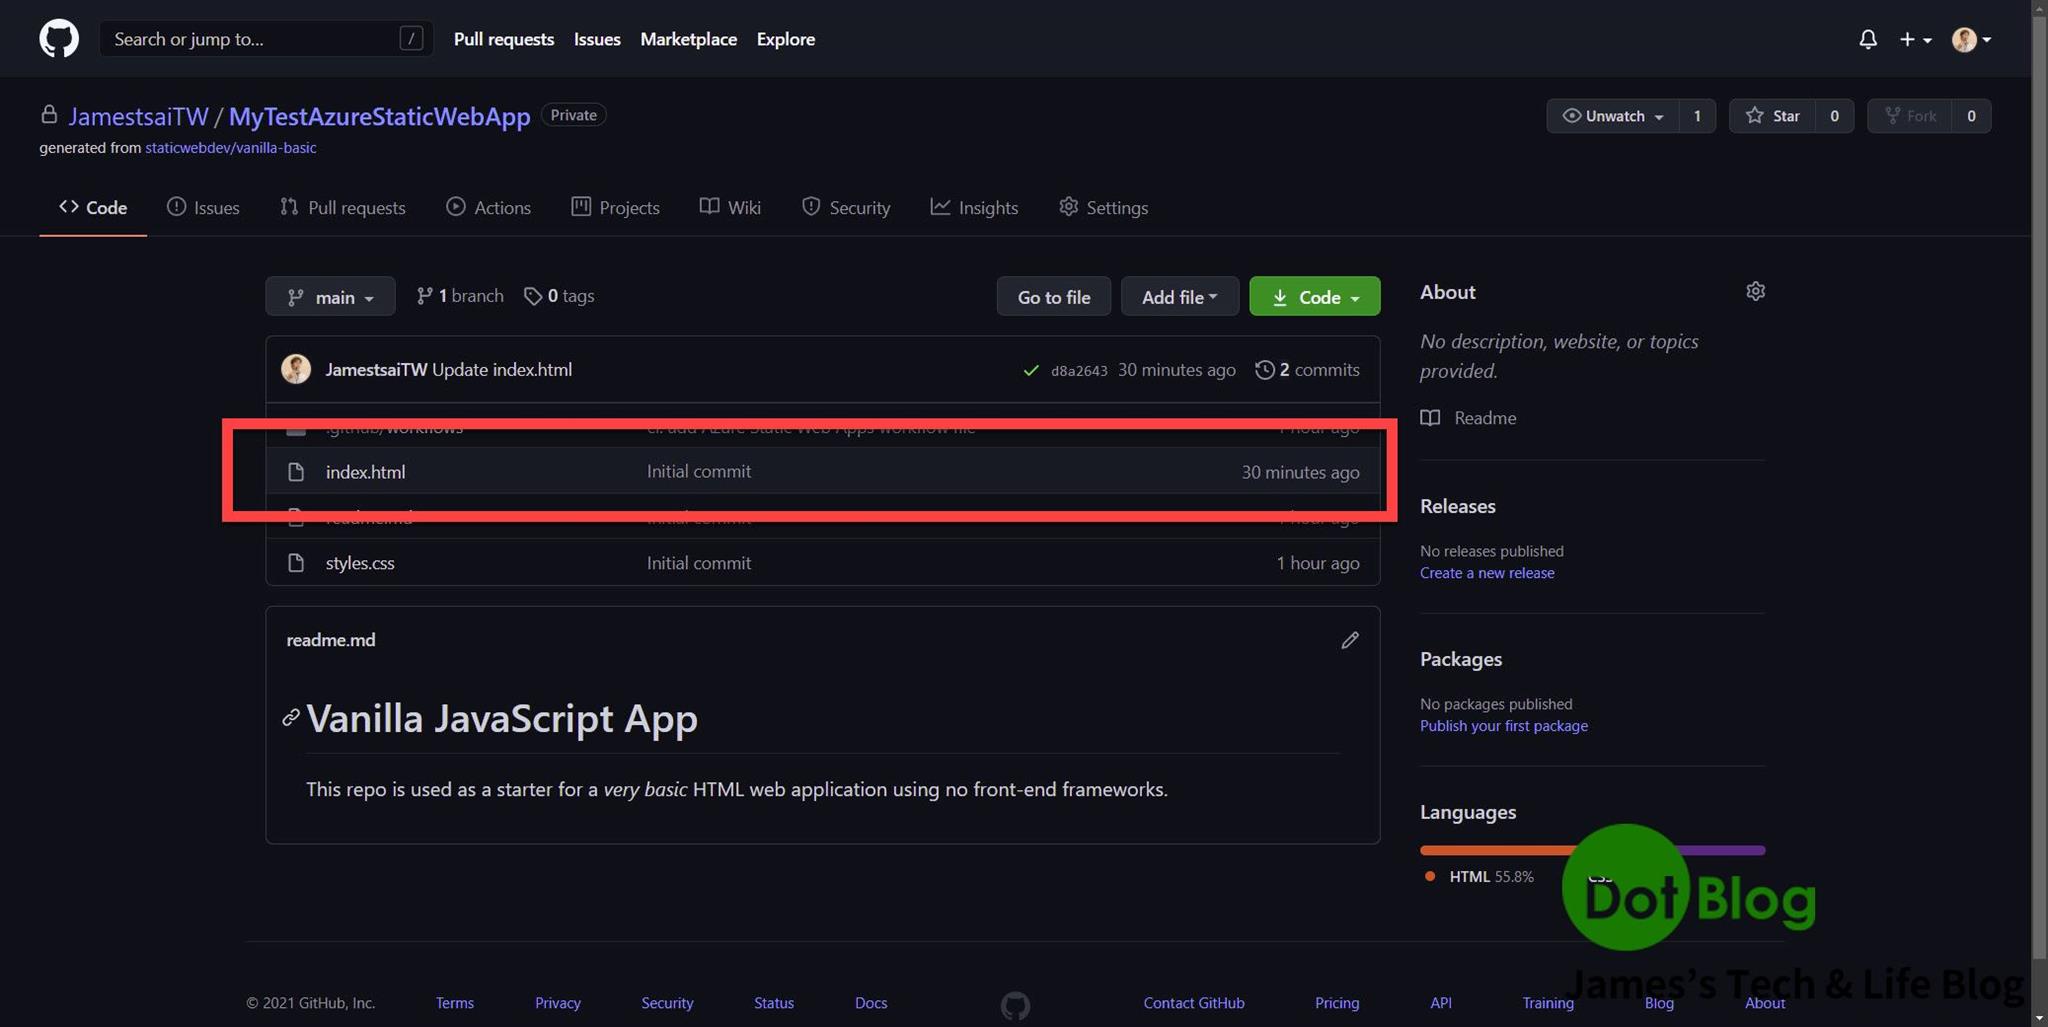
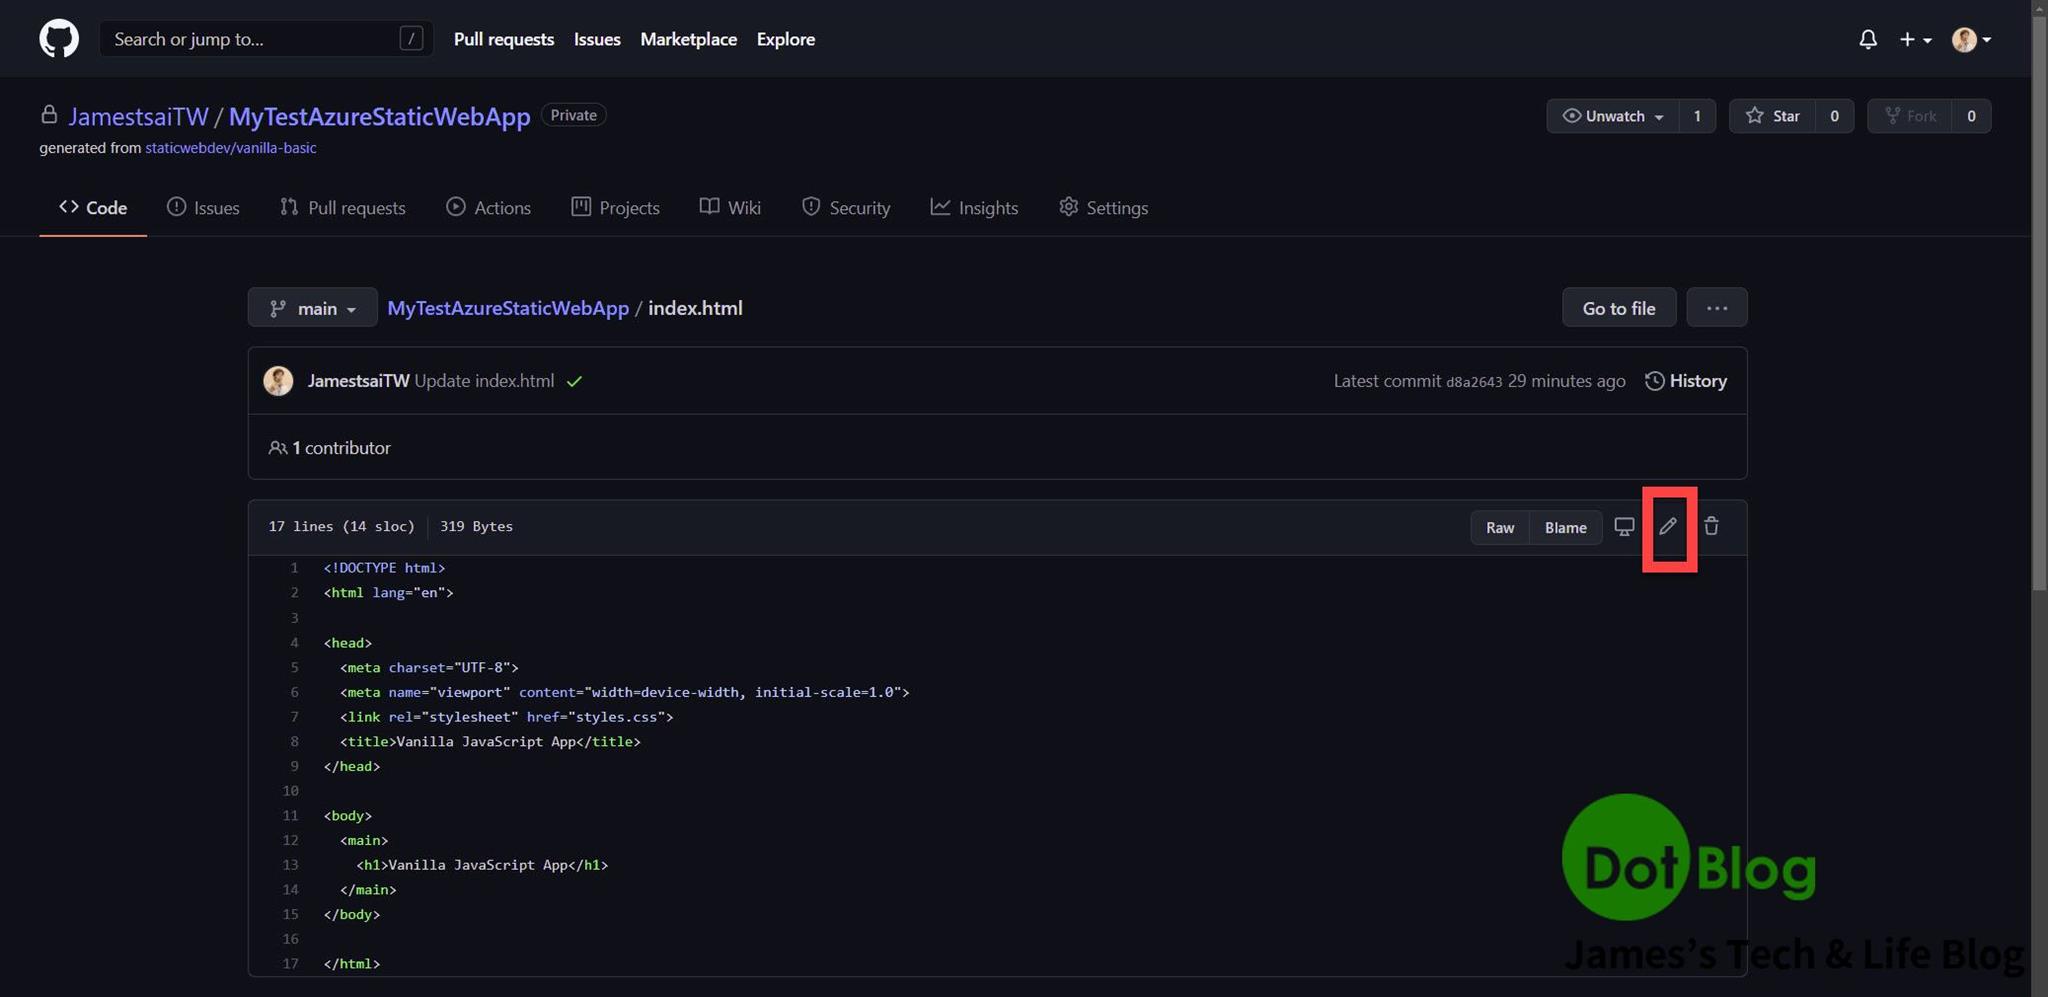
回到先前創立的 GitHub Repository 並且點選當中的 "index.html"。
進入編輯模式。
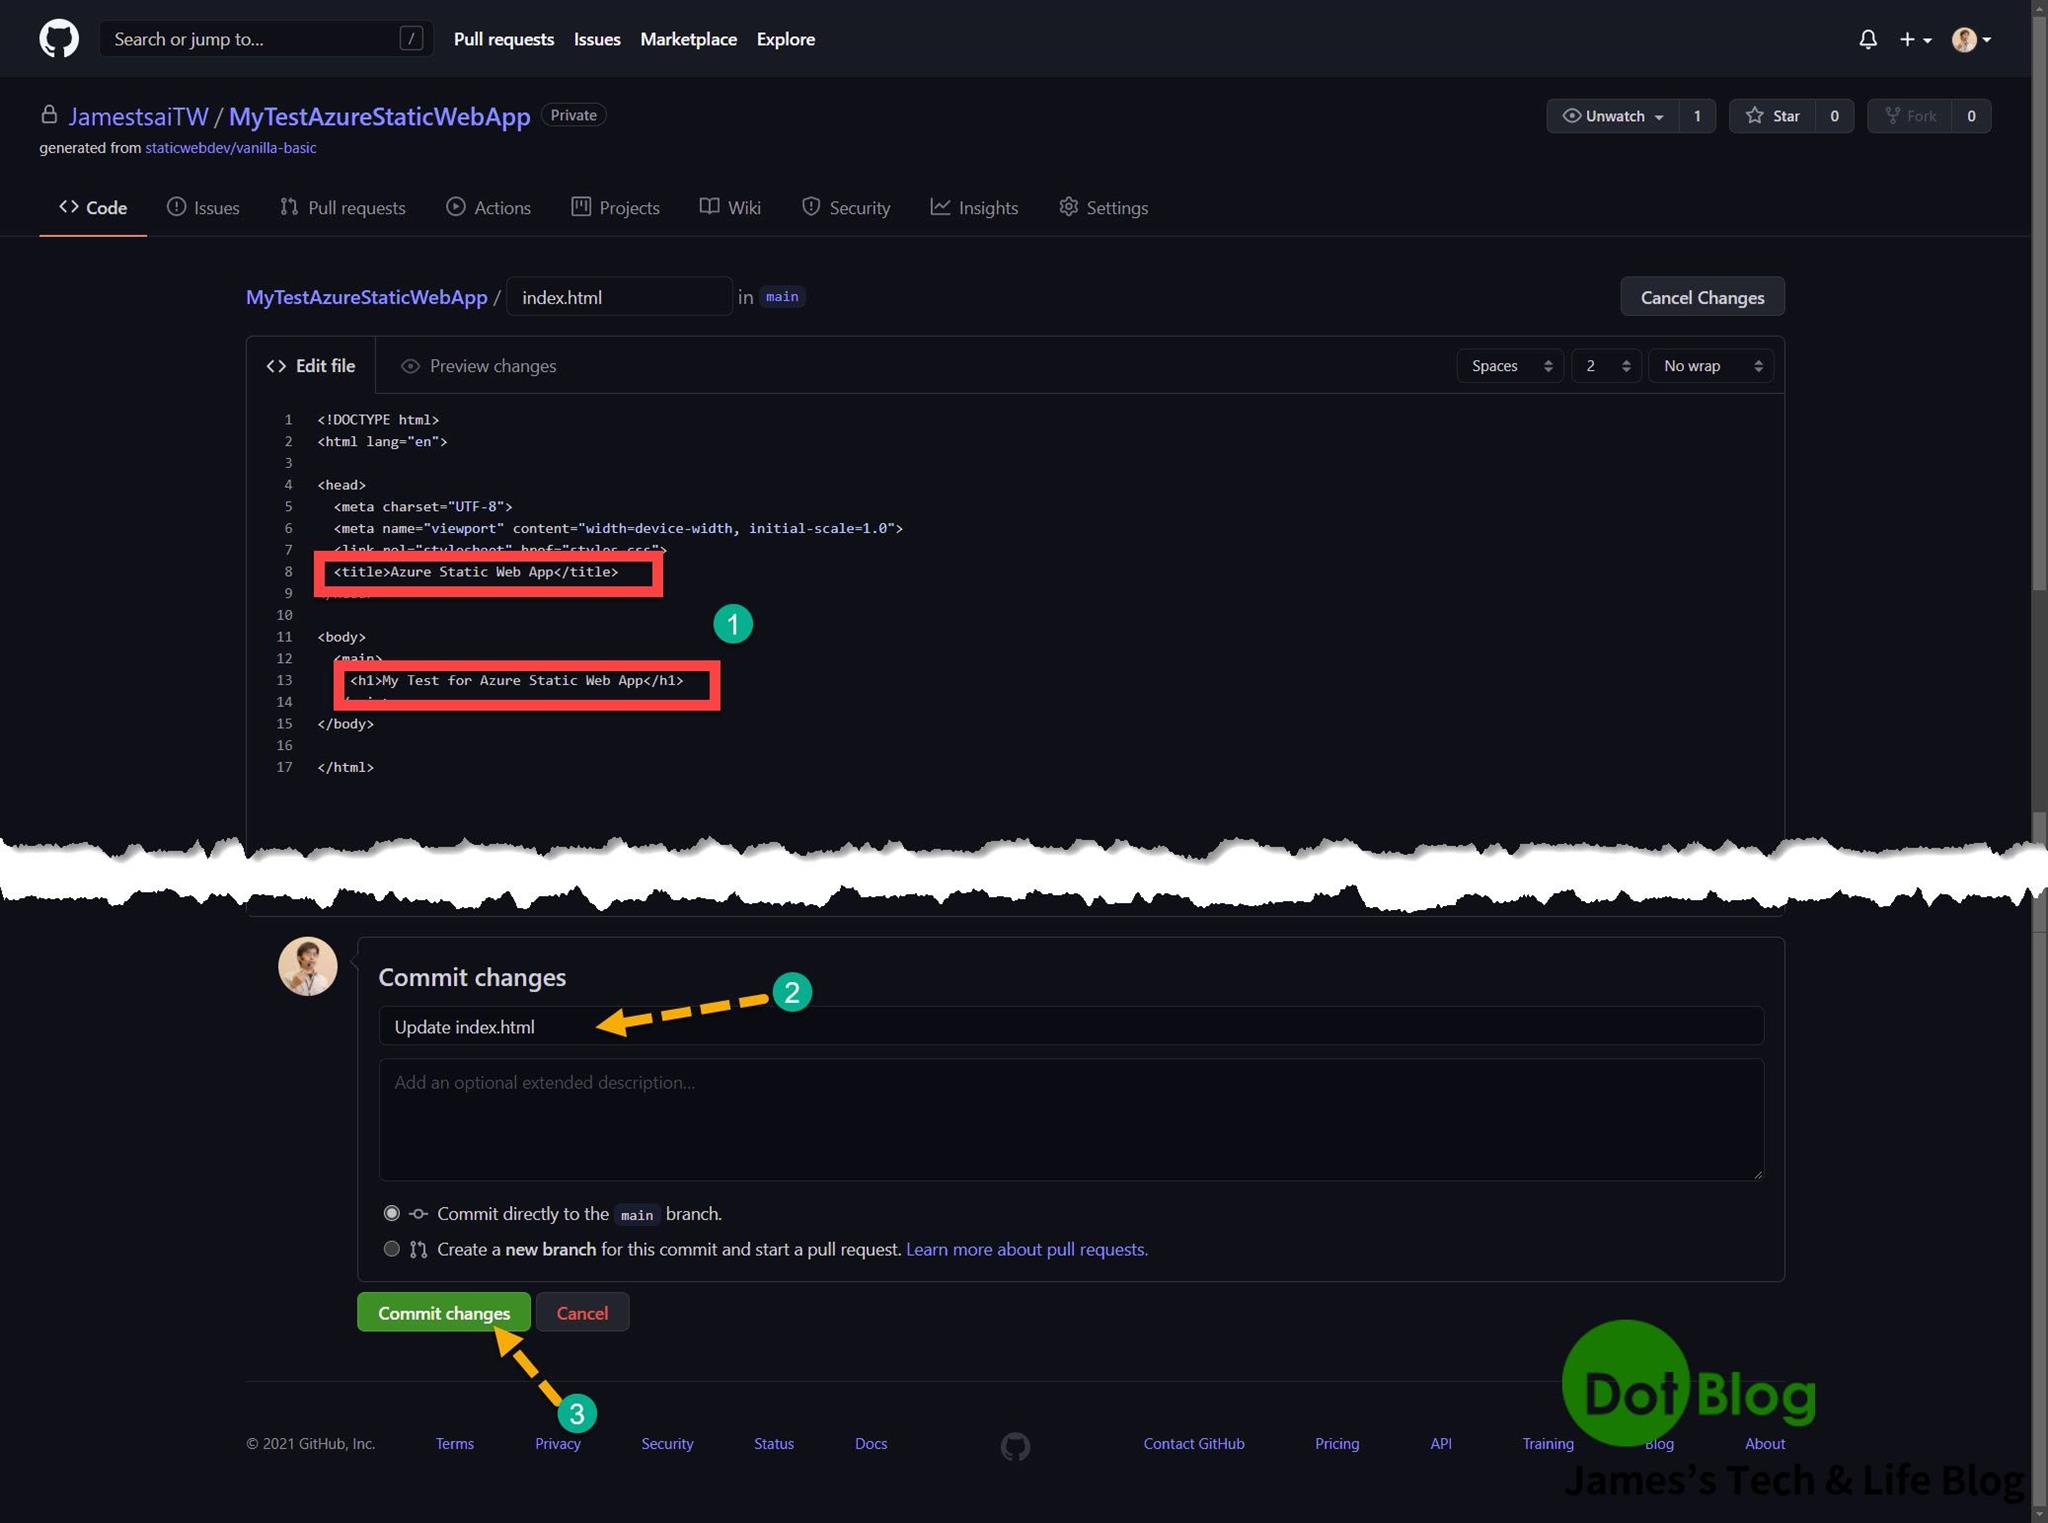
簡單編輯後,新增 "Commit"。
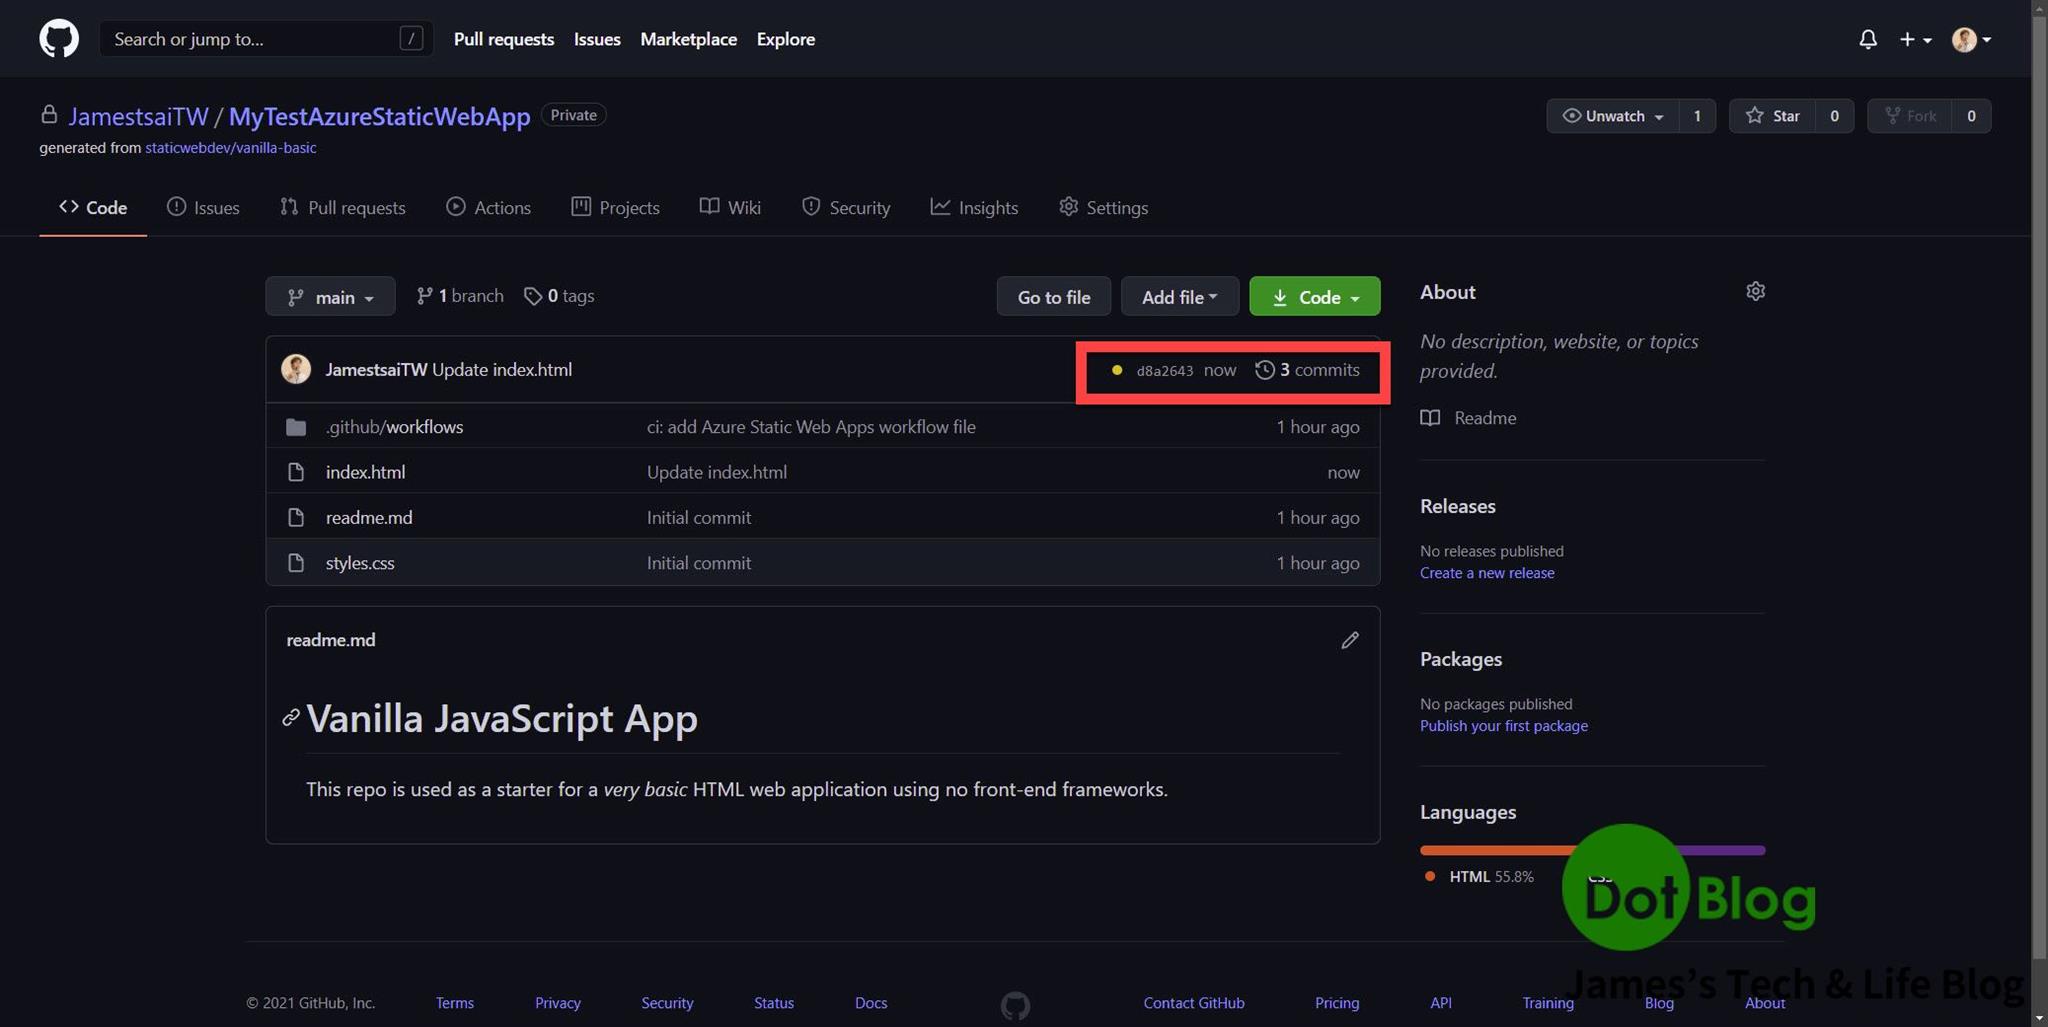
完成 Commit 後,會發現 Commit 前面多個黃燈。
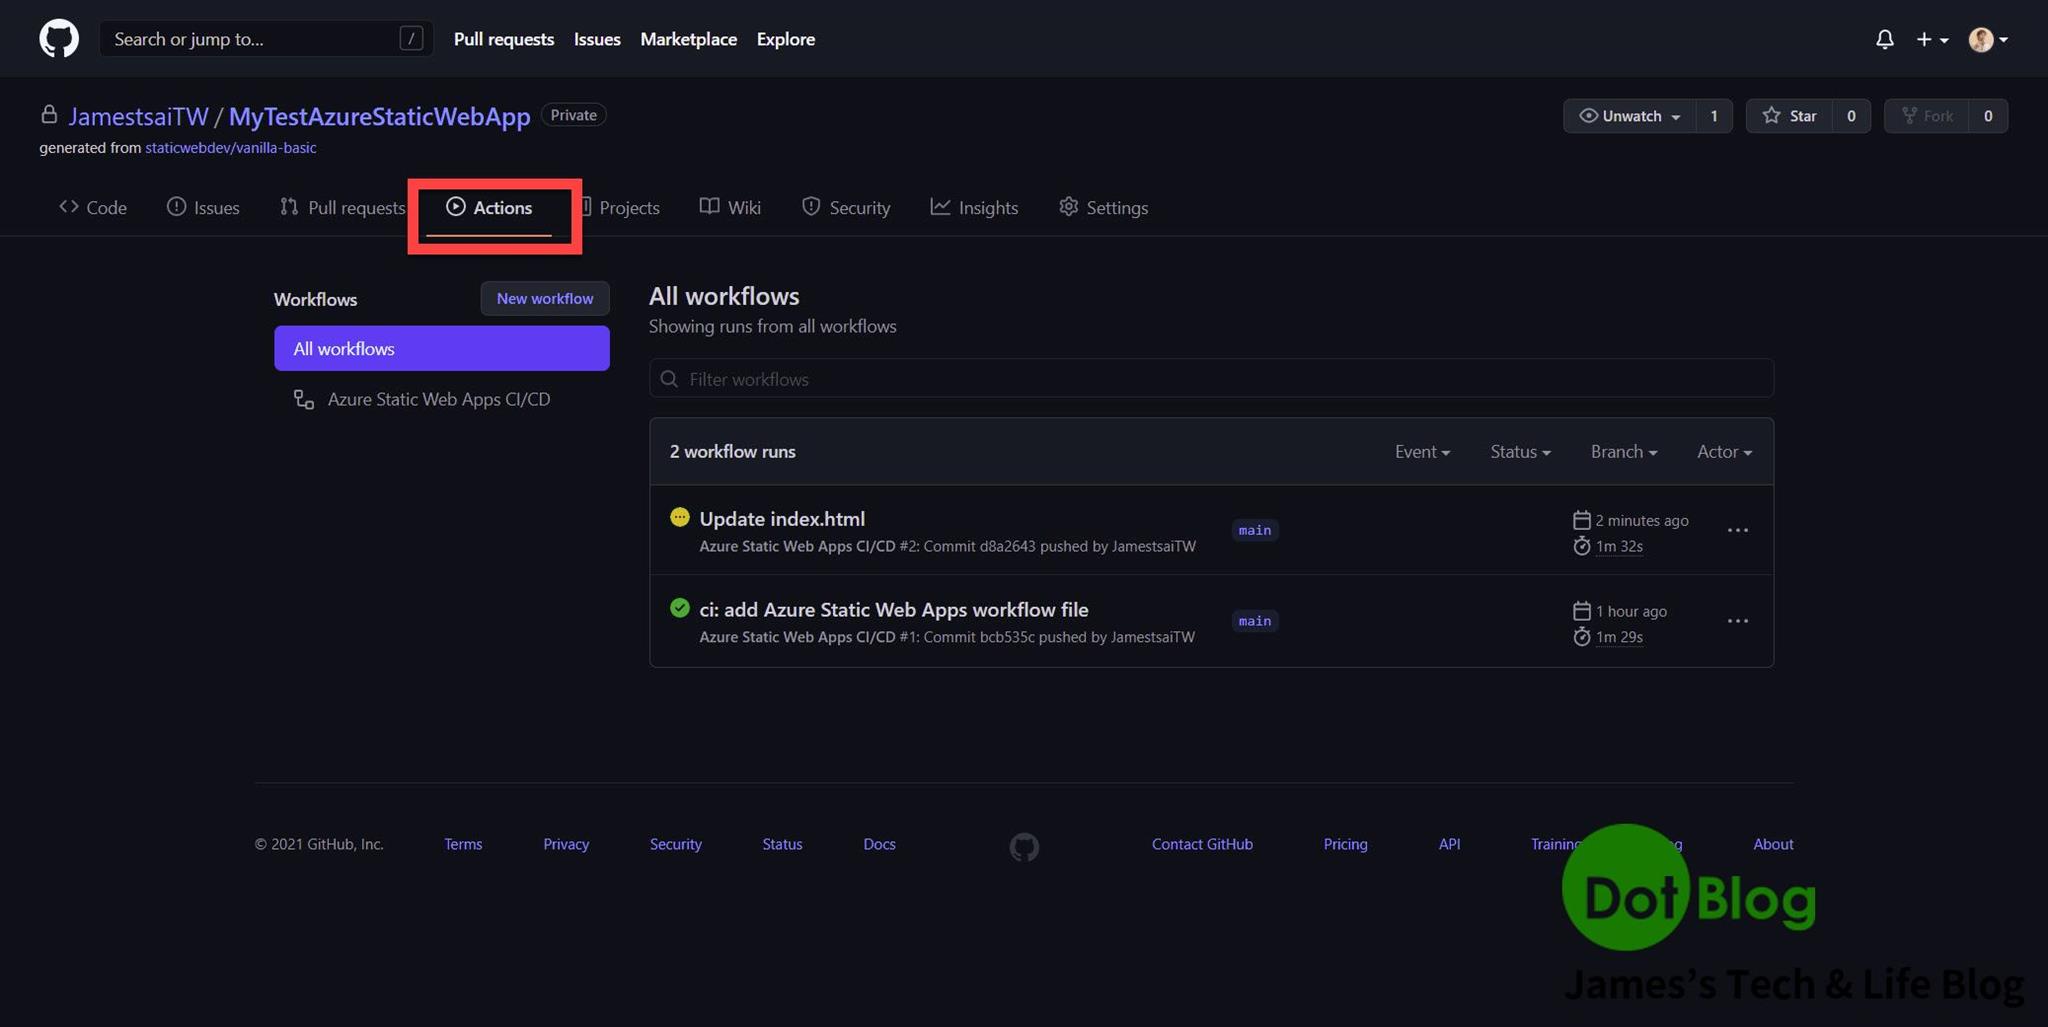
前往 GitHub Actions 一探究竟,會發現正在部屬到 Azure Static Web Apps 的資源當中。
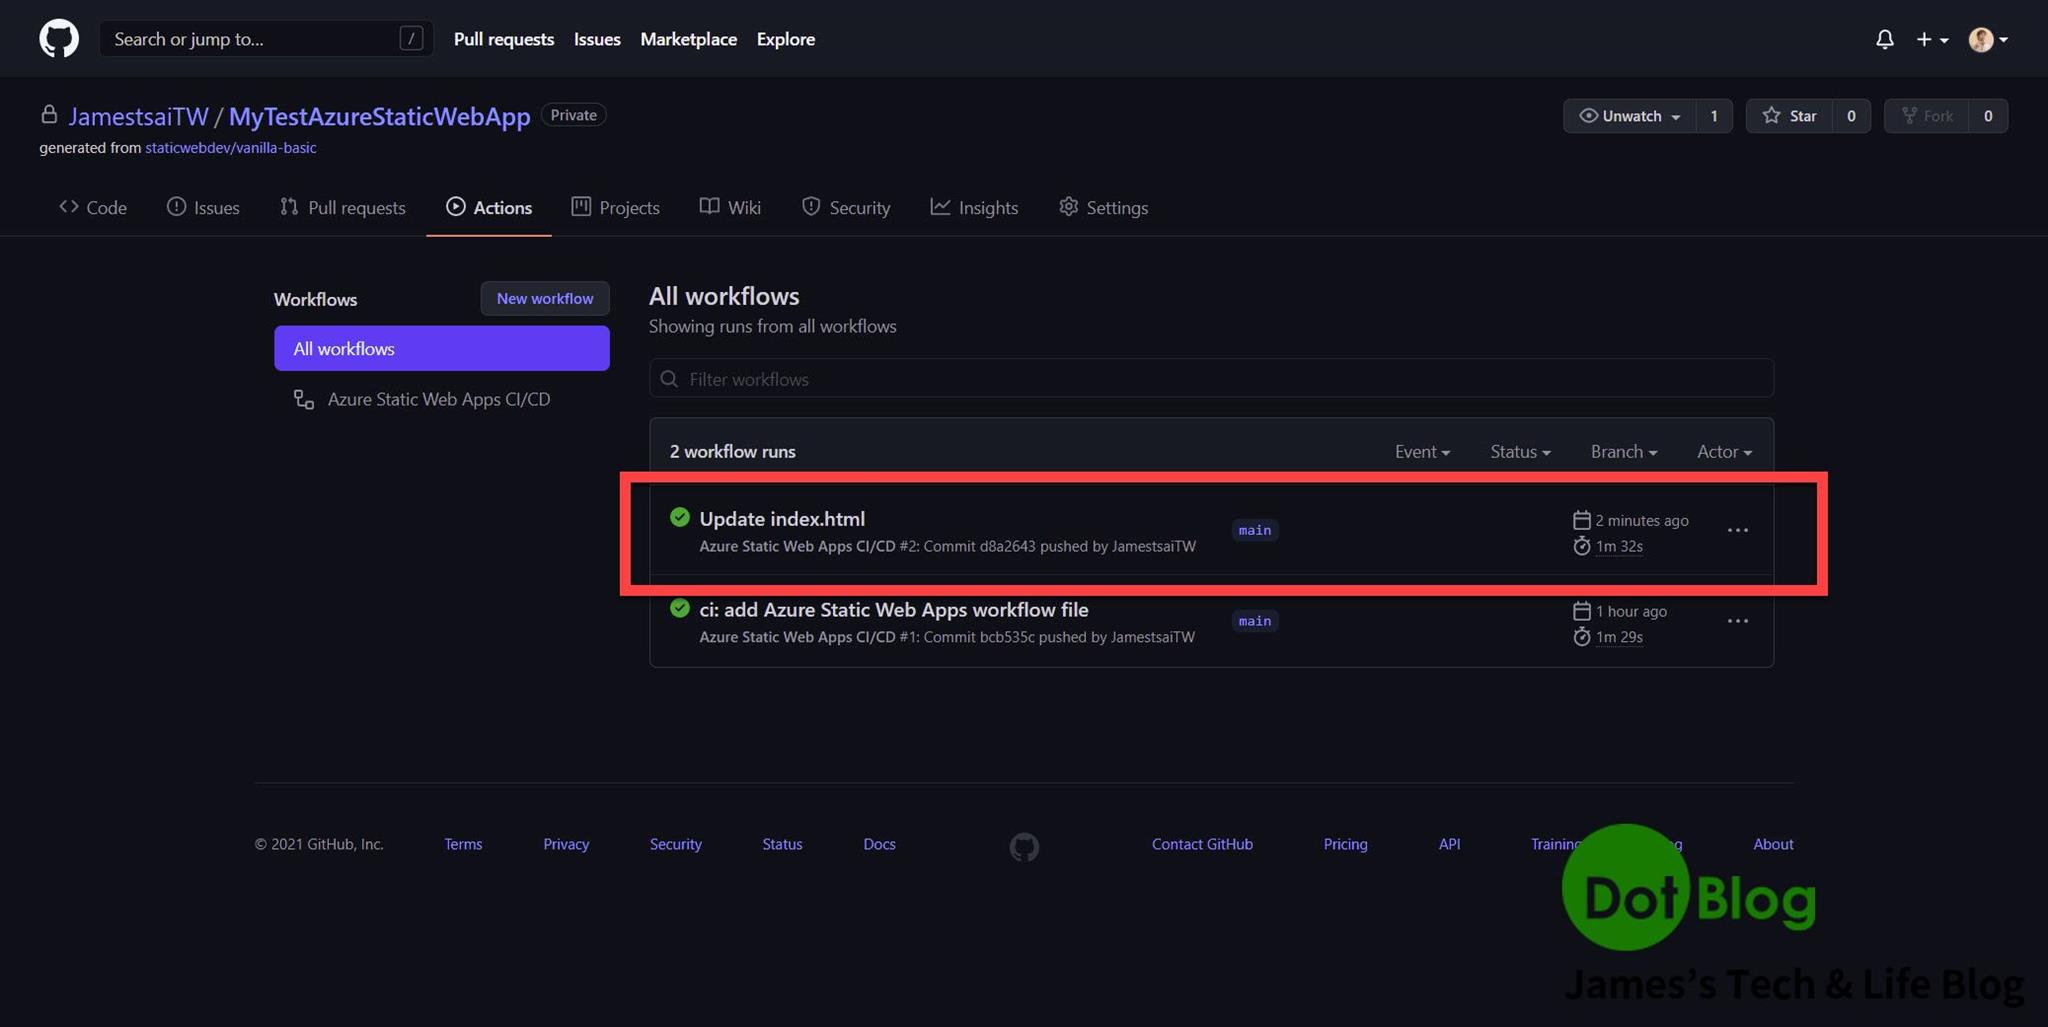
完成後會顯示綠燈。
瀏覽器的網頁再重新整理一下,就會變成變更過後的網頁頁面呈現了😎
以上就是本回的介紹囉!
感謝捧友的觀看~~~
I'm a Microsoft MVP - Developer Technologies (From 2015 ~).
I focus on the following topics: Xamarin Technology, Azure, Mobile DevOps, and Microsoft EM+S.
If you want to know more about them, welcome to my website:
https://jamestsai.tw
本部落格文章之圖片相關後製處理皆透過 Techsmith 公司 所贊助其授權使用之 "Snagit" 與 "Snagit Editor" 軟體製作。