若有把先前的 "iOS Development 的憑證、簽署識別、佈建設定檔" 手動設定完成後,就能透過 Xamarin 這跨平台開發 App 技術,讓熟悉 C# 的開發者直接在 VS 當中,進行 iOS App 的開發並且在 iOS 實機上測試執行。
而如果在 Apple 開發者帳號設定權限上允許,並且也確定有了解的 Apple 在 憑證、裝置、簽屬識別、佈建設定檔的關聯,那可以試著使用 Visual Studio 當中提供的 "自動設定" 功能,將會在 App 的開發過程中設定上簡化許多。
繼續往下閱讀前,請先回顧 "iOS Development 的憑證、簽署識別、佈建設定檔在使用 Xamarin 開發 iOS App 時要如何設定(手動篇I)" 後,再繼續閱讀本篇文章...
首先, 先在 Visual Studio 建立起 Xamarin(.iOS or .Forms) 的專案,進到 iOS 專案的 "屬性":
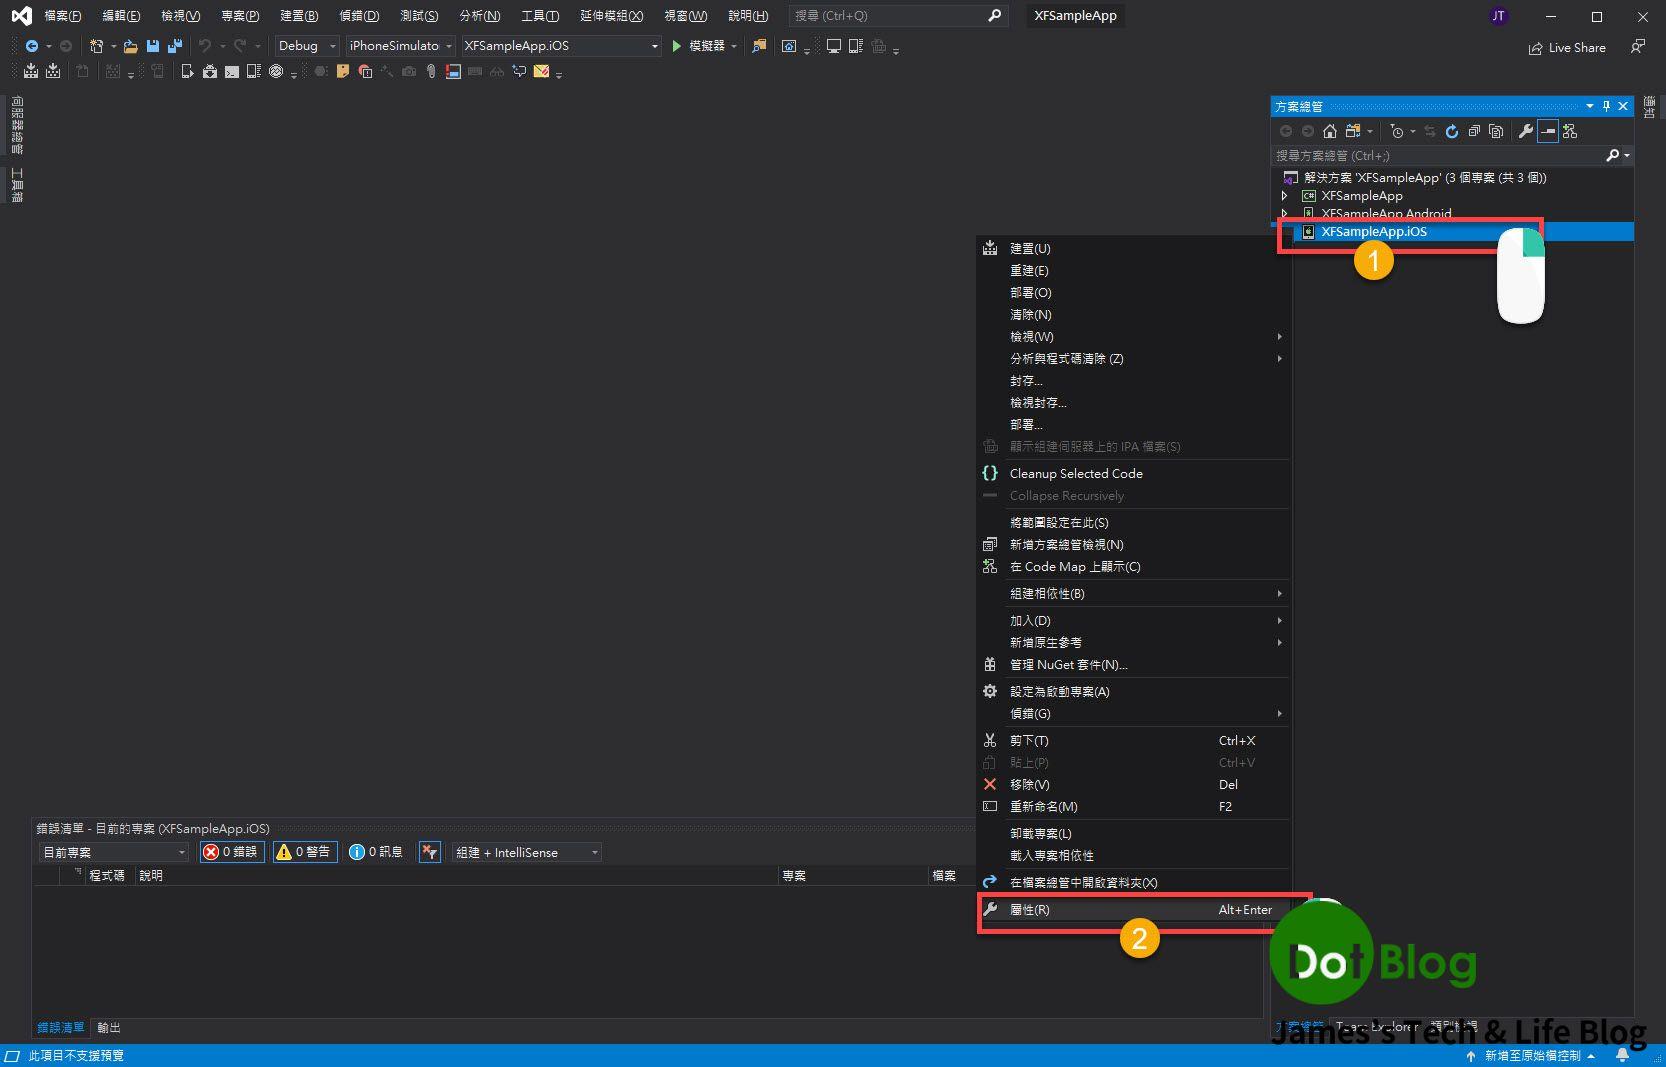
接著在 "屬性" 當中,點選 "iOS 套件組合簽署",並且將平台設定為 "iPhone"。
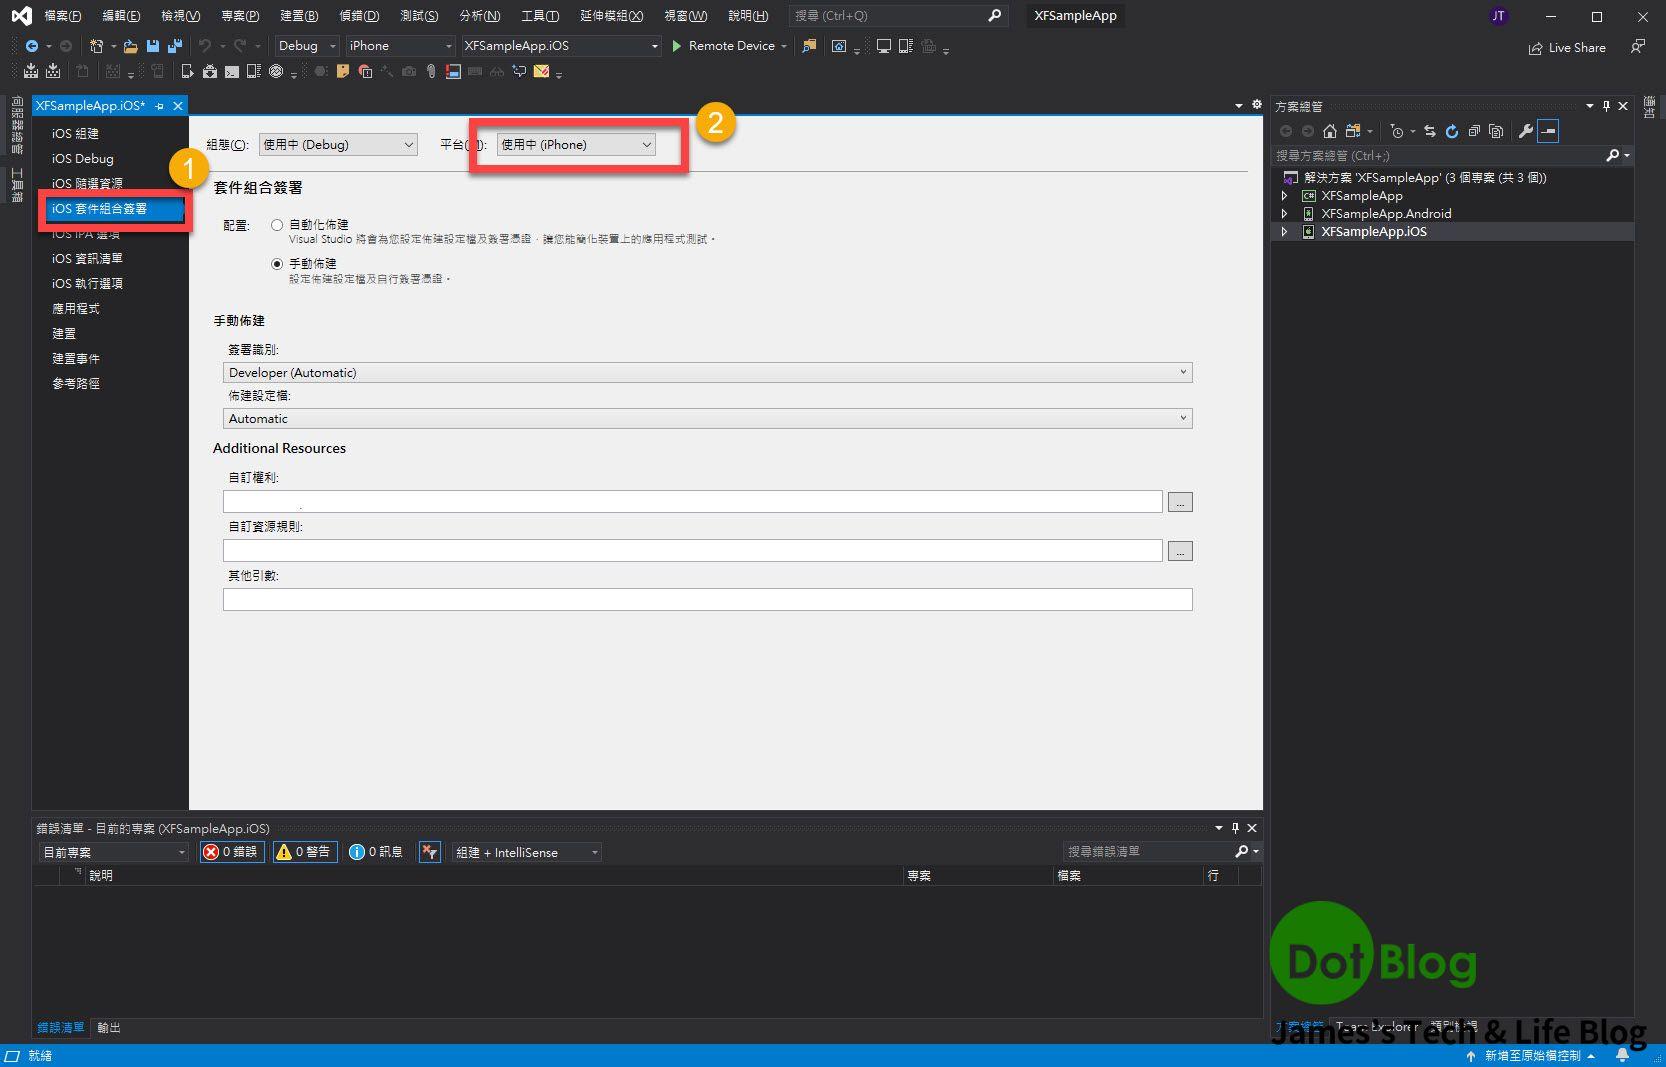
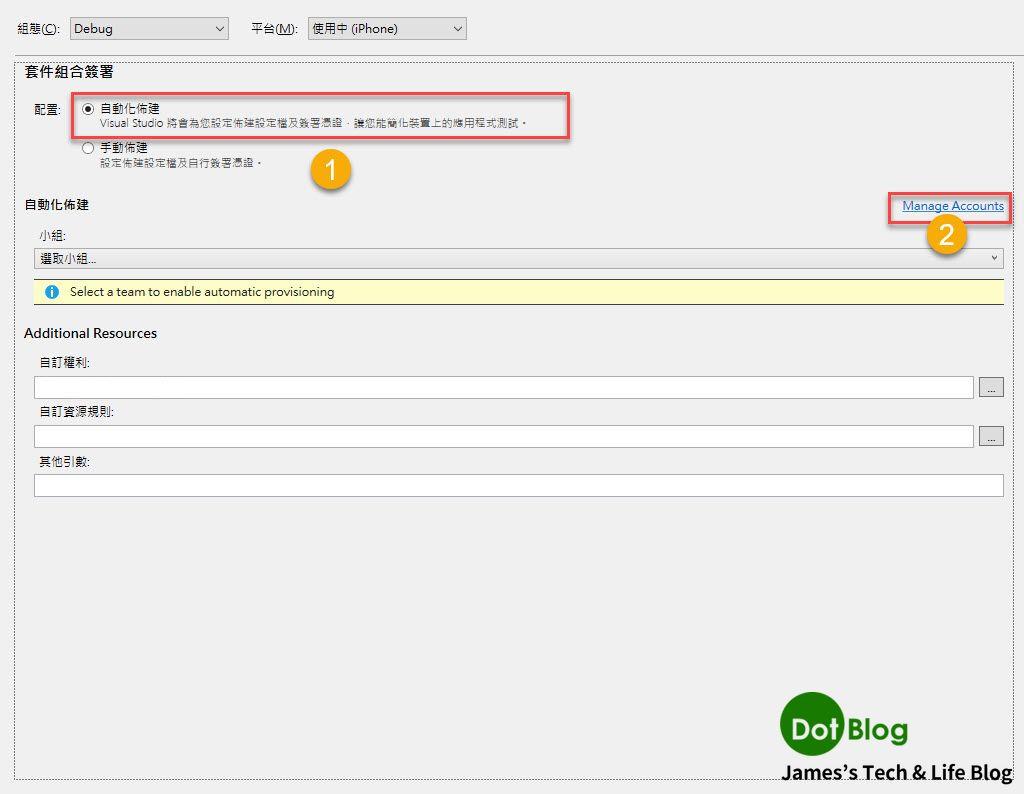
再到 "套件組合簽署" 中設定配置為 "自動化佈建",並且點選 "Manage Accounts"。
接著在 "選項" 的對話視窗當中的左邊選項點選 "Apple Accounts",並且在對應的右側畫面中點選 "新增"。
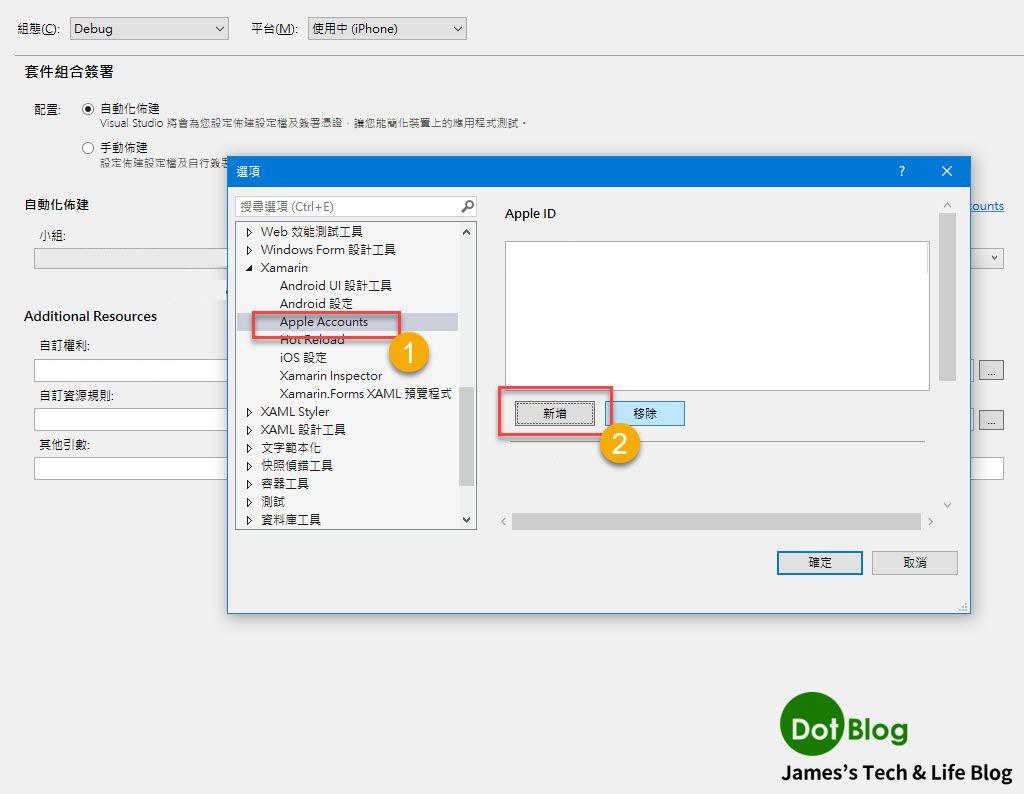
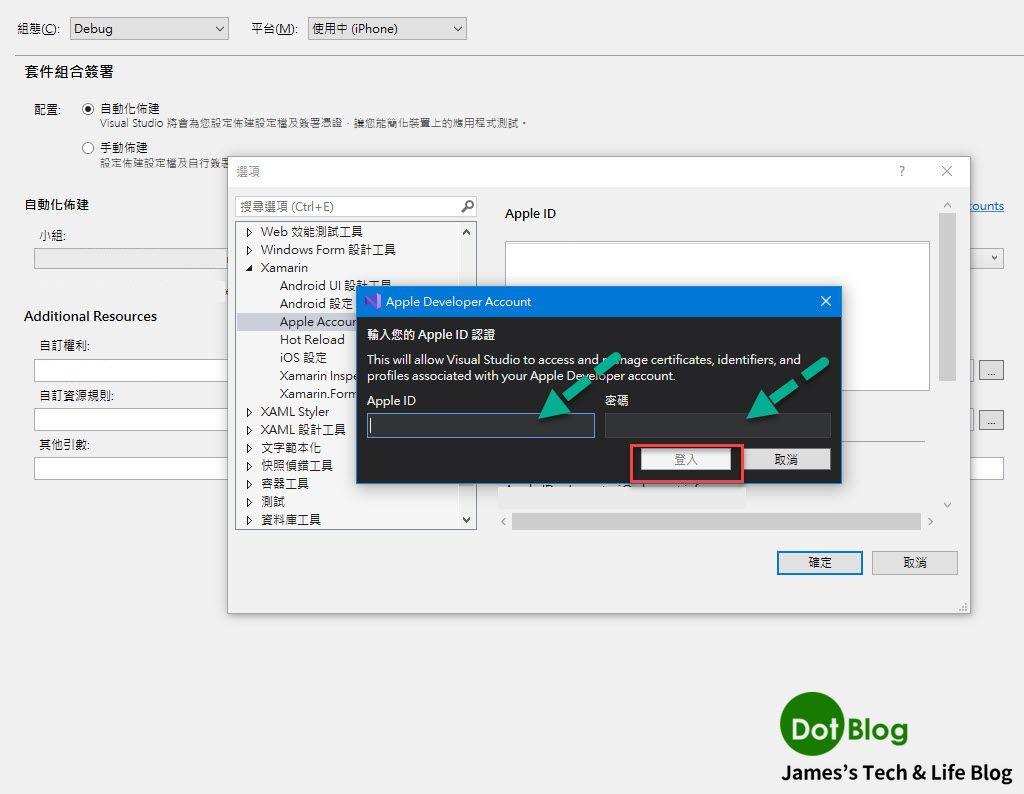
輸入 "Apple Developer Account" 的 "Apple ID" 與 "密碼",完成後請點選 "登入"。
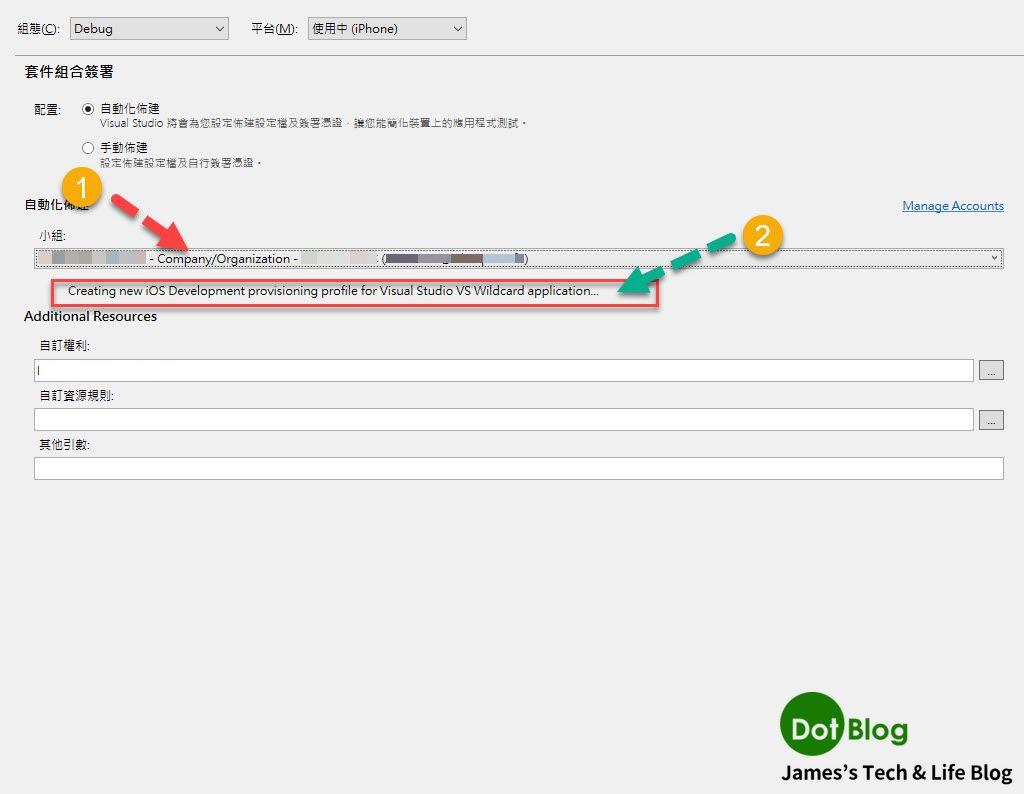
若登入授權通過,自動化佈建的 "小組" 會抓到相關的開發者帳號授權,並且在下方顯示自動化佈建在 Apple Development 環境中所設定過程執行的狀況。
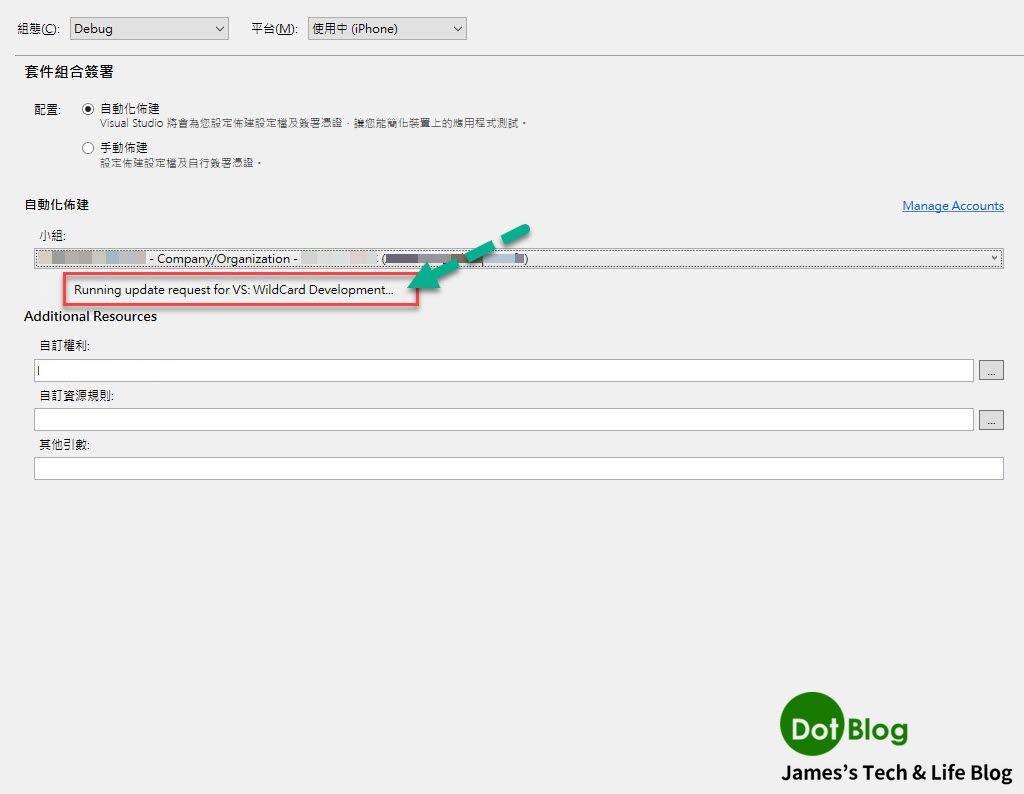
繼續執行。
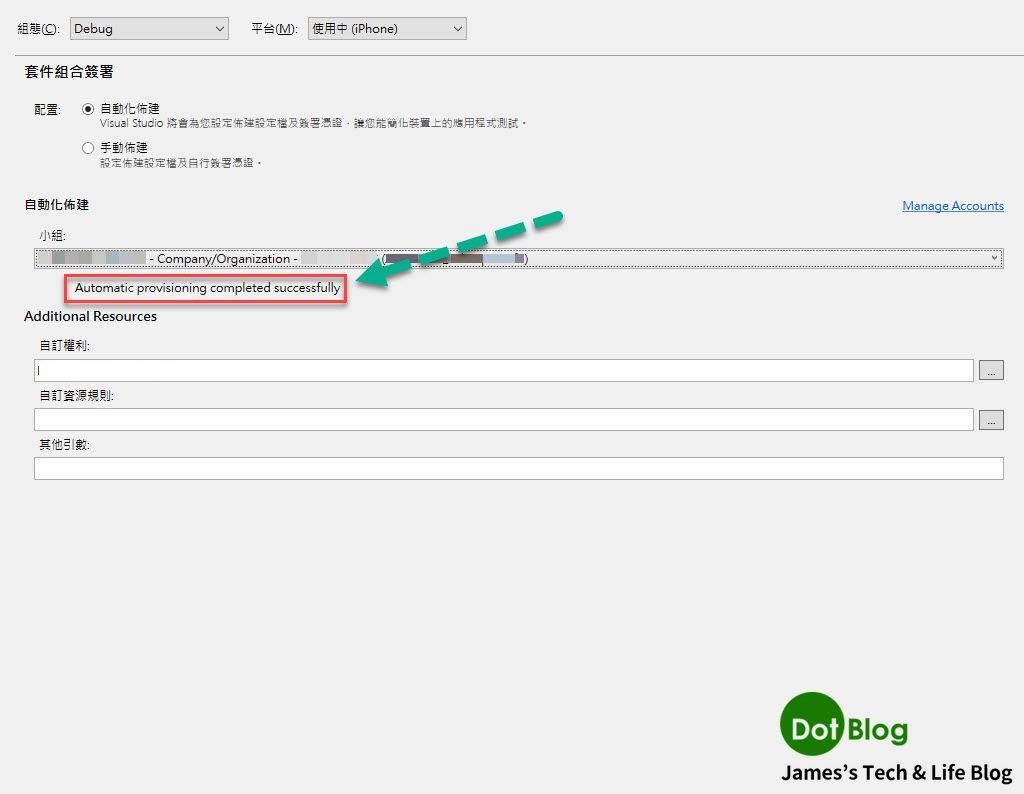
自動化佈建產生完成。
在這邊稍微停一下,我們先進入到 Apple 的 Developer 網站,看一下剛剛 Visual Studio 在製作自動化佈建的過程,設定了什麼!
(網址: https://developer.apple.com)
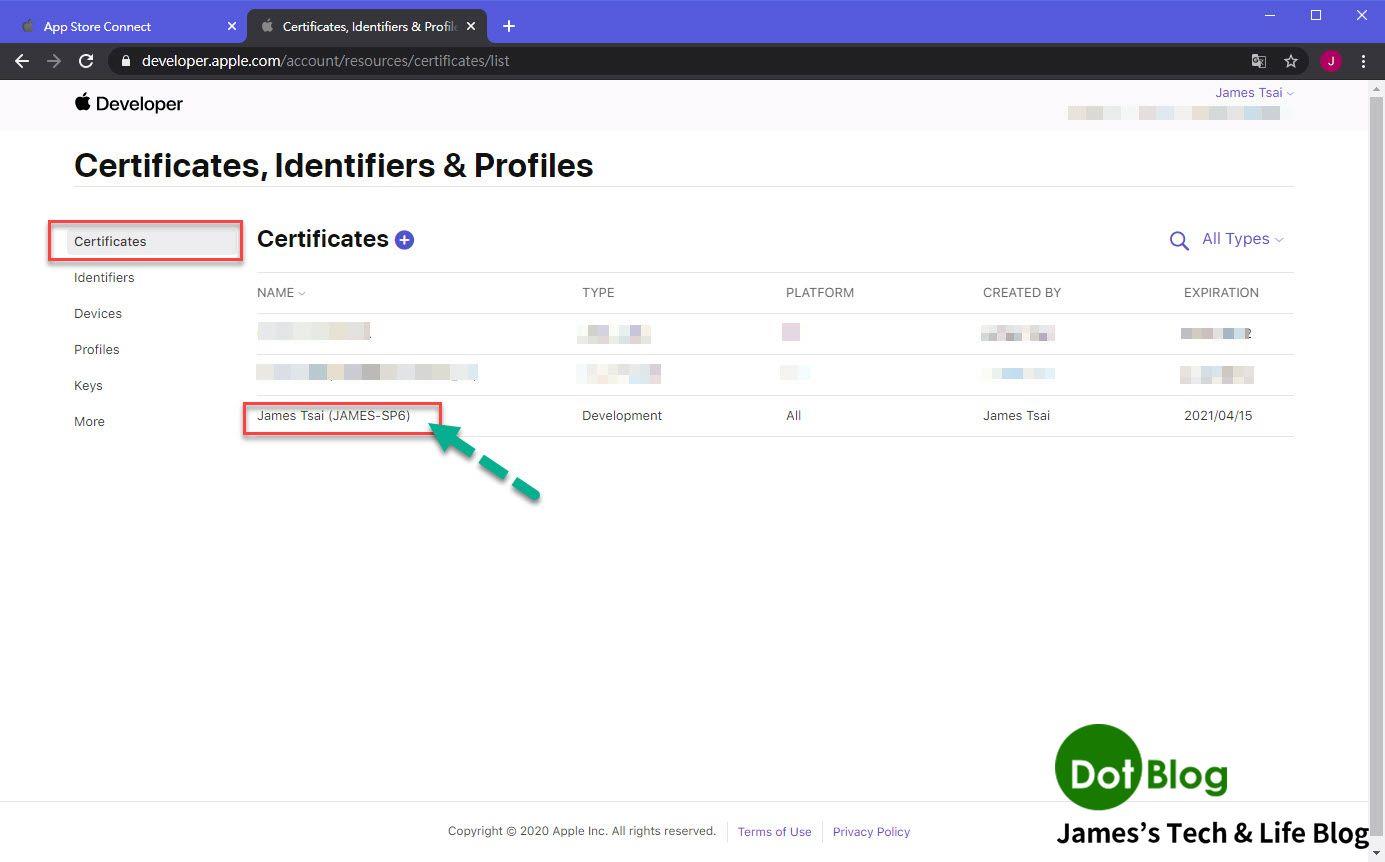
登入完成後,請進到 Certificates, Identifiers & Profiles 這個部分,並且點選 "Certificates"。
會看到 Certificates 中,利用了 Visual Studio 的那台電腦,多產生了一份 Certificate (憑證) 出現,而此 Certificate (憑證) 的型態為 Development 。
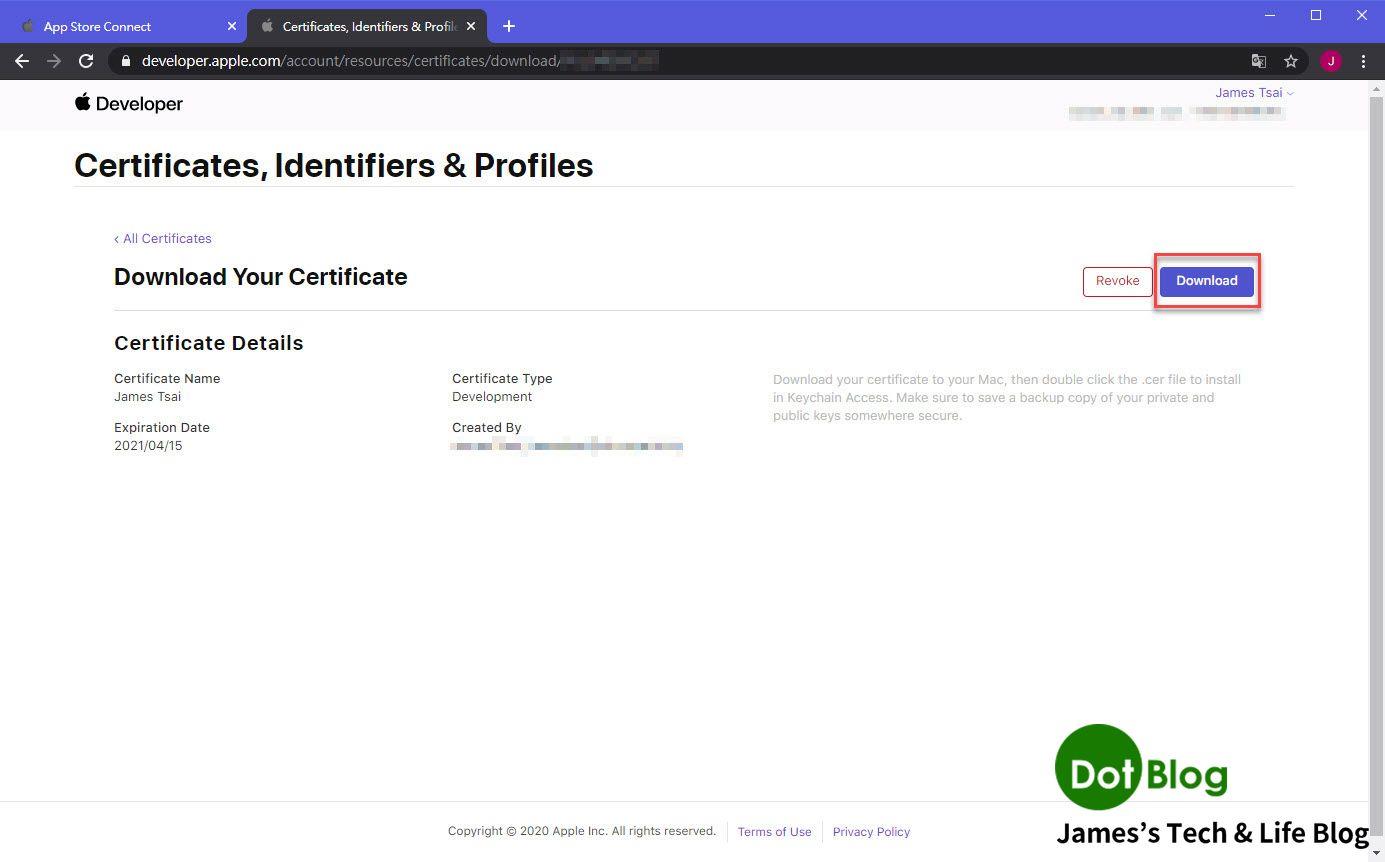
點選進來後,可以先點選 "Download" 下載此 Certificates。
接著再到 Identifiers 當中看看,會發現 Identifiers 也被建立了一份新的 Identifier (簽署識別)。
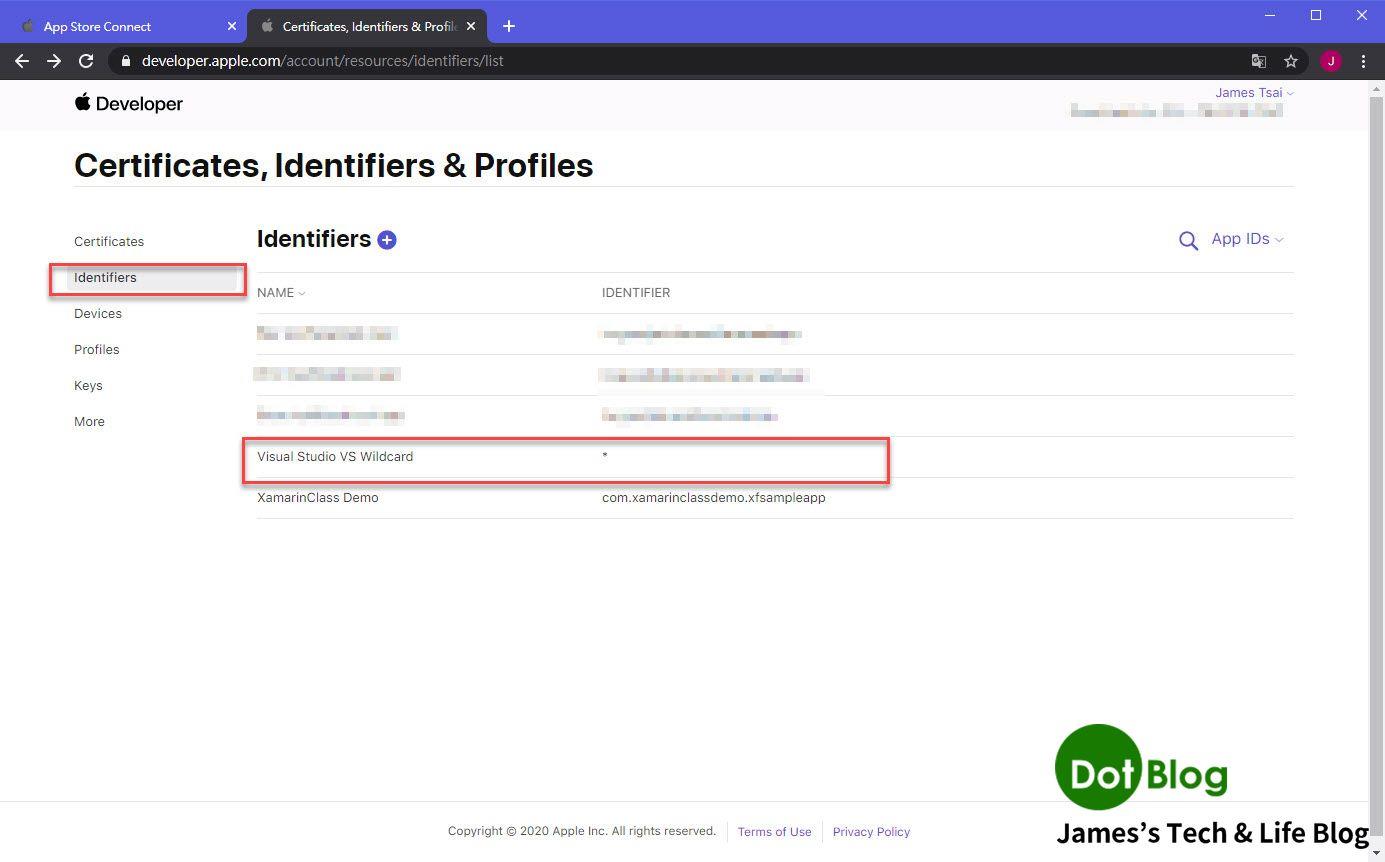
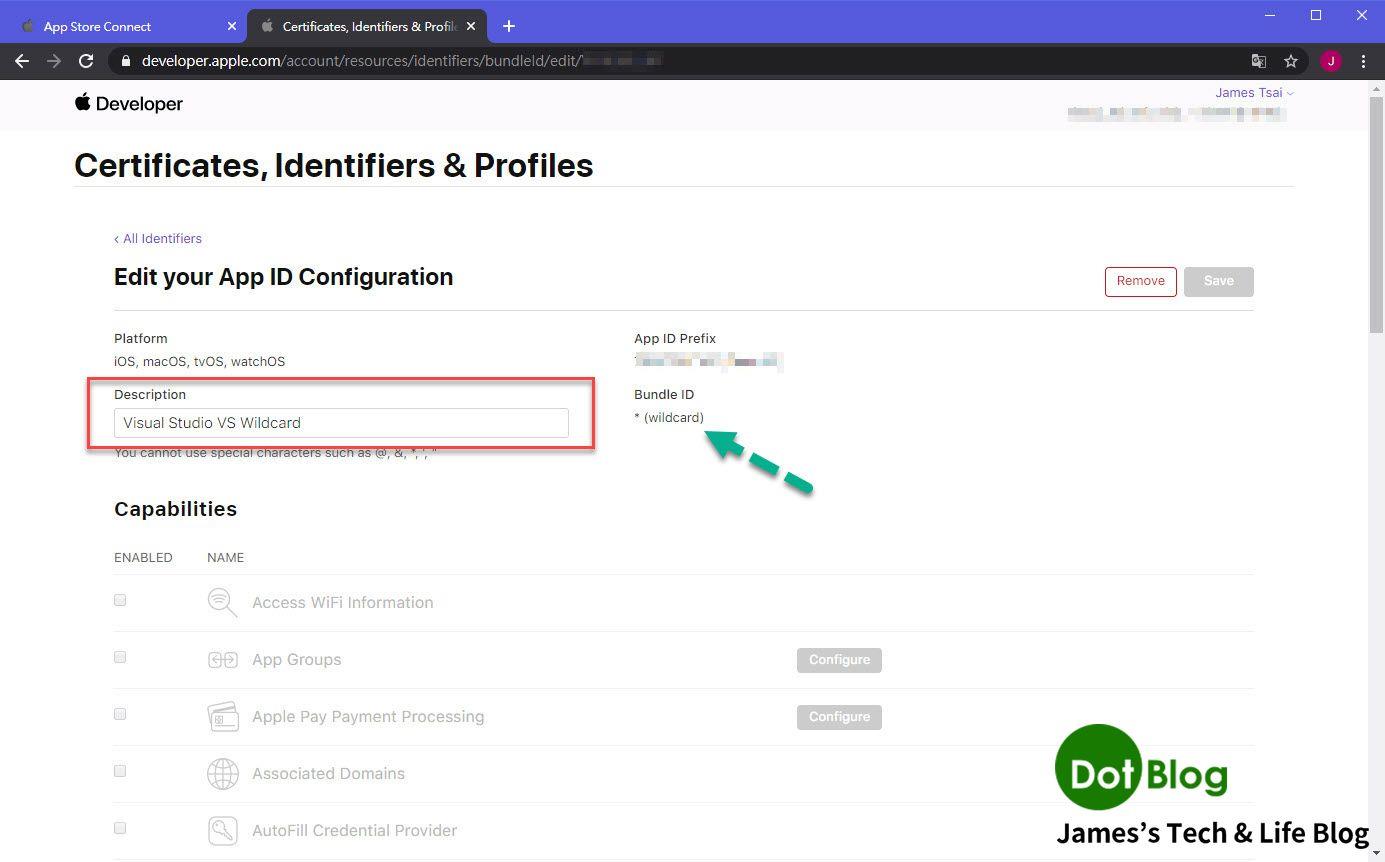
並且注意到此 Identifier(簽署識別) 的 Apple Bundle ID 被設定為 "* (wildcard)"。
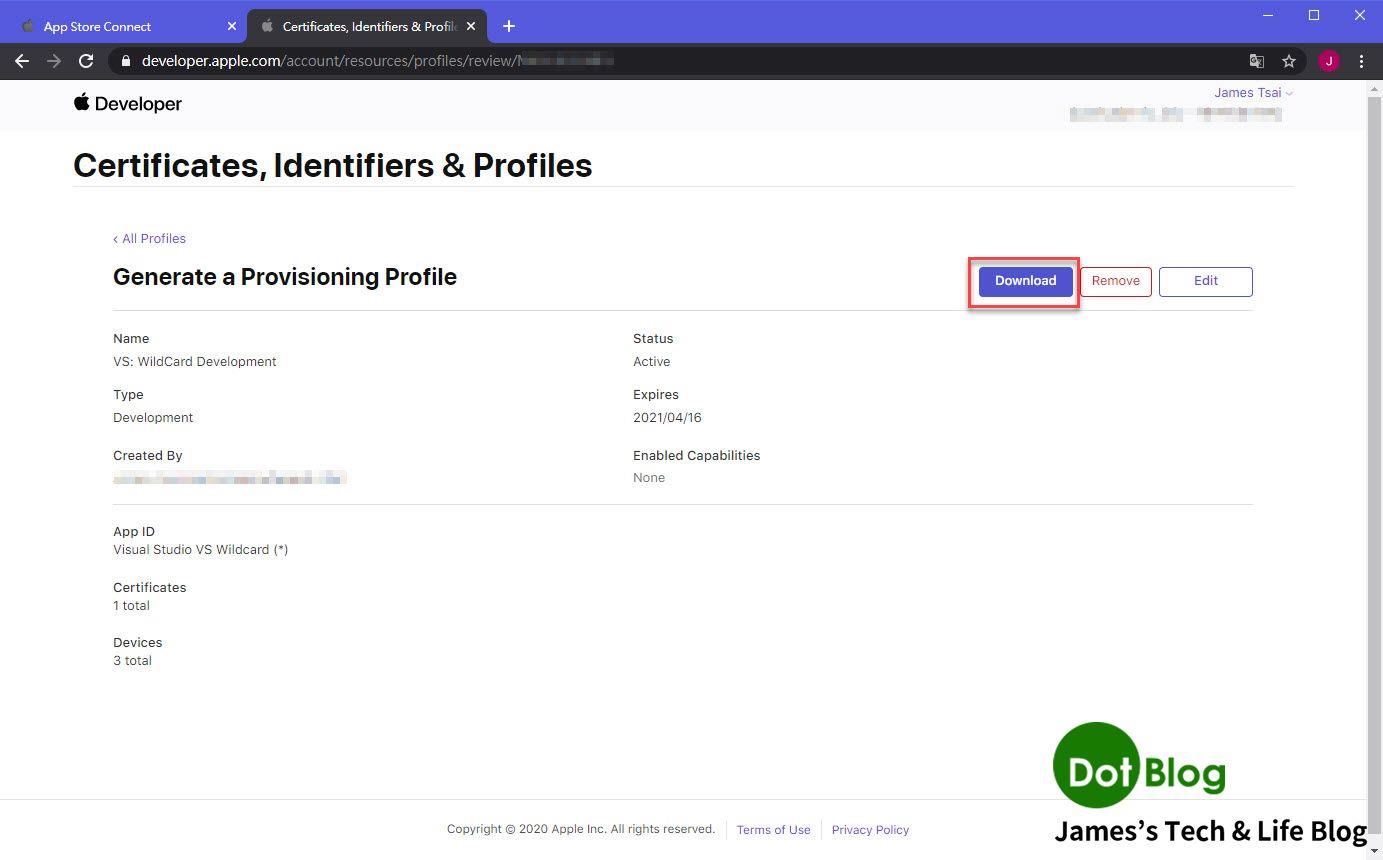
接著在進到 Profiles,會看到也多了一個全新的 Provisioning Profile (Development) 的設定。
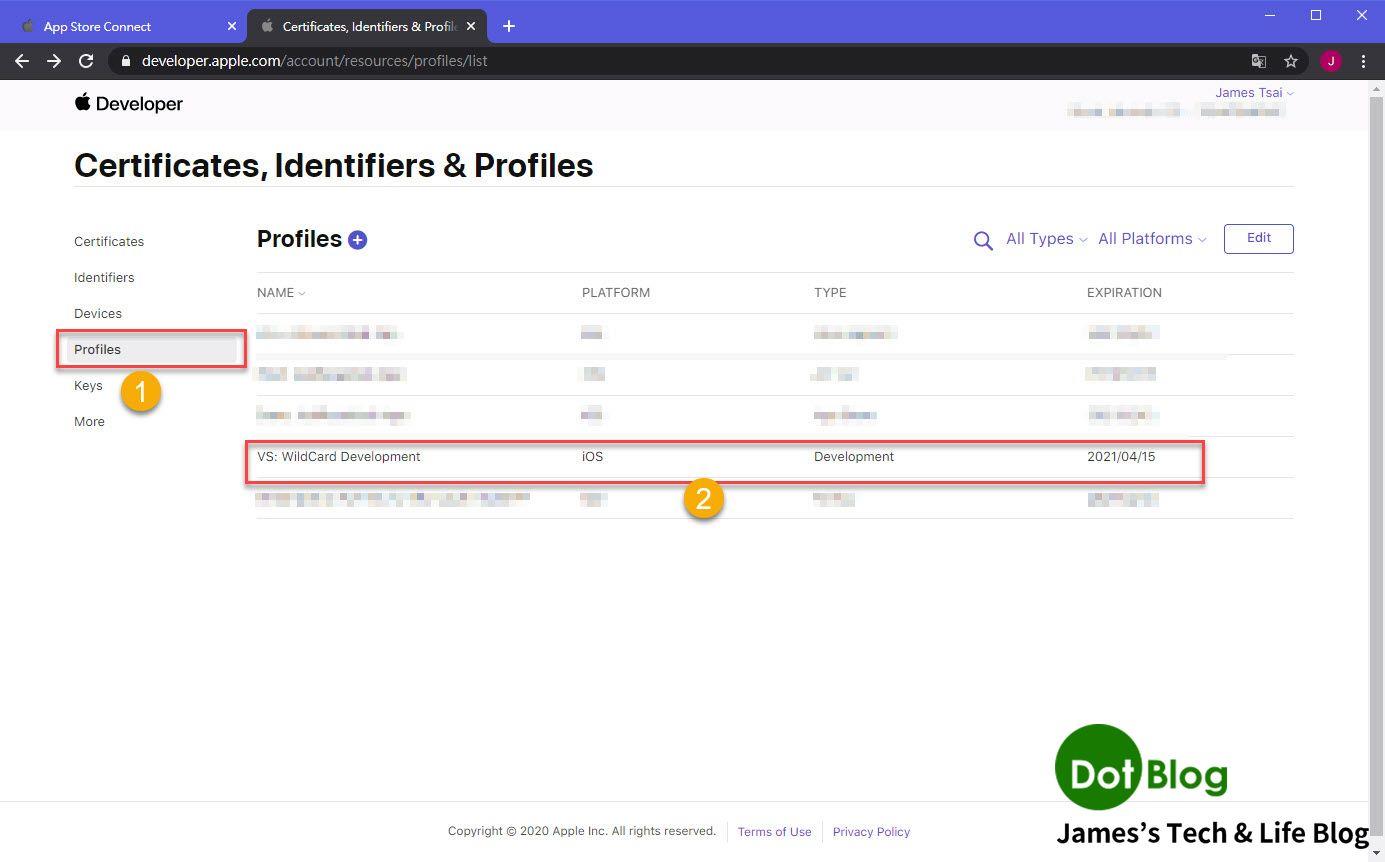
並且這份 Provisioning Profile 所設定的 App Bundle ID 為 "* (wildcard)",可以的話先點選 "Download" 下載起來。
好,以上就了解了,Visual Studio 在產生自動化佈建的過程,會用 Visual Studio 的那台電腦來 Apple 的 Development 環境中註冊一份全新的 Certificate (憑證),並且建立一個新的 Identifier (簽署識別),並透過此 Certificate (憑證) 跟 此 Identifier (簽署識別),自動註冊出一份新的 Provisioning Profile (佈建設定檔)。

所以接下來,我們回到 Mac 上,來更新一下 Xcode 中記錄的 Certificate (憑證) 跟 Provisioning Profile (佈建設定檔) 相關資訊。
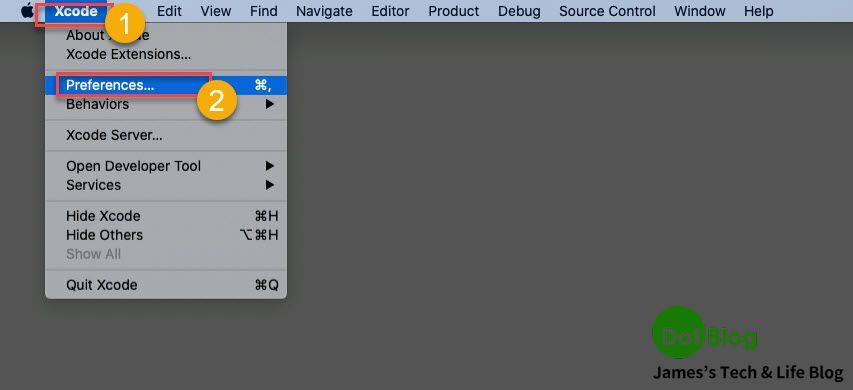
打開 Xcode -> "點選 Preferences..."
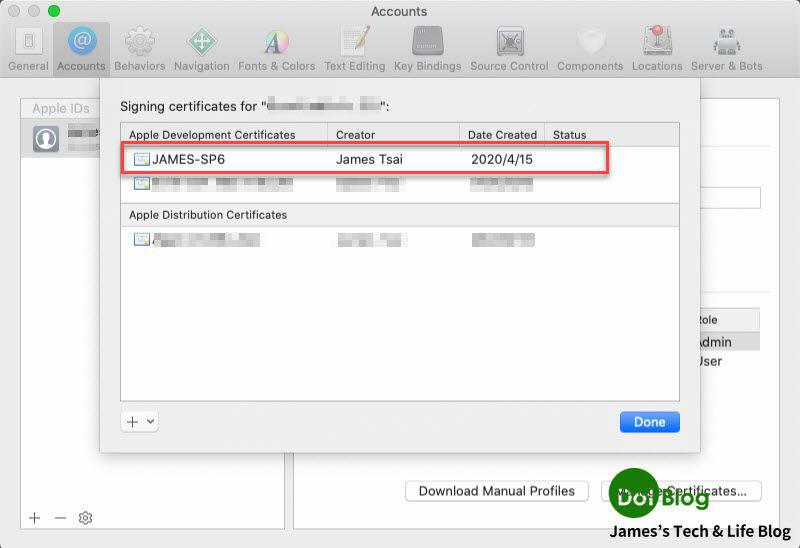
進入到 "Account" 當中,點選先前在 Windows 的 Visual Studio 當中所登入的 Apple ID,並且點選 "Manage Certificates..."
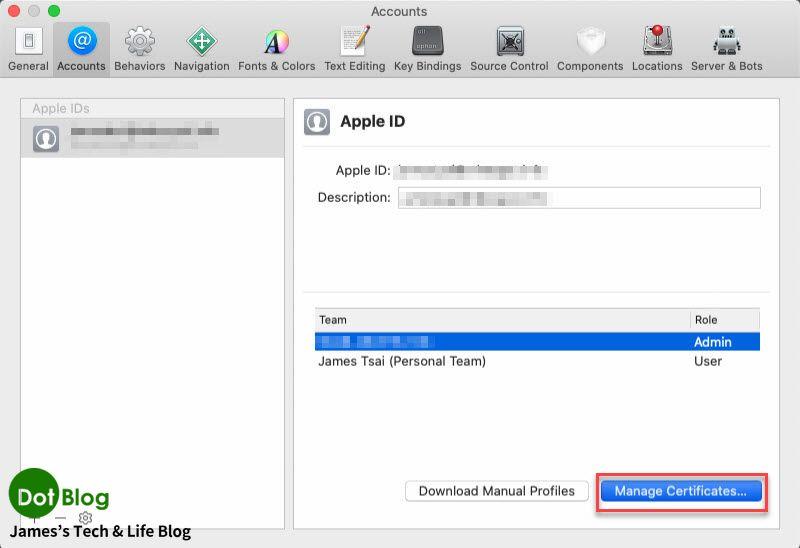
會順利地看到剛剛註冊的 Certificate(憑證) 資訊在 Xcode 當中更新。
(若無,請把先前步驟下載的 Certificate 複製到此 Mac 當中後,點選兩下,登記到此台 Mac 的鑰匙圈中)
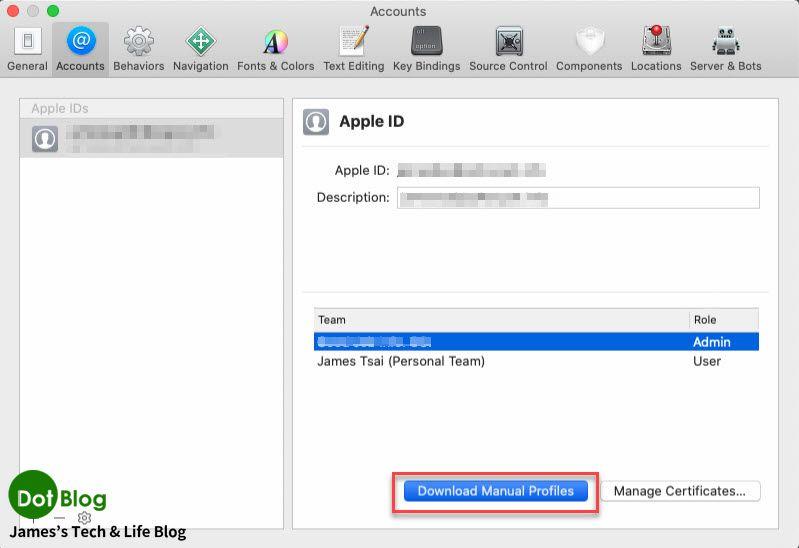
點選 "Download Manual Profiles" 讓 Xcode 下載更新相關的 "Provisioning Profile (佈建設定檔)"。
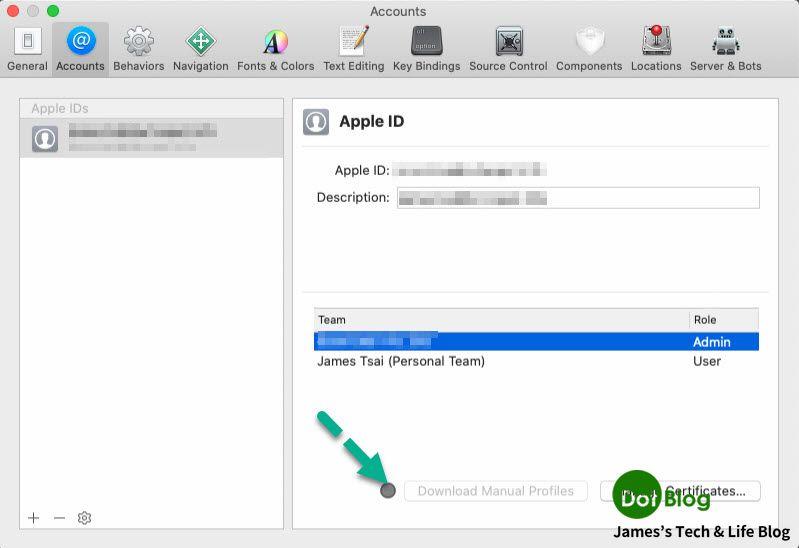
更新中。
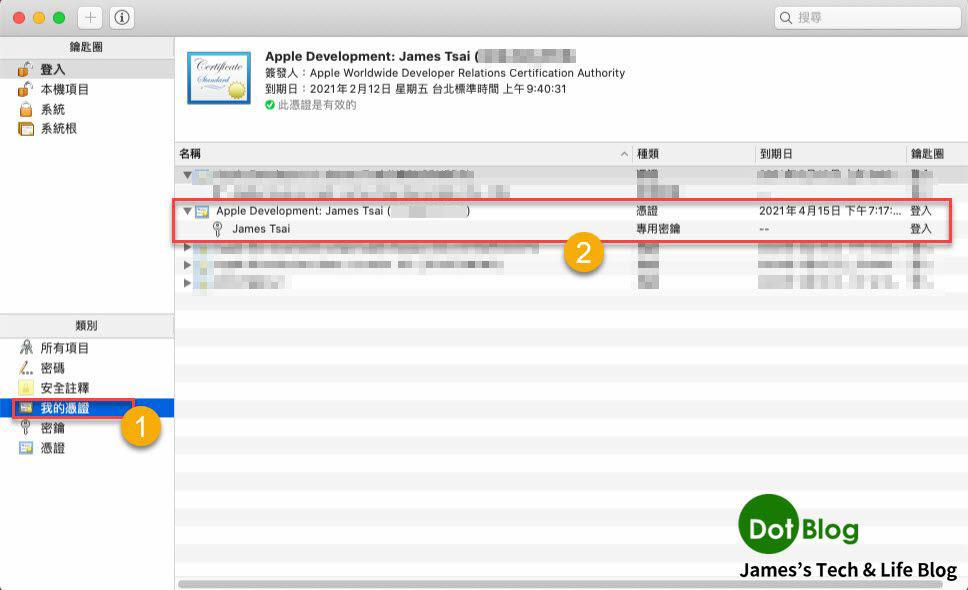
完成後,可以到 Mac 的鑰匙圈再次確認。
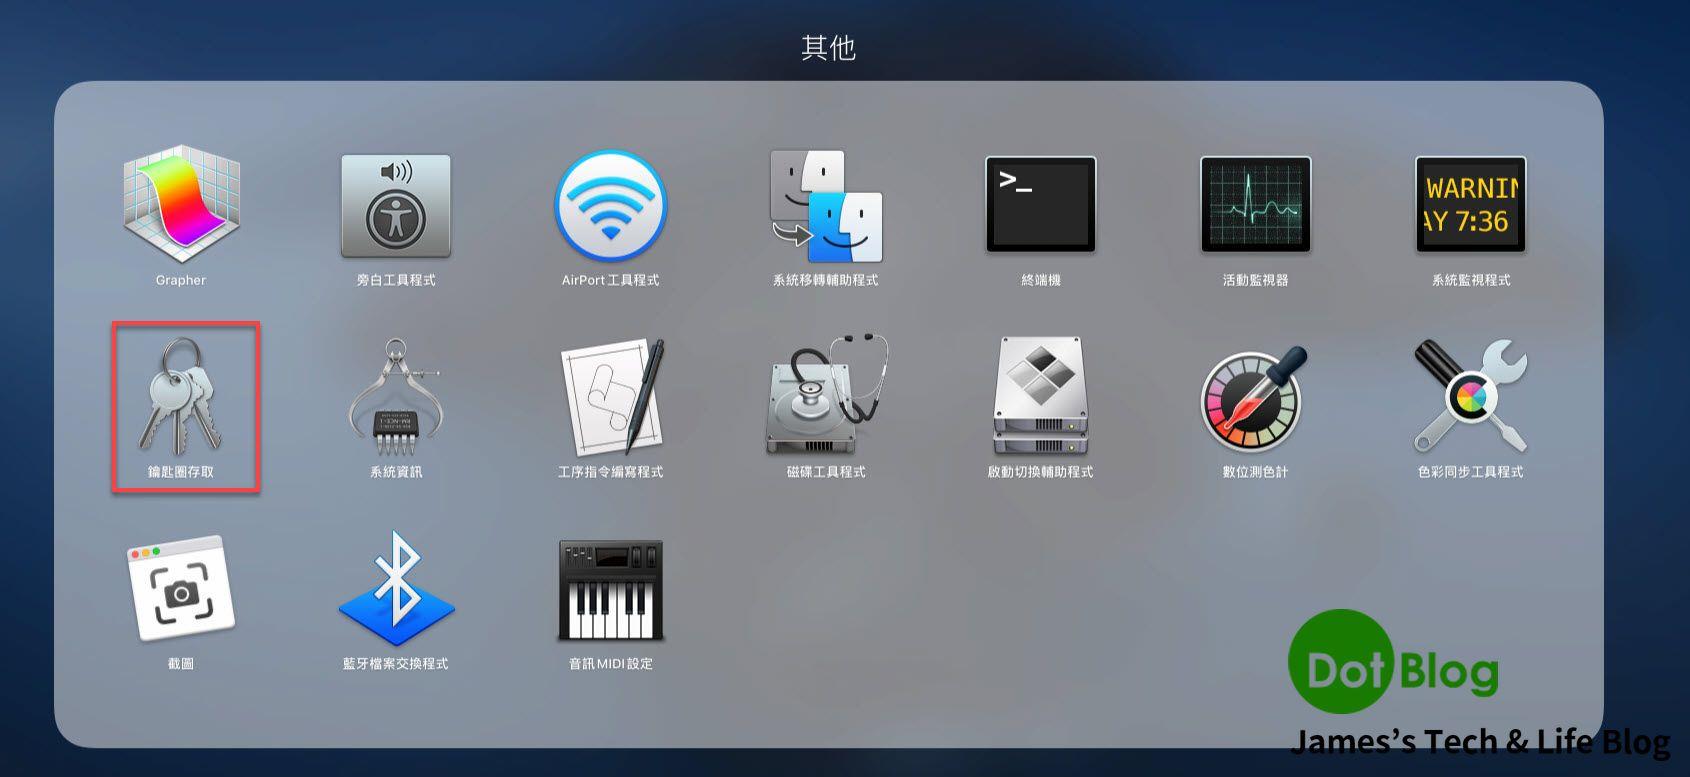
點選 "啟動台" -> "其他":
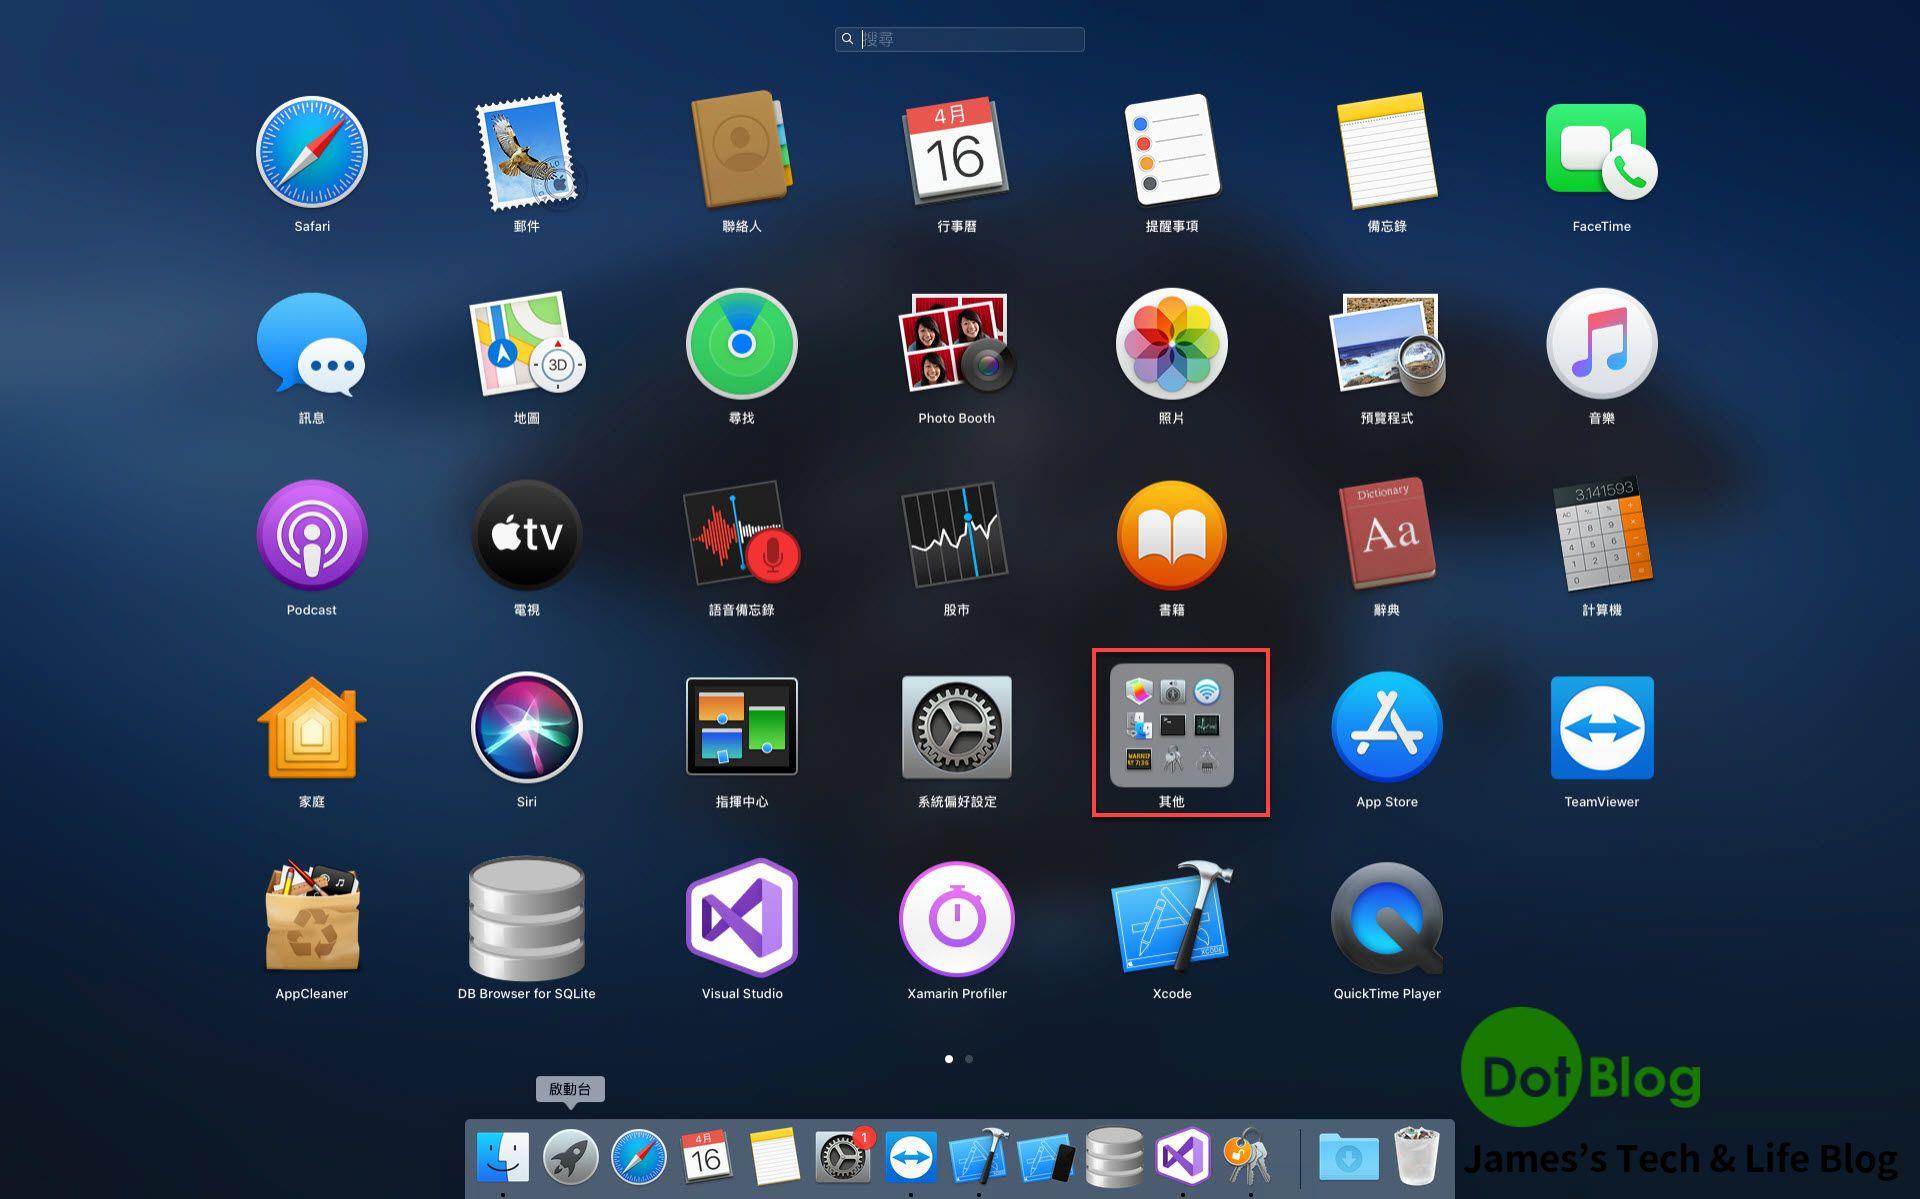
點選 "鑰匙圈存取":
點選左側的 "我的憑證",右側會列出目前此台 Mac 所記錄的 Certificates。
(如果某個 Certificate (憑證) 顯示有 錯誤 或 警告,則可能是需要將相關的 "密鑰" 再次匯入)
再次回到 Windows 電腦利用 Visual Studio 建立起一個 Xamarin 開發(.iOS 或 .Forms) 的應用程式。
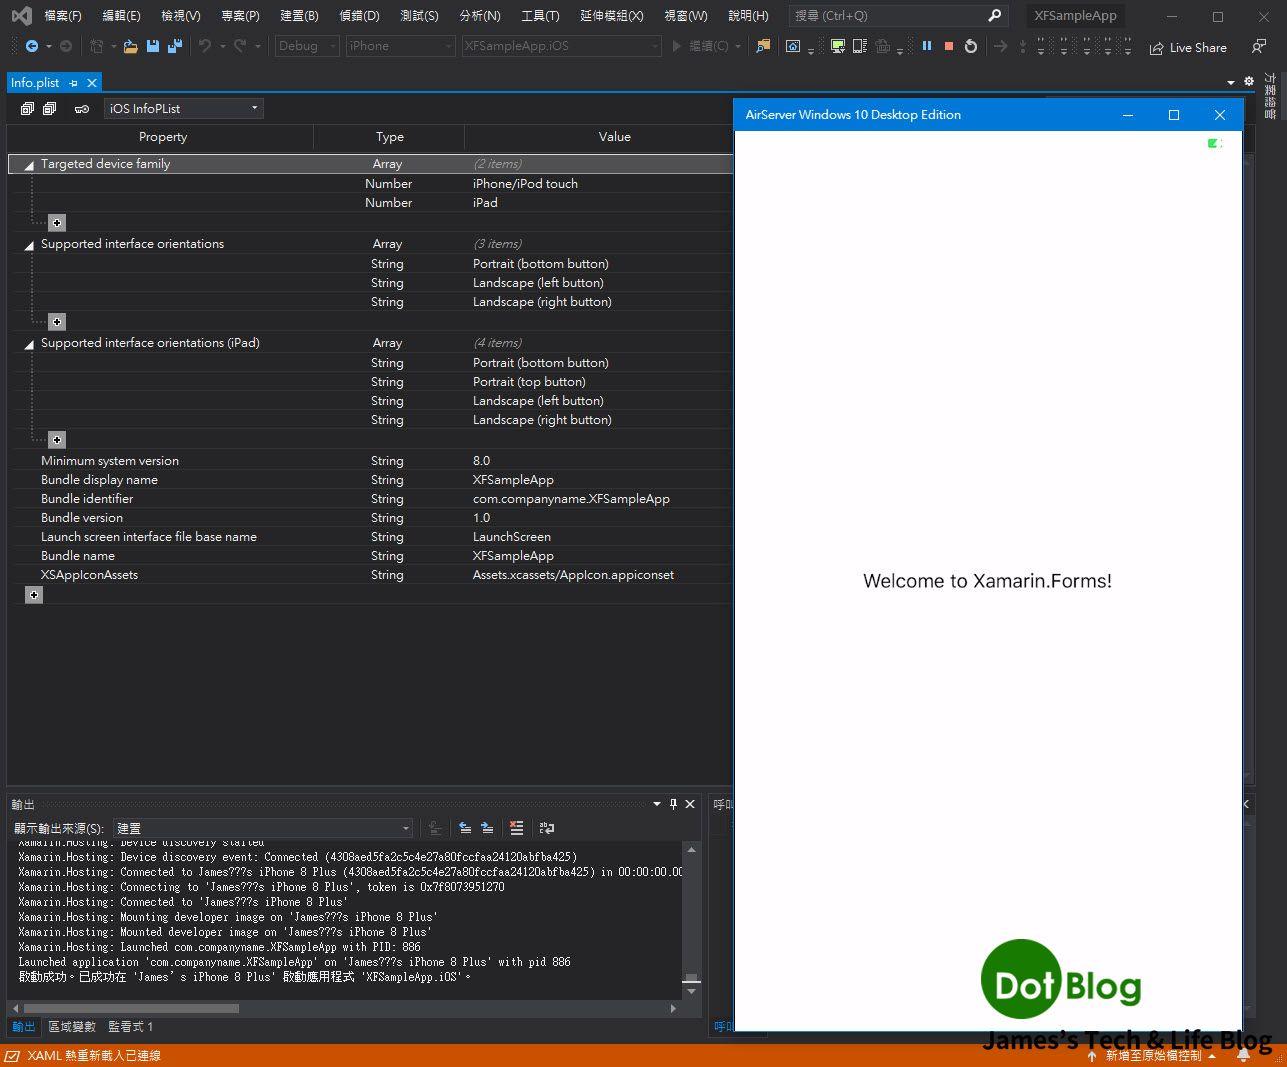
完成後,來看一下此新建的 Xamarin.Forms 應用程式當中, iOS 專案的 info.plist 所設定的 App Bundle ID 為 "com.companyname.XFSampleApp"。

確認執行環境為 "iPhone",選擇已連結到 Mac 上的 iOS 裝置。
(注意: 此已連結到 Mac 上的 iOS 裝置需是已註冊到 Apple 的開發者網站的紀錄中,並且涵蓋在 Provisioning Profile 的 Device 設定中)

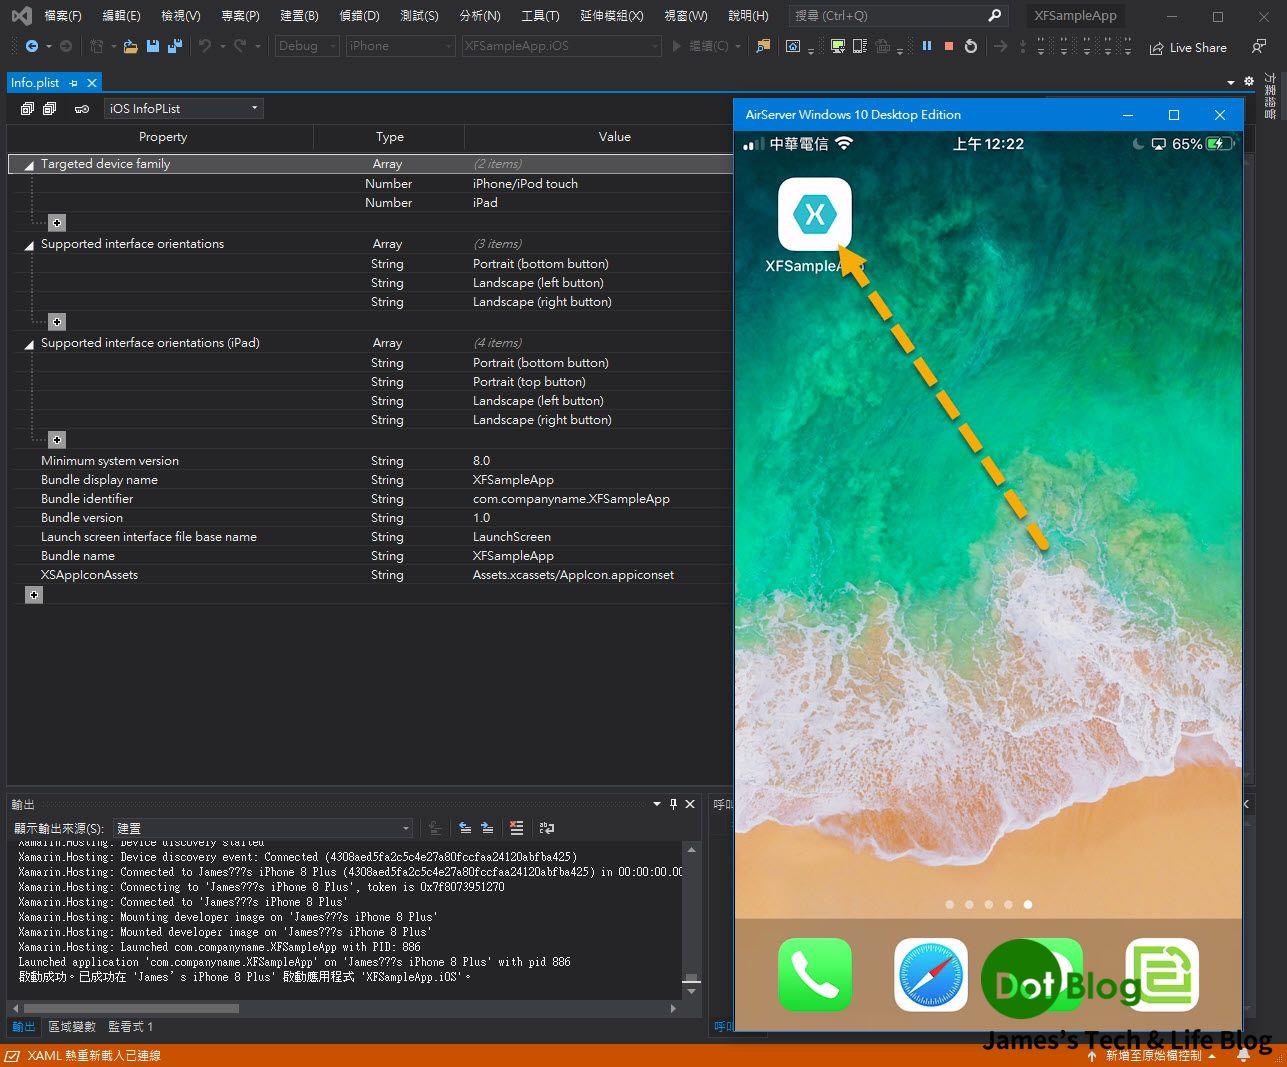
App 透過 Visual Studio 偵錯執行安裝到 iOS 實際裝置中執行:
(透過 AirServer 投影執行畫面到 Windows 上顯示)
以上介紹。
最後,仍衷心的建議,先透過手動設定的過程,了解其中 "iOS Development 的憑證、簽署識別、佈建設定檔" 之用途後,再利用 Visual Studio 來處理 自動化佈建設定 的方式來簡化後續相關的 App 開發設定,會是對在開發 iOS App 過程中比較有幫助的方式。
I'm a Microsoft MVP - Developer Technologies (From 2015 ~).
I focus on the following topics: Xamarin Technology, Azure, Mobile DevOps, and Microsoft EM+S.
If you want to know more about them, welcome to my website:
https://jamestsai.tw
本部落格文章之圖片相關後製處理皆透過 Techsmith 公司 所贊助其授權使用之 "Snagit" 與 "Snagit Editor" 軟體製作。